
Manual
Creating posts (@postbot)
Creating posts via @postbot allows you to mass-create posts in this Telegram bot, which is very useful for creating text materials for publications, including those with interactive elements like buttons. This module is highly beneficial as it allows you to pre-create a certain number of posts that can later be easily integrated into texts for mailings, saving time on manual input.
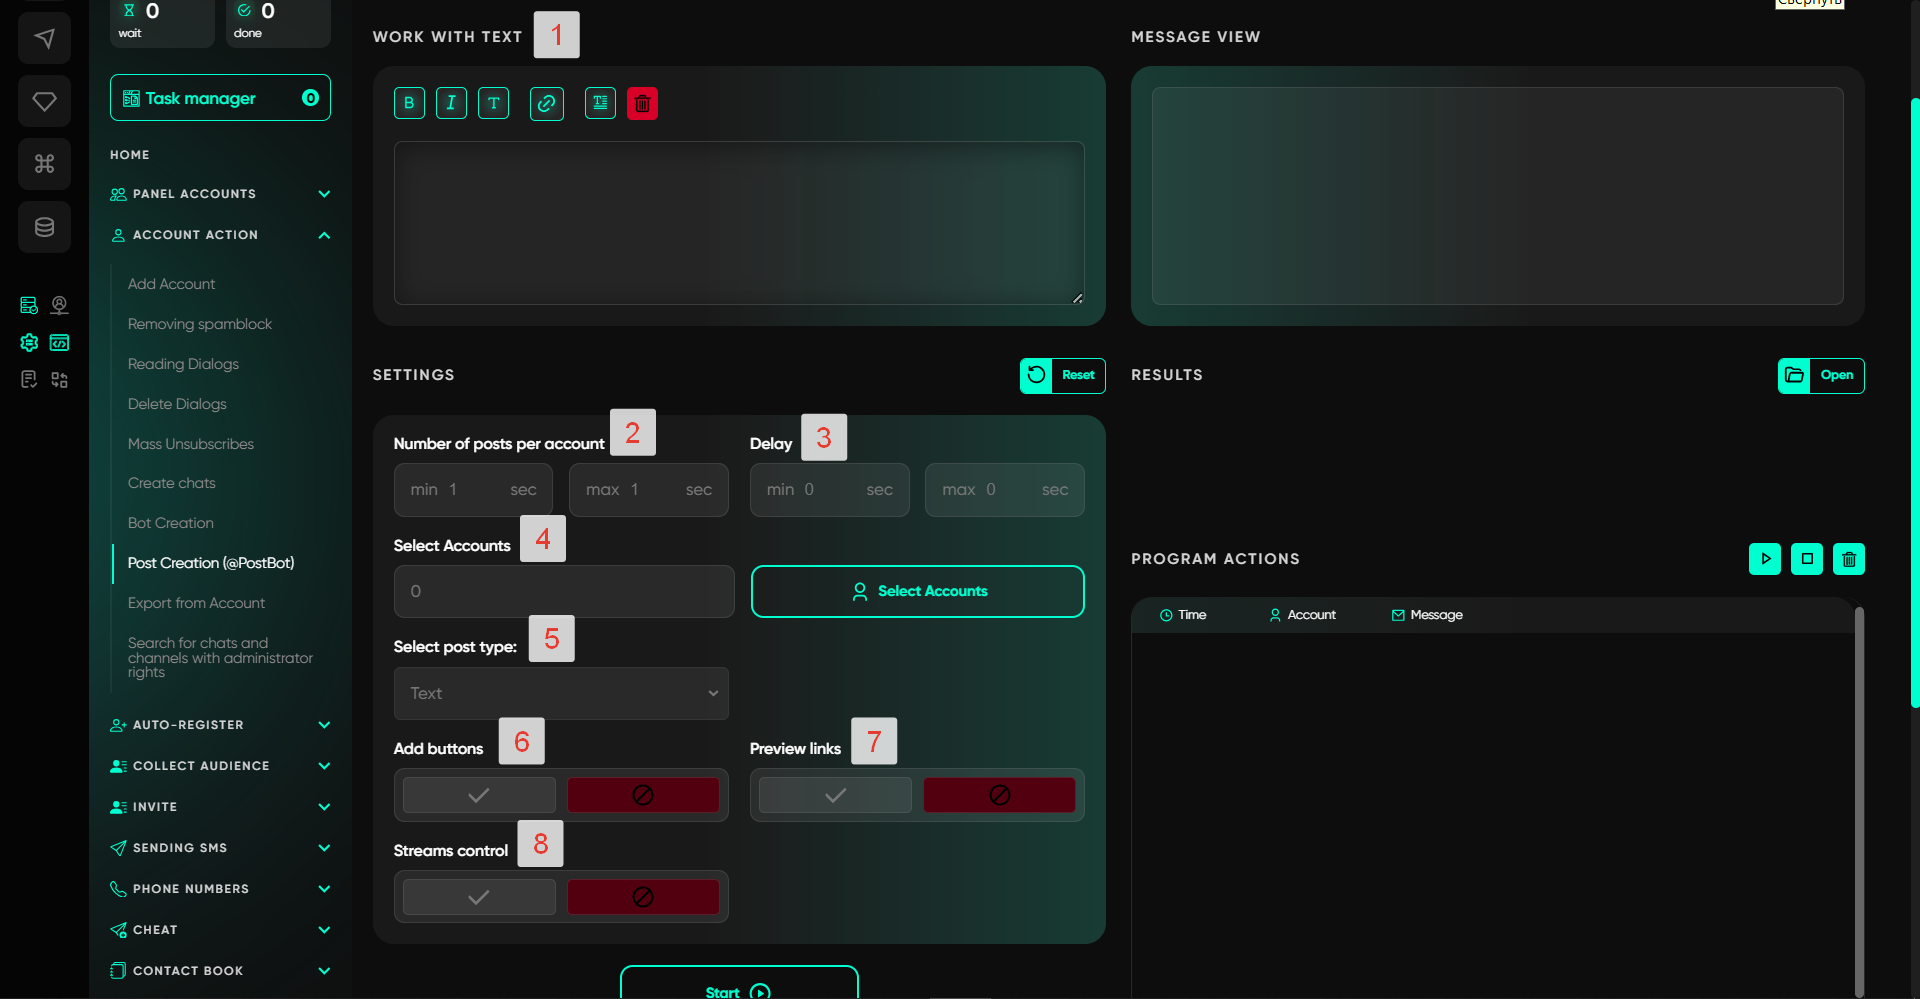
Setup Stages:
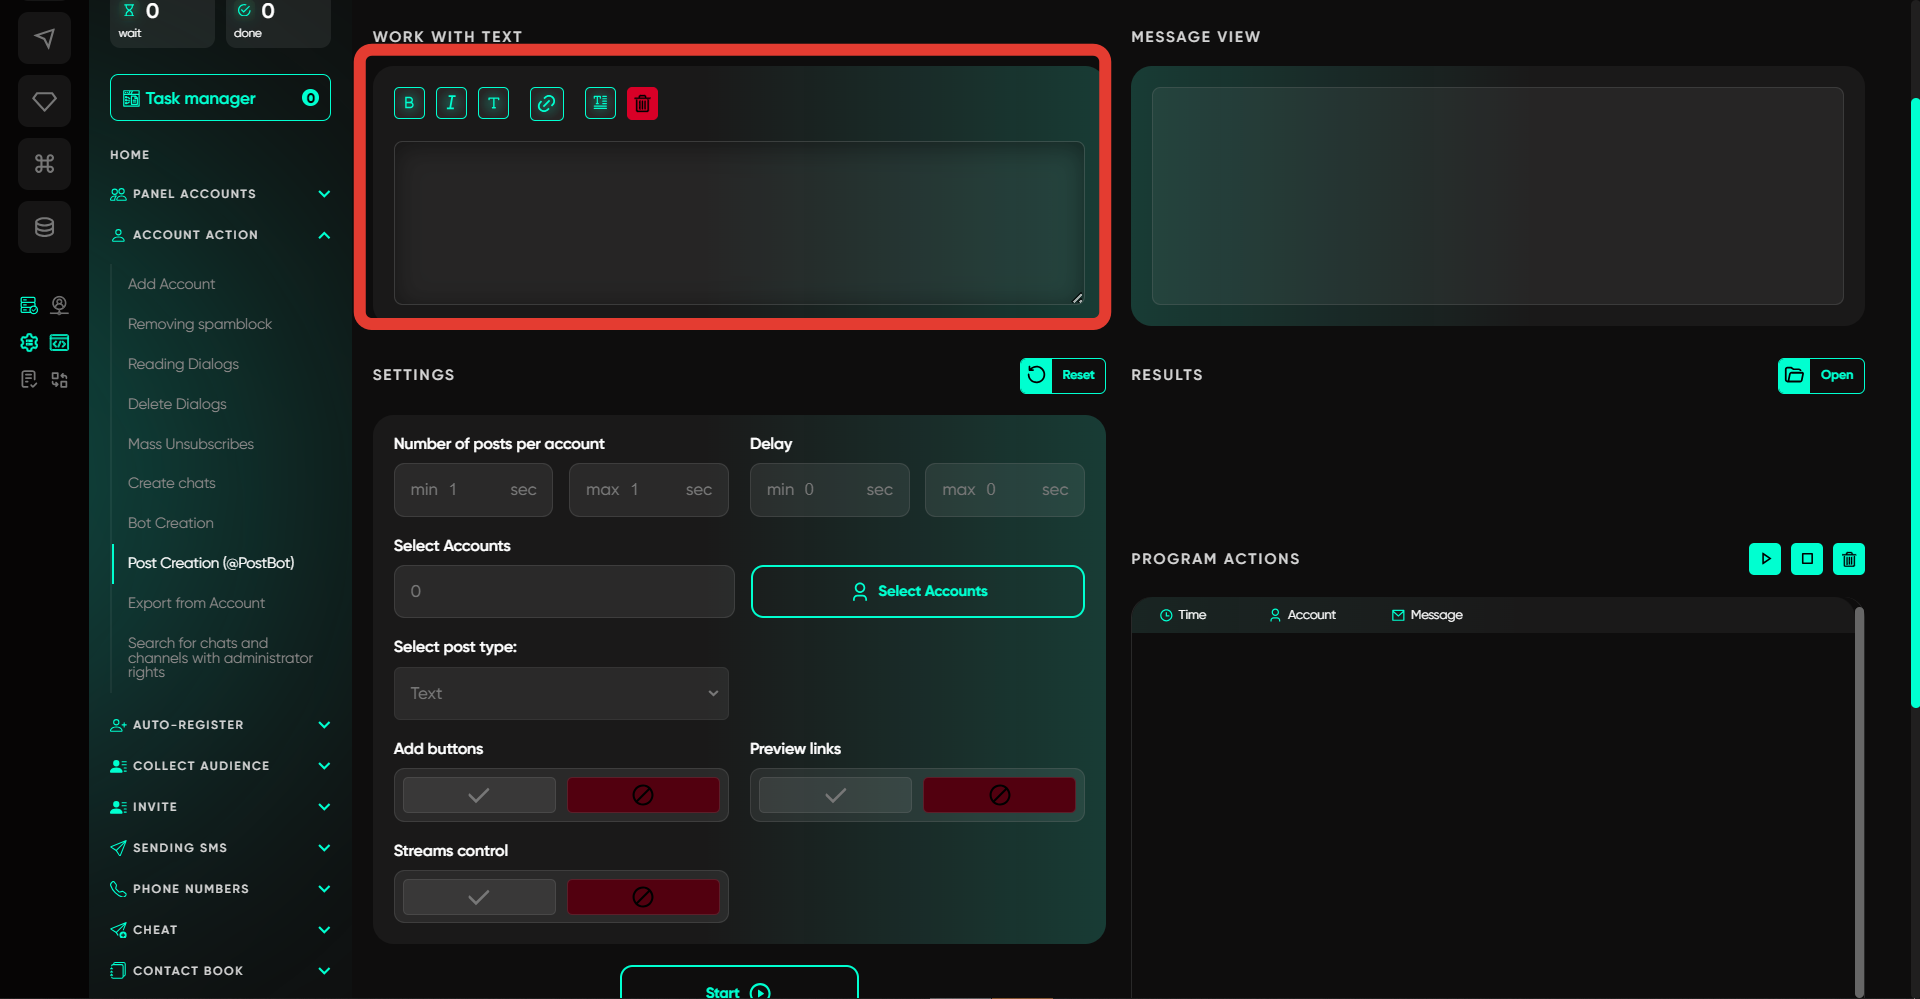
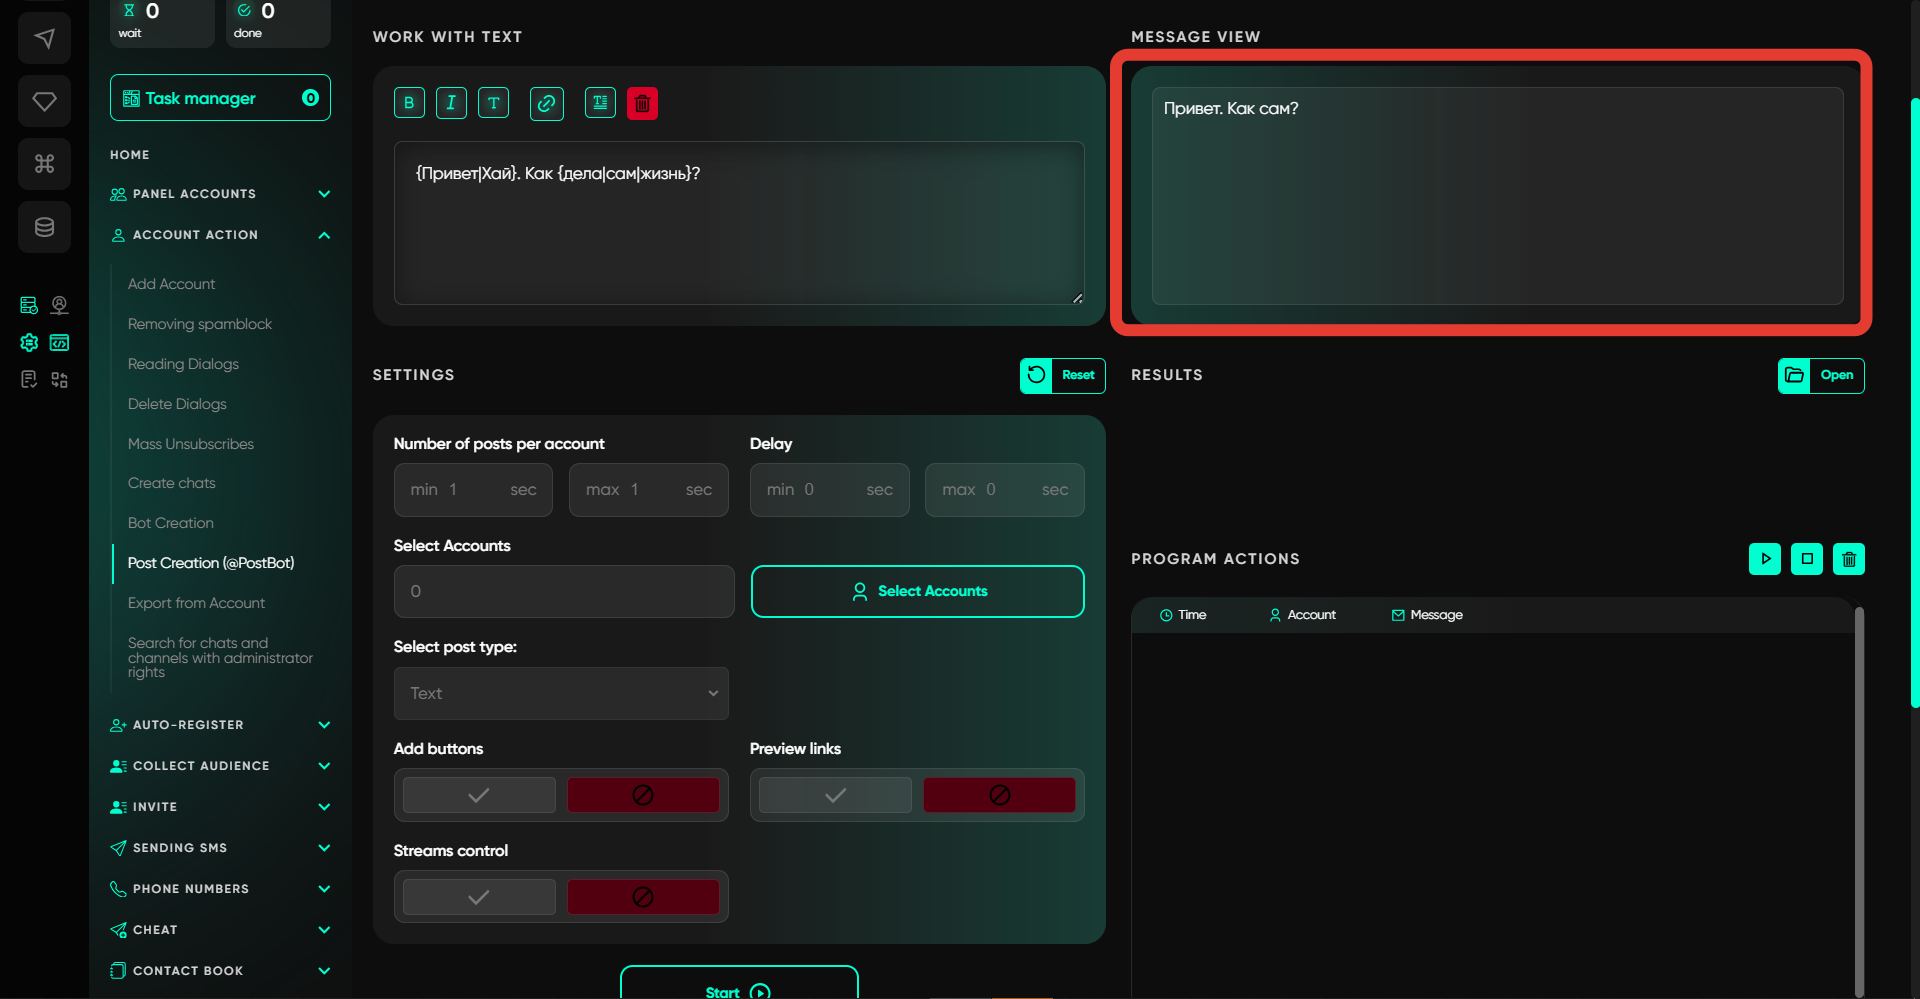
Working with Text
In this field, the text for the mailing is entered as usual, just like in all "SMS Sending" modules. All necessary tools are available — bold text, italic, monospaced text format, adding links, and randomization. Randomization allows you to create text variations using spintax. The software already provides a template for input like {Hello|Hi}. You can enter your own text and enclose variables in such brackets so that they will interchange with each subsequent sending, making the text more unique. This field is optional — not all posts consist of text. Sometimes it may just be an image and a button. In such cases, simply leave the field empty.
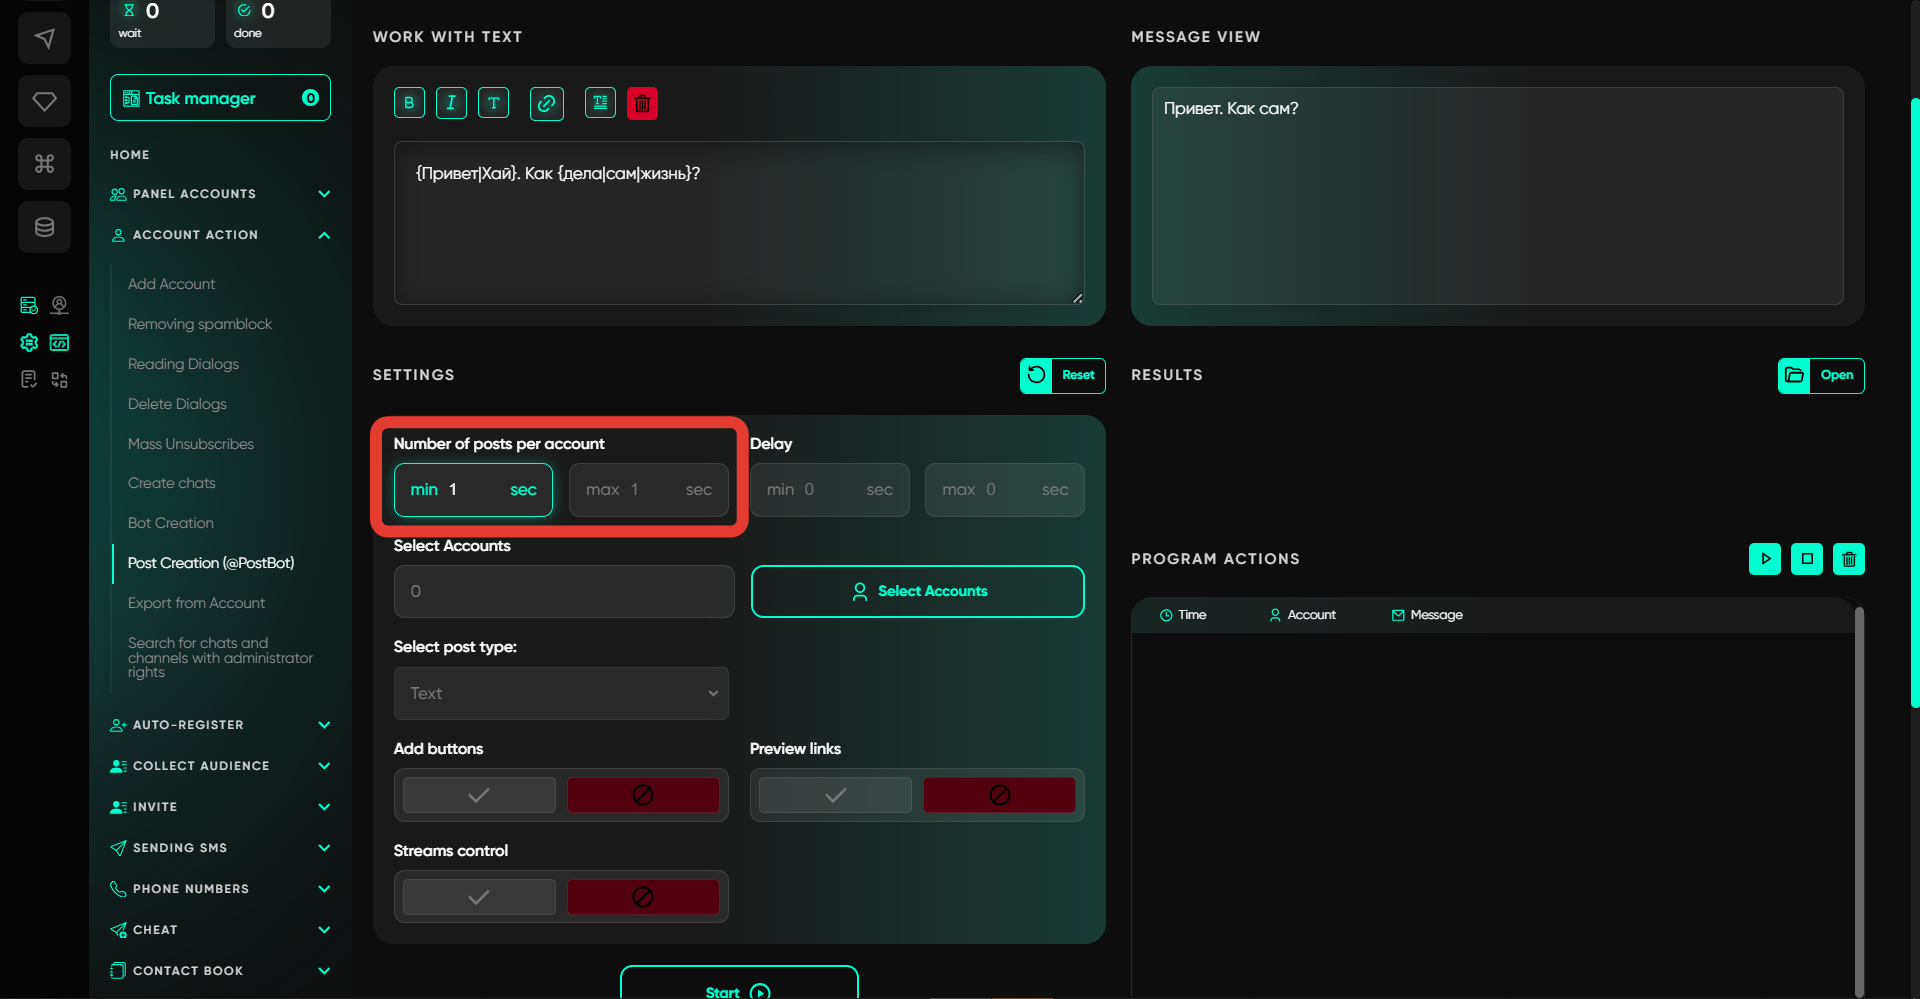
Number of Posts per Account
Here, specify a range that determines the number of posts created from one account. The software randomly selects a value within the specified range.
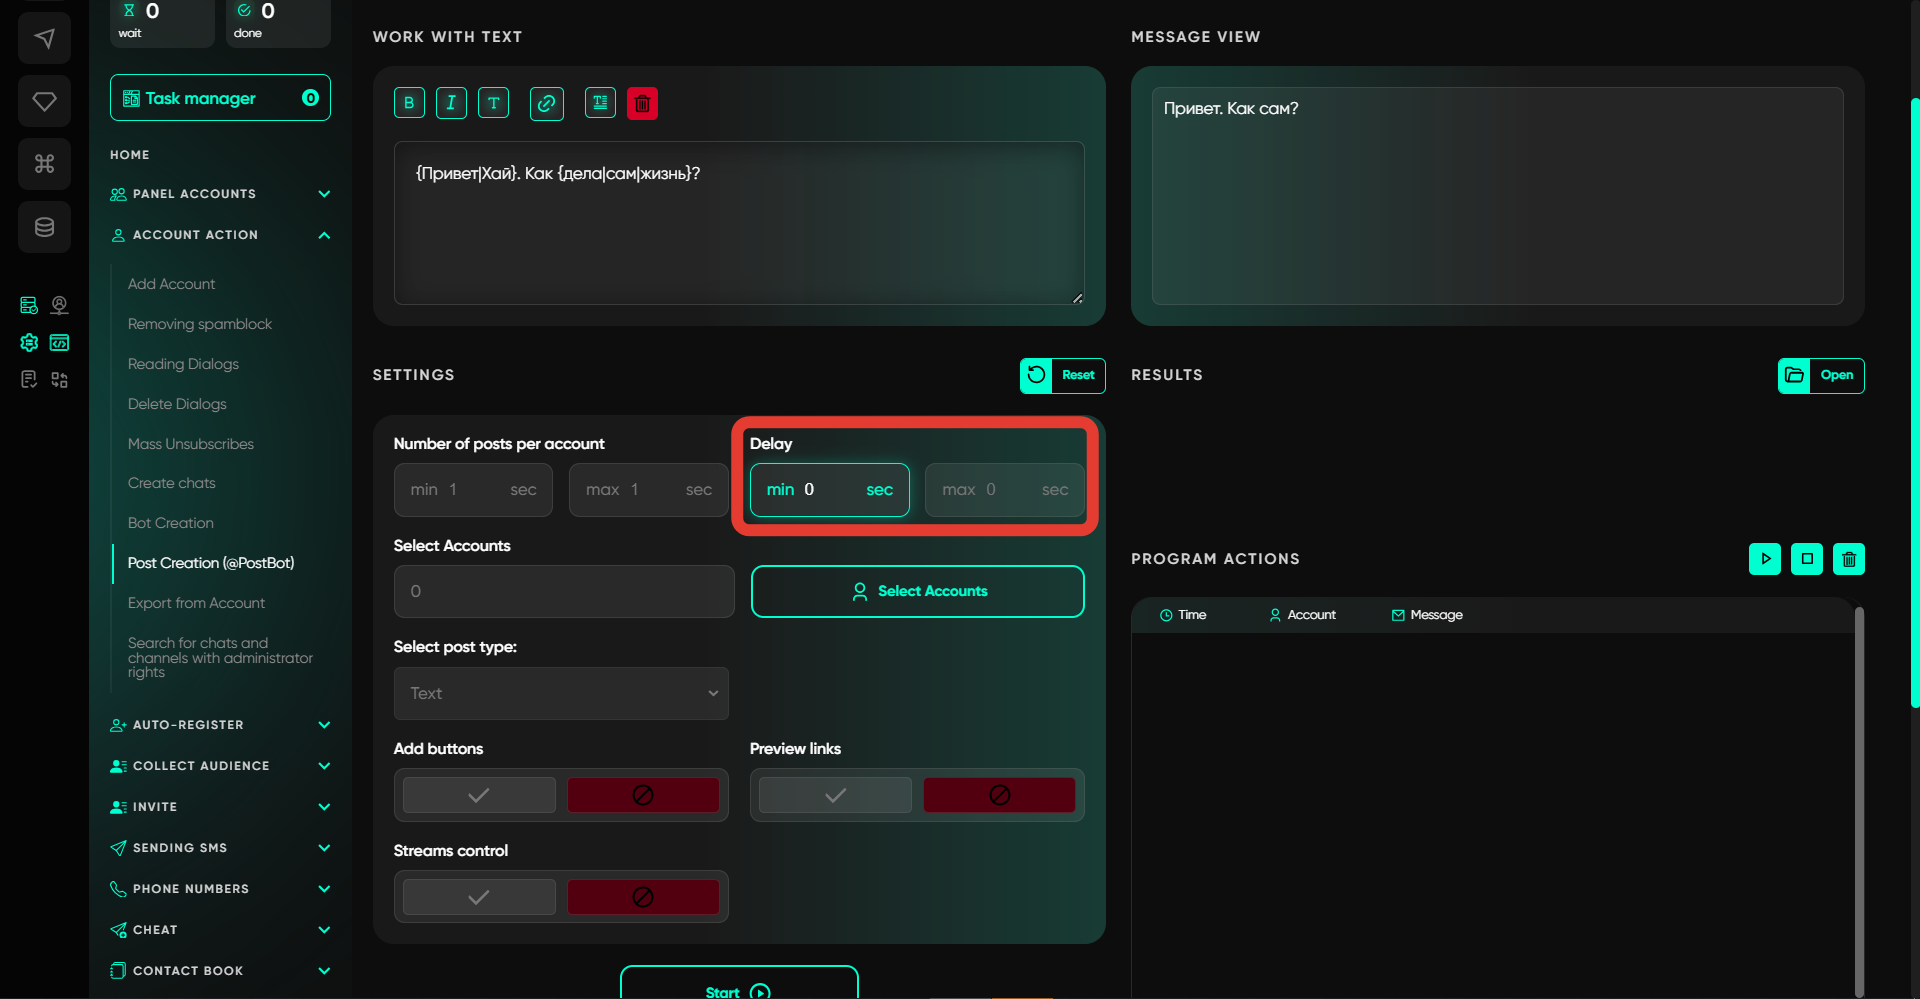
Delay
This option allows you to set the delay time between creating each subsequent post. For example, if you specify 10 posts for one account, the software will wait a random amount of time from the specified range before creating each new material.
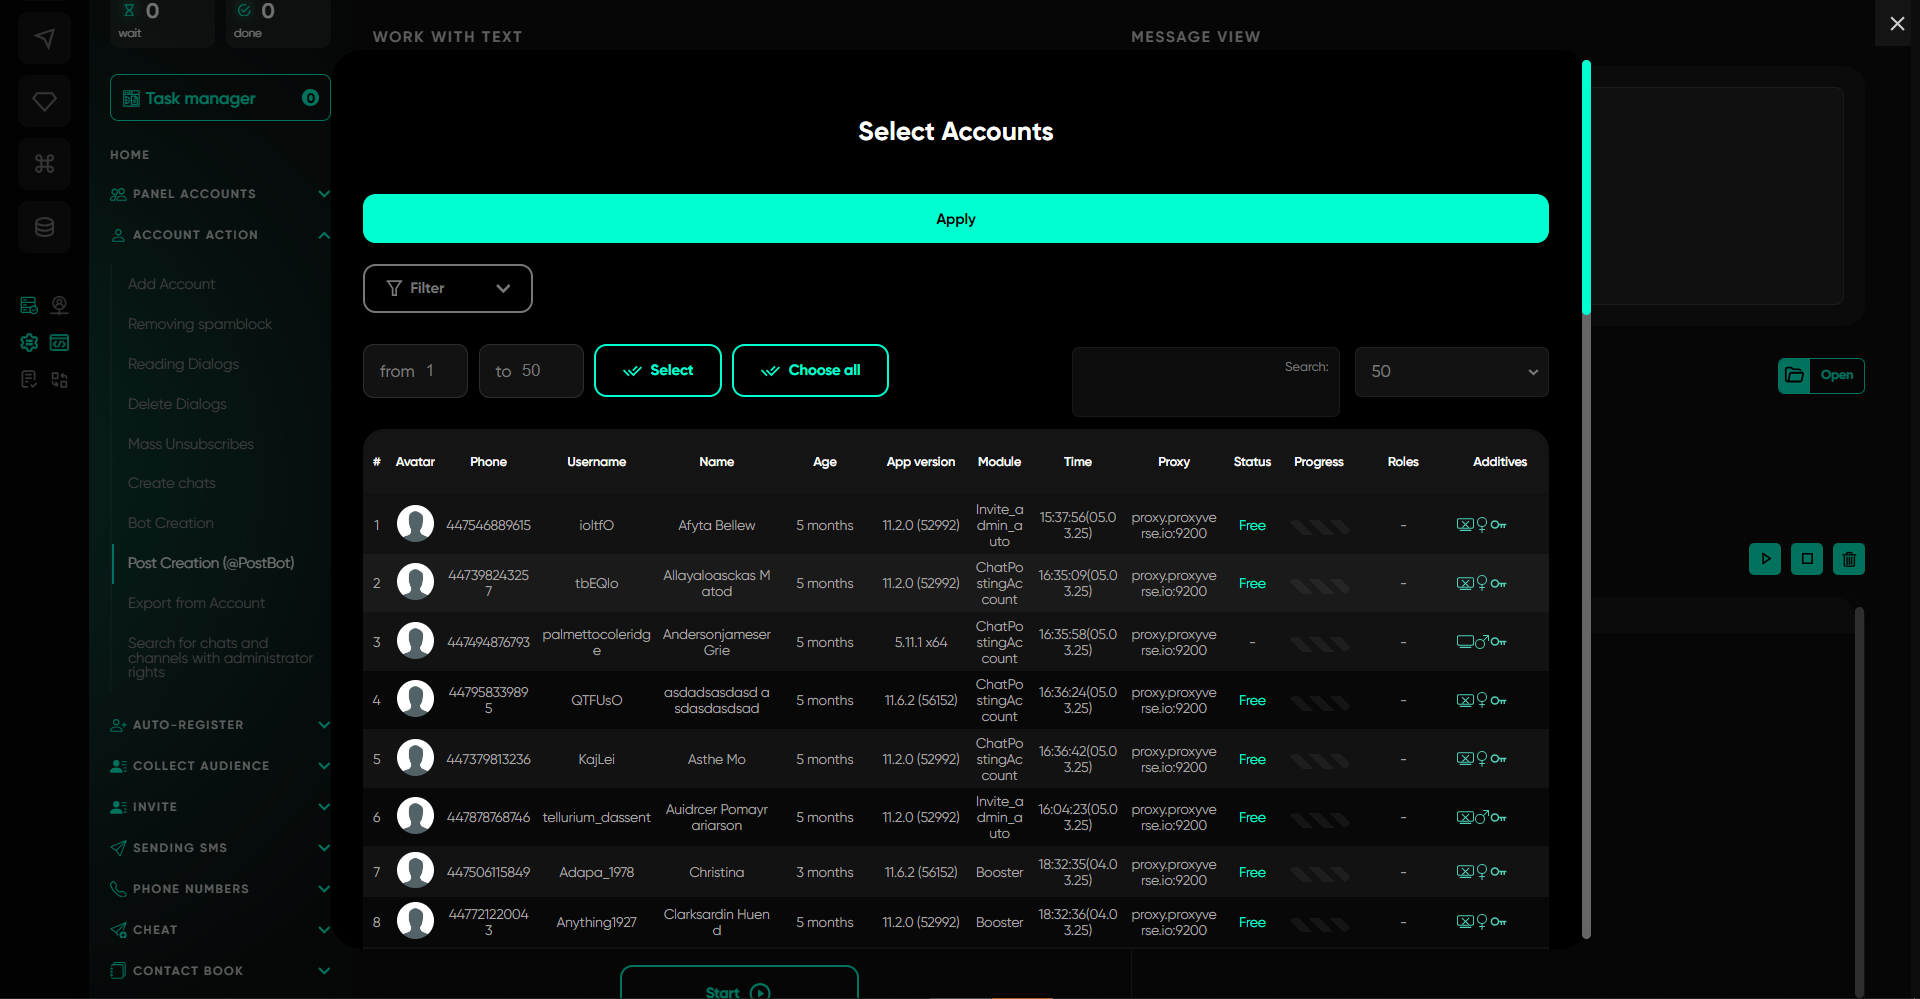
Select Accounts
In this section, select the accounts from which the posts will be created. The selection is made among accounts from the "Active" folder.
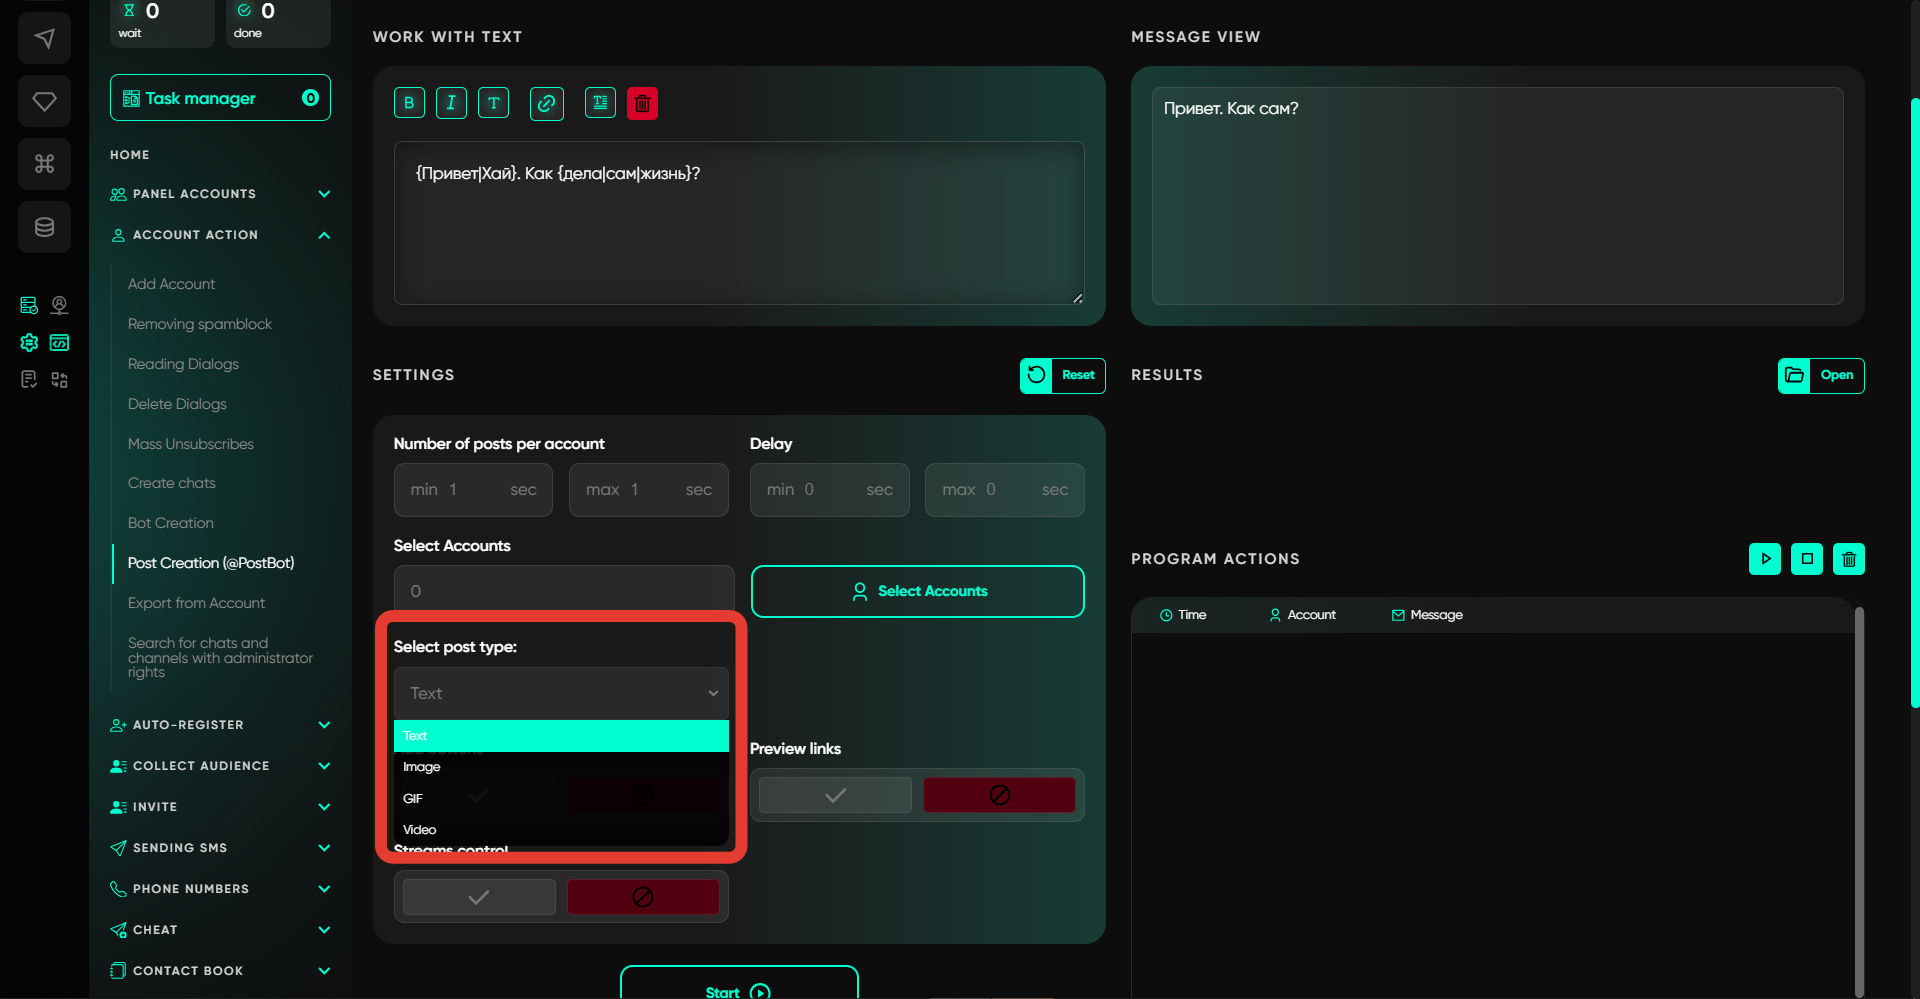
Select Post Type
Here, you determine the type of post — text, image, GIF, or video. When selecting text, filling in the text field above is mandatory; otherwise, the message will simply be empty. If you choose an image, GIF, or video, an additional field will open to select the material. It's important to note that when selecting a large number of media files, the software will randomly choose from them.
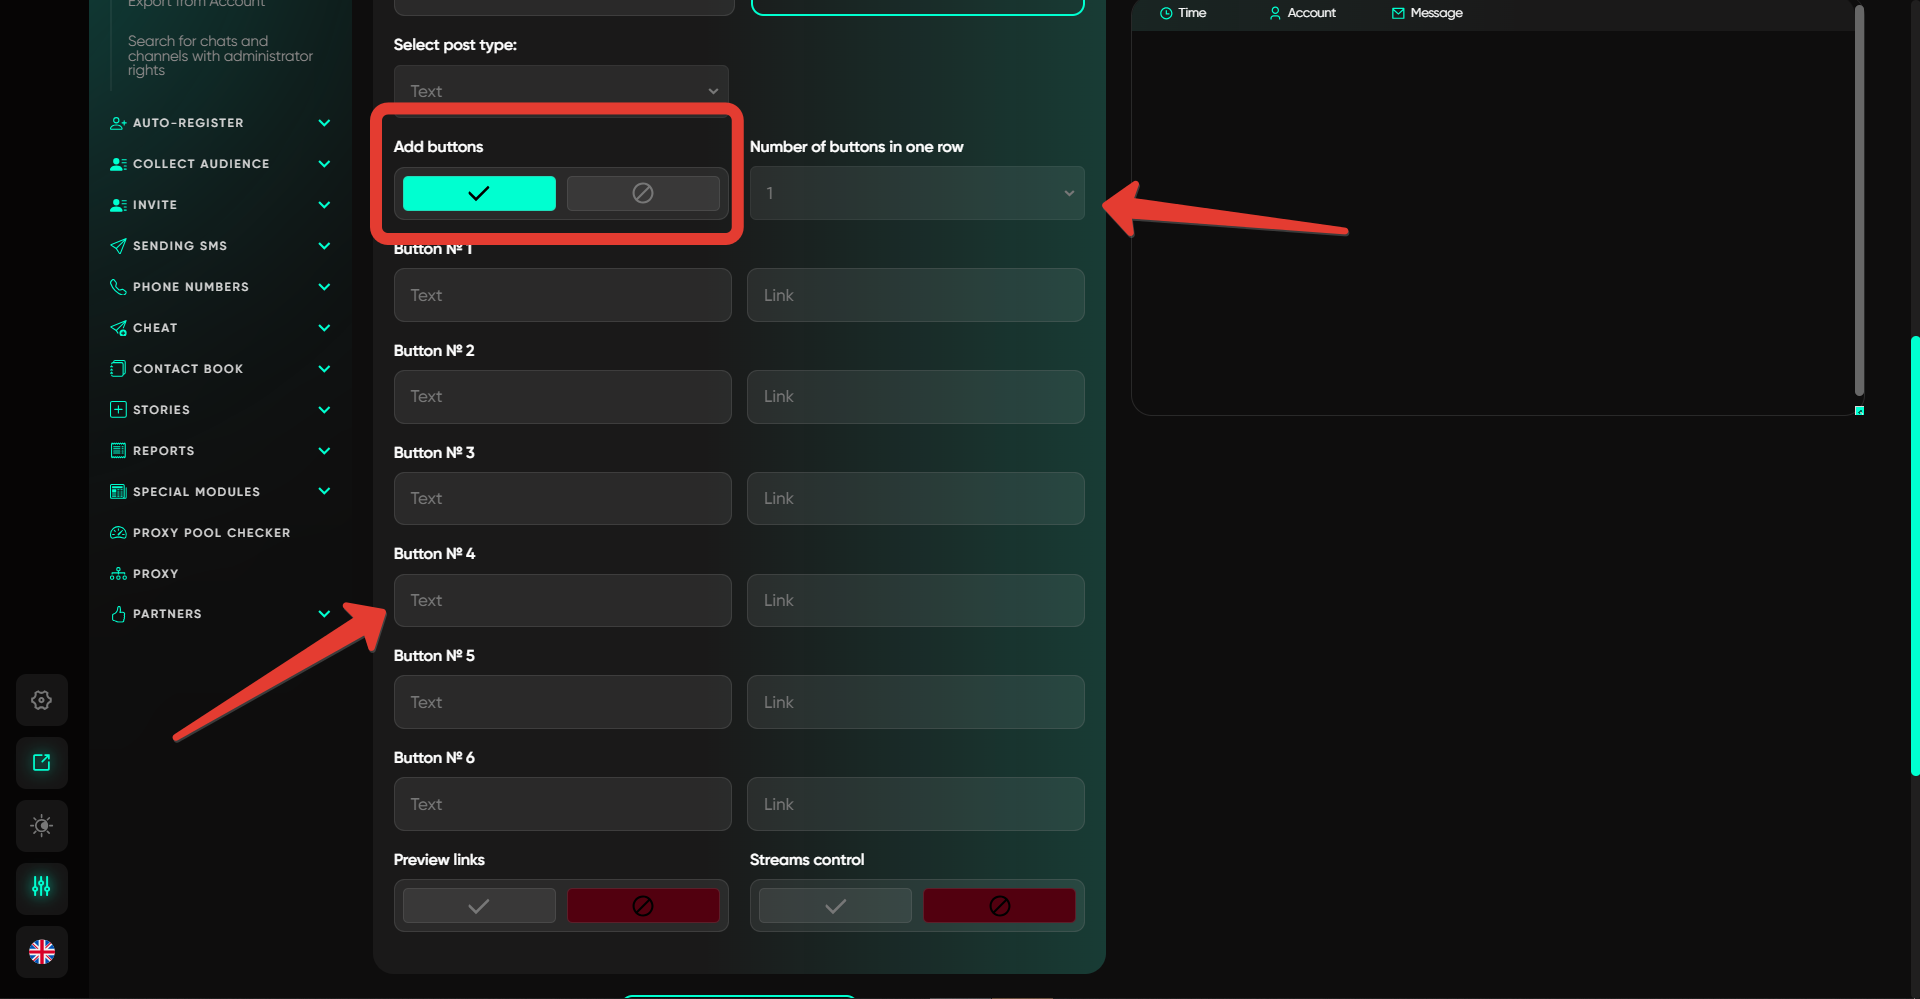
Add Buttons
This option allows you to add buttons to your post. When activated, fields for entering the button name and link will open. Spintax can be used in the process — even if there's only one button, the name will be randomly selected from the provided options each time. For example, {buy|buy all} — the result will be randomly determined between these two options. Additionally, when filling in, there's a field for "Number of buttons in one row" — this allows you to specify how many buttons should appear in a row. For example, if you choose 3, each row will contain three buttons — specify 6 buttons, and you'll have two rows. If you don't use this option, all buttons will default to a column layout. Also, remember that a button is added only when both text and link are filled in; if these details are missing, the button simply won't appear. So, if you only need one button, fill in only one.
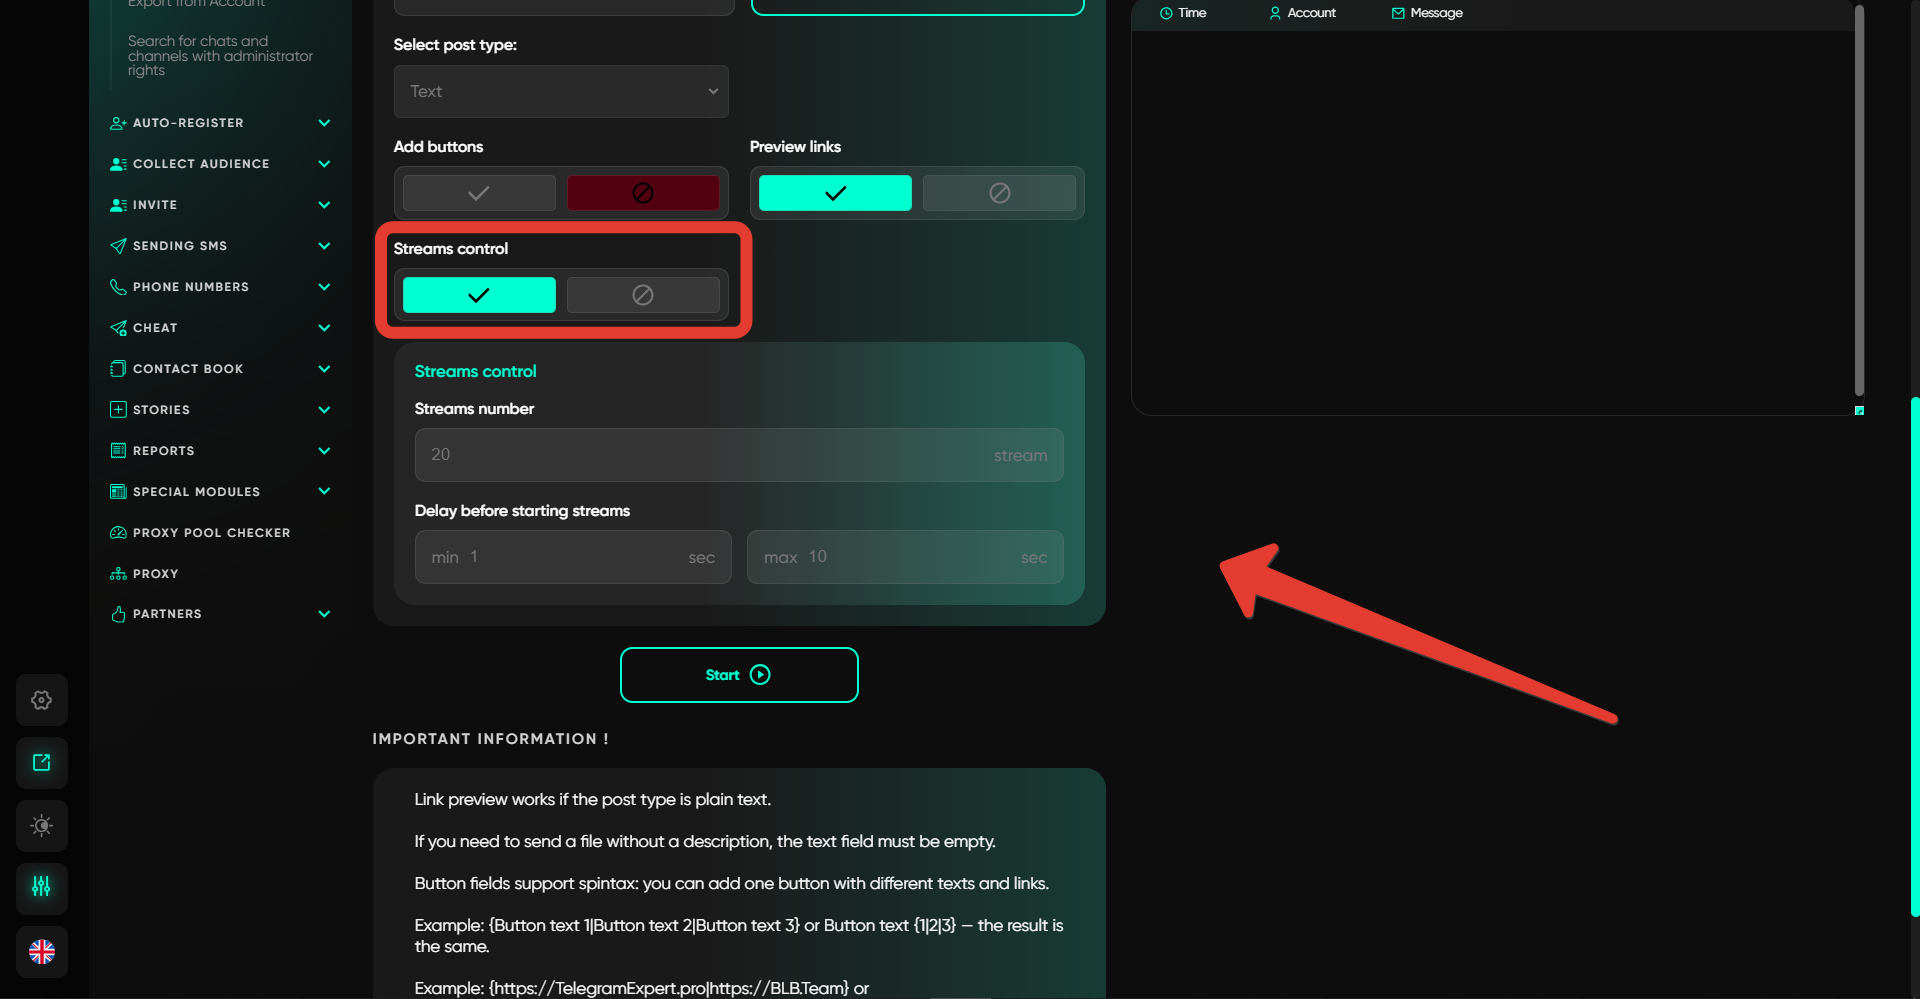
Link Preview
This option works only if you've selected the text post type. In this case, when sending any link and activating this button, the recipient will be able to see a preview of the link you sent. This often increases trust.

Thread Management
Here, you can activate multi-threaded operation. Specify the number of threads and the delay between them. The number of threads equals the number of accounts taken into operation at once. After finishing with one account, the software automatically takes the next one into operation after a random amount of time taken from the specified delay range. After completing the task, you can use the posts without any issues — simply open the final database and locate the "Post ID" column. These IDs can be copied, enter any mailing module, select the "Send via Bot" option when entering text, specify the bot name @postbot, and enter the IDs in the text input field — each on a new line. For each sending, the software will randomly pick a post from the list and send it to the user.
Discover more features of the website
Do not limit yourself to just this page - we have collected the best manuals, useful articles, answers to questions, and real user reviews for you. Go to the section you are interested in to learn more, explore new features, and make your experience on the website as effective as possible.

Download Telegram Expert - software for Telegram promotion
Telegram Expert is professional software for fast channel growth and sales in Telegram. Launch mass mailings and invites, warm up accounts without bans, consolidate dialogs in one place, and scale your team. All in one window - fast, safe, and tailored to your tasks.
What it can do:
- TDATA Converter - массово переводит session+json в TDATA.
- Booster - account warm-up via smart dialogs to increase trust.
- Registrar - account creation via any SMS services with the sms-activate standard.
- Duplicator - a second session for existing accounts for transfer and protection.
- Forwarder - routes incoming replies to a working group and sends replies to clients.
- Interceptor - catches messages by keywords from chats/channels and forwards them to you.
- Invite via admin - invitations even to restricted groups.
- Channel and chat cloner - full copies, including protected content.
- Reporter - mass complaints about messages/users/channels.