Sending to contacts
With the "Contact Sending" module, users can send messages to all their contacts. Functionally, the module doesn’t differ much from other sending modules, but it has its own unique features.
Setup Procedure:
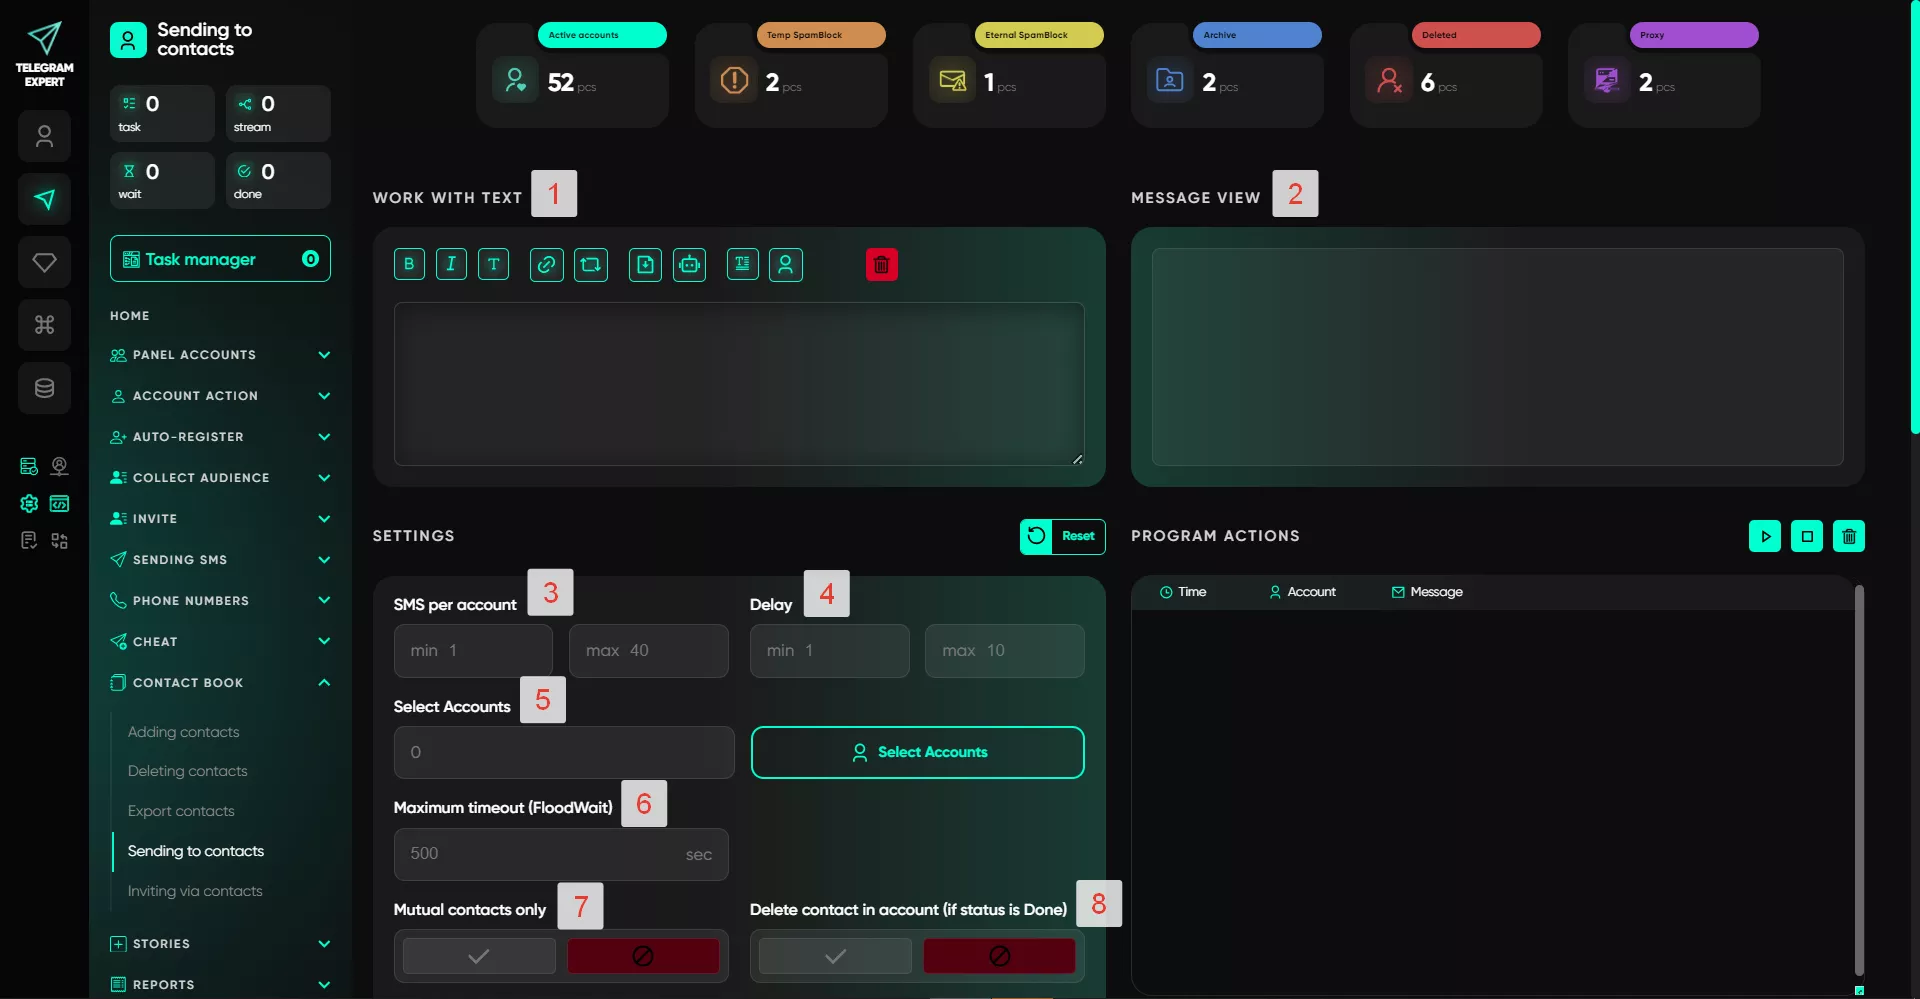
1. Working with Text
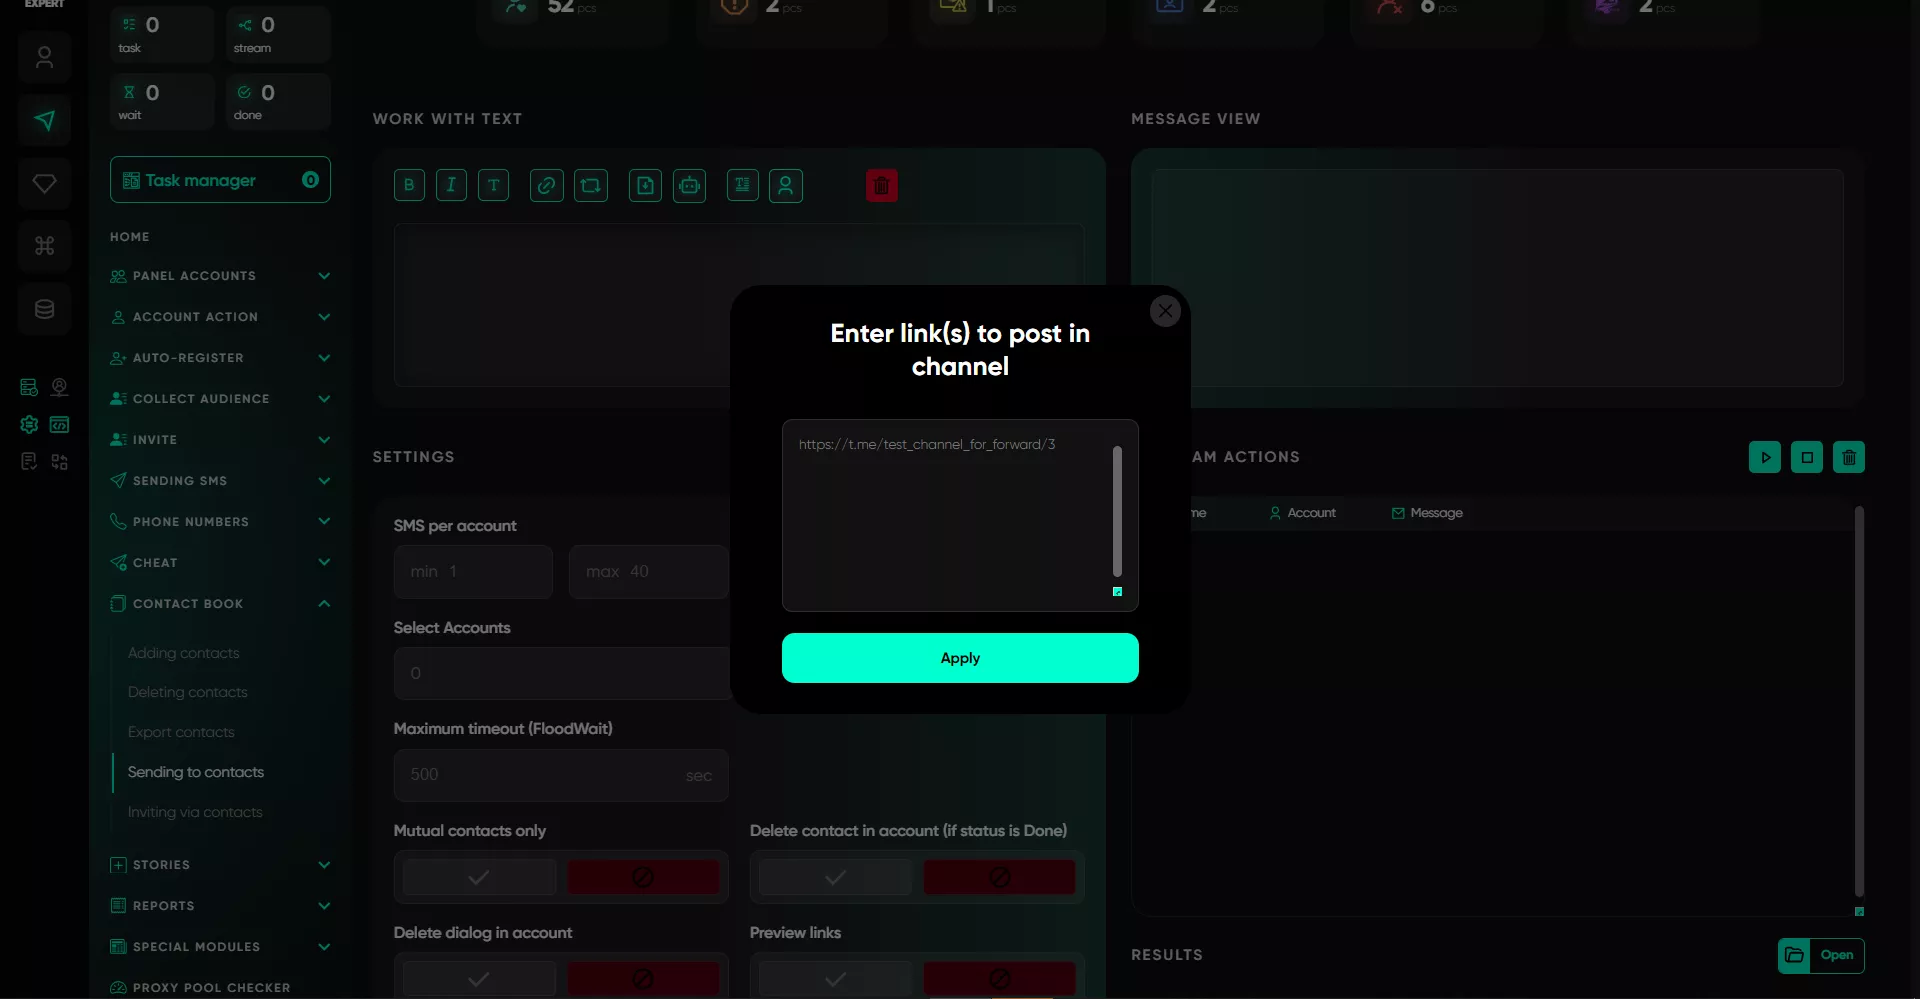
A standard block for working with text that allows you to configure and customize it for sending. It includes regular options such as italics, bold, and creating monospaced fonts, as well as attaching links. However, there are also additional text-related features: 1. Repost from a channel — You can repost a post from a channel in your message. To do this, enter the link to the specific post. The software will then send it as a repost in the message.
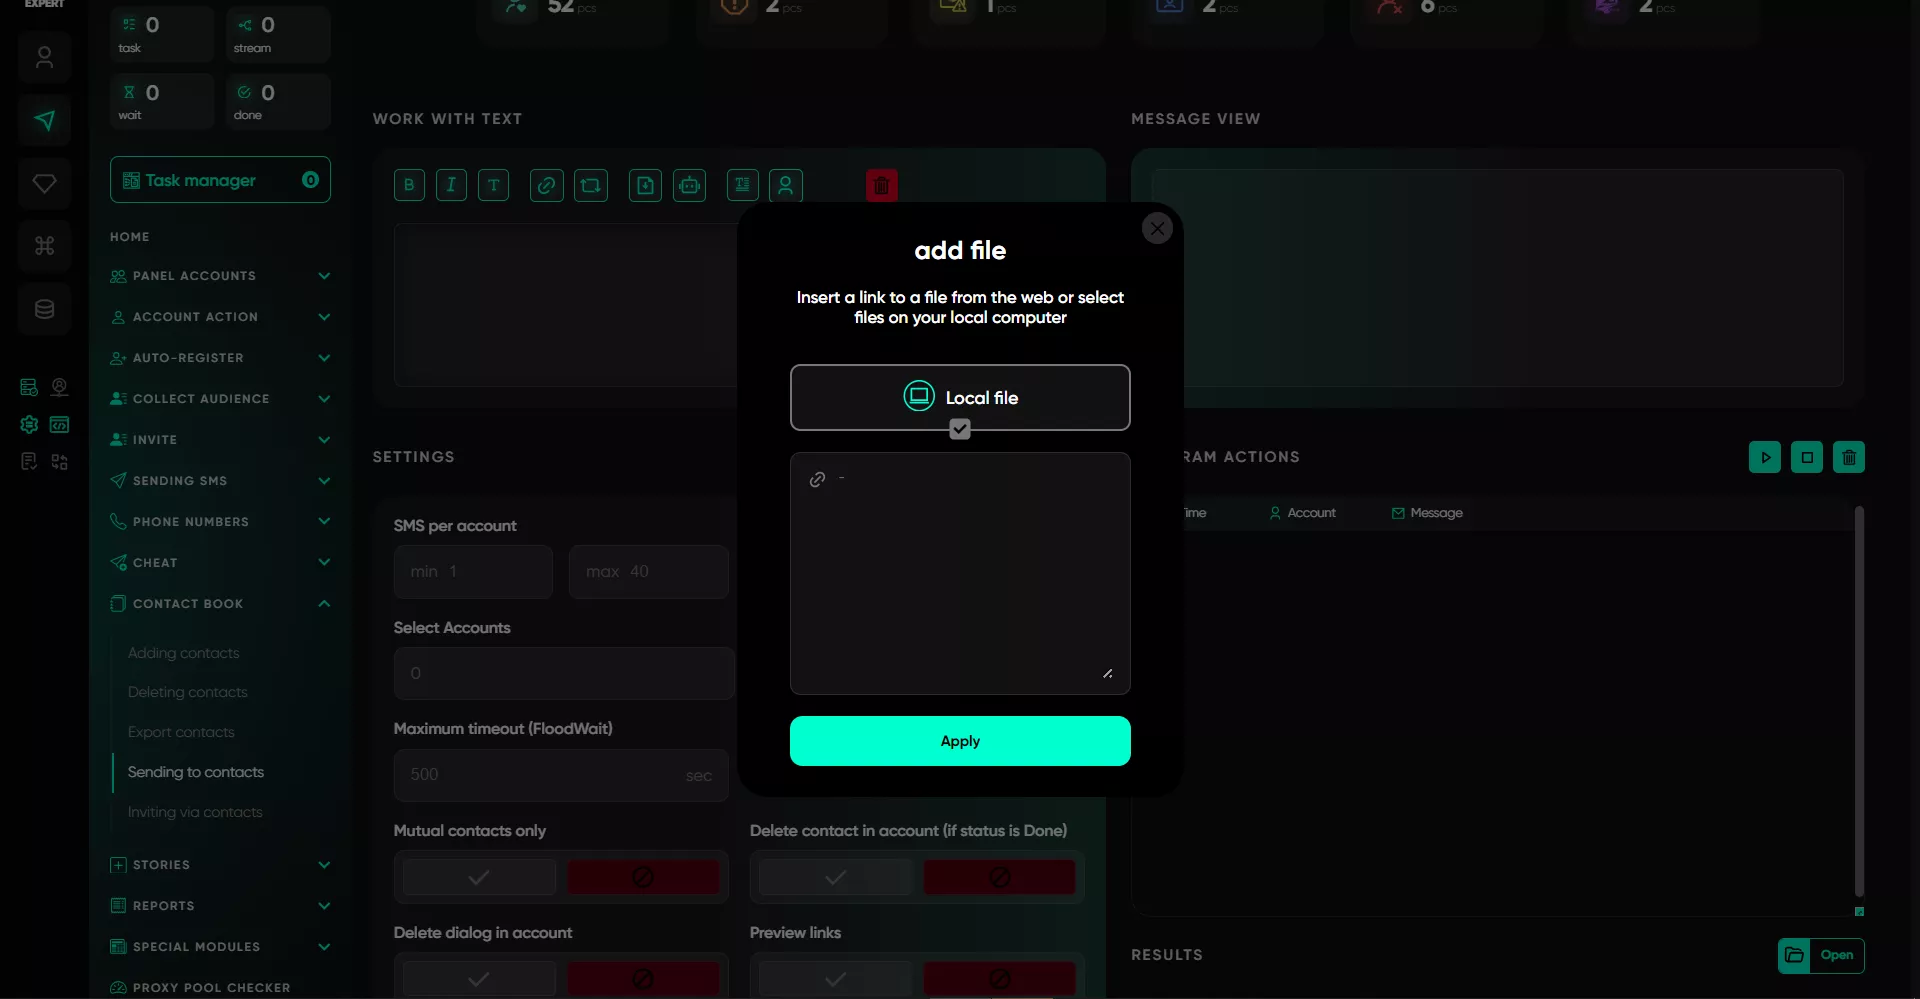
2. Add a file — You can add a file (text, video, image, music) and send it to contacts. If you add an audio file in .OGG format, it will be sent as a voice message, and if you add a pre-downloaded video circle from Telegram, the software will send it in that format. If you select multiple images for sending, Telegram Expert will randomly choose one of them to send.
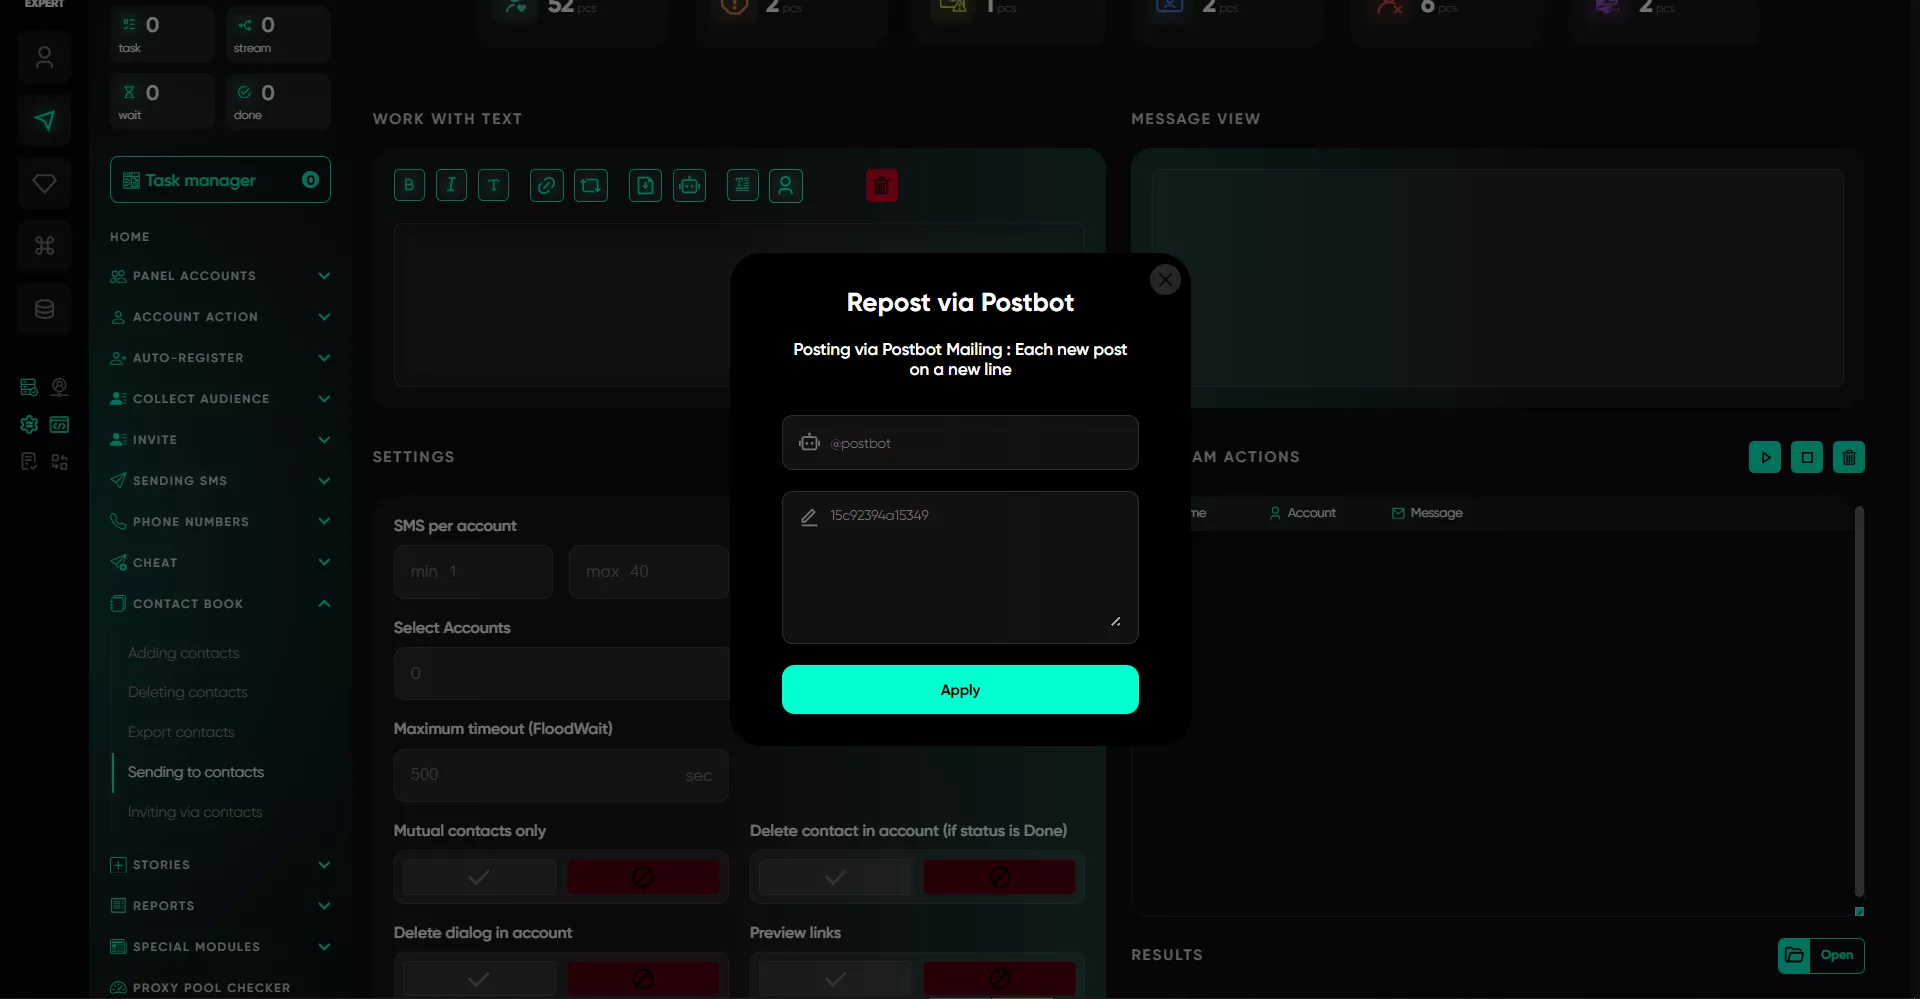
3. Sending via a bot — Through this option, you can send posts created in advance using @postbot. To do this, enter the bot's username, and in the post ID field (or multiple IDs), specify each ID on a new line. The software will randomly select a post for each sending. To avoid creating posts directly through Telegram, you can use the "Post Creation (@postbot)" module and create posts directly in the software.
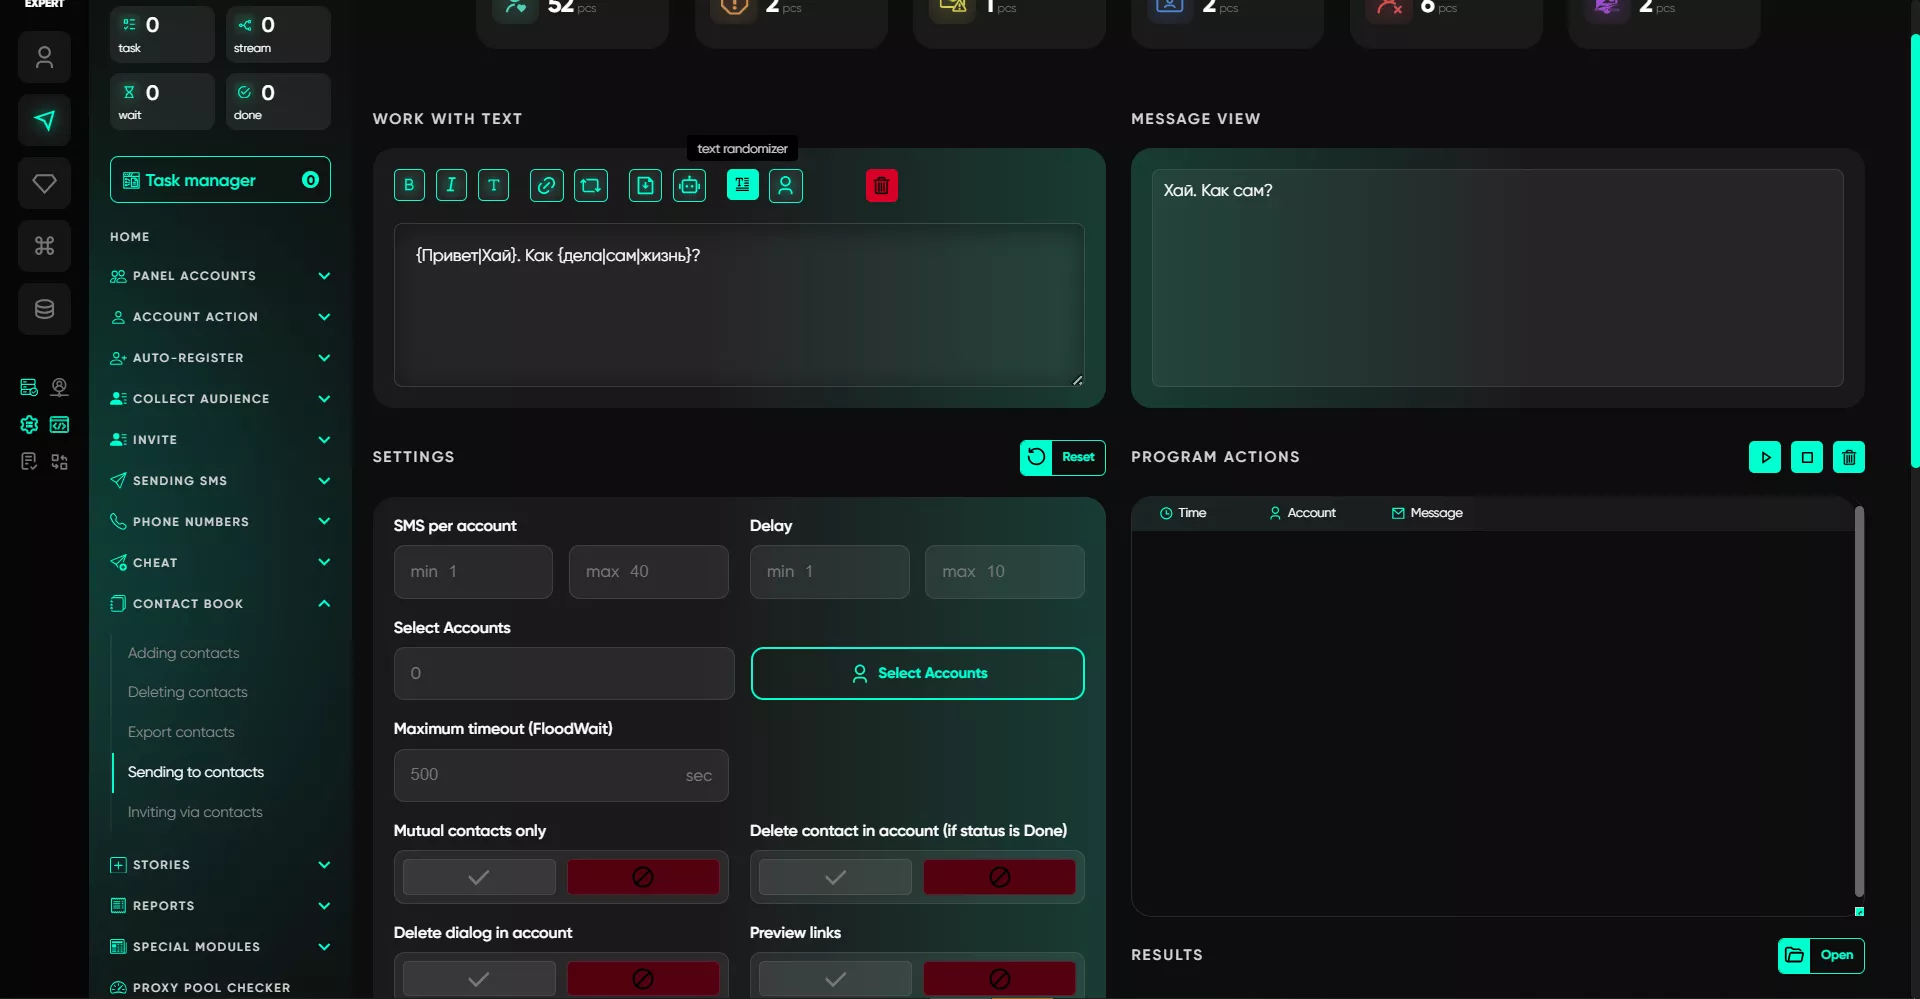
4. Text randomizer — When working with this option, the spintax method is applied, which allows generating different versions of the text. For example: {hello|hi|good day}. The program randomly selects one of the options, creating a unique message with each sending.
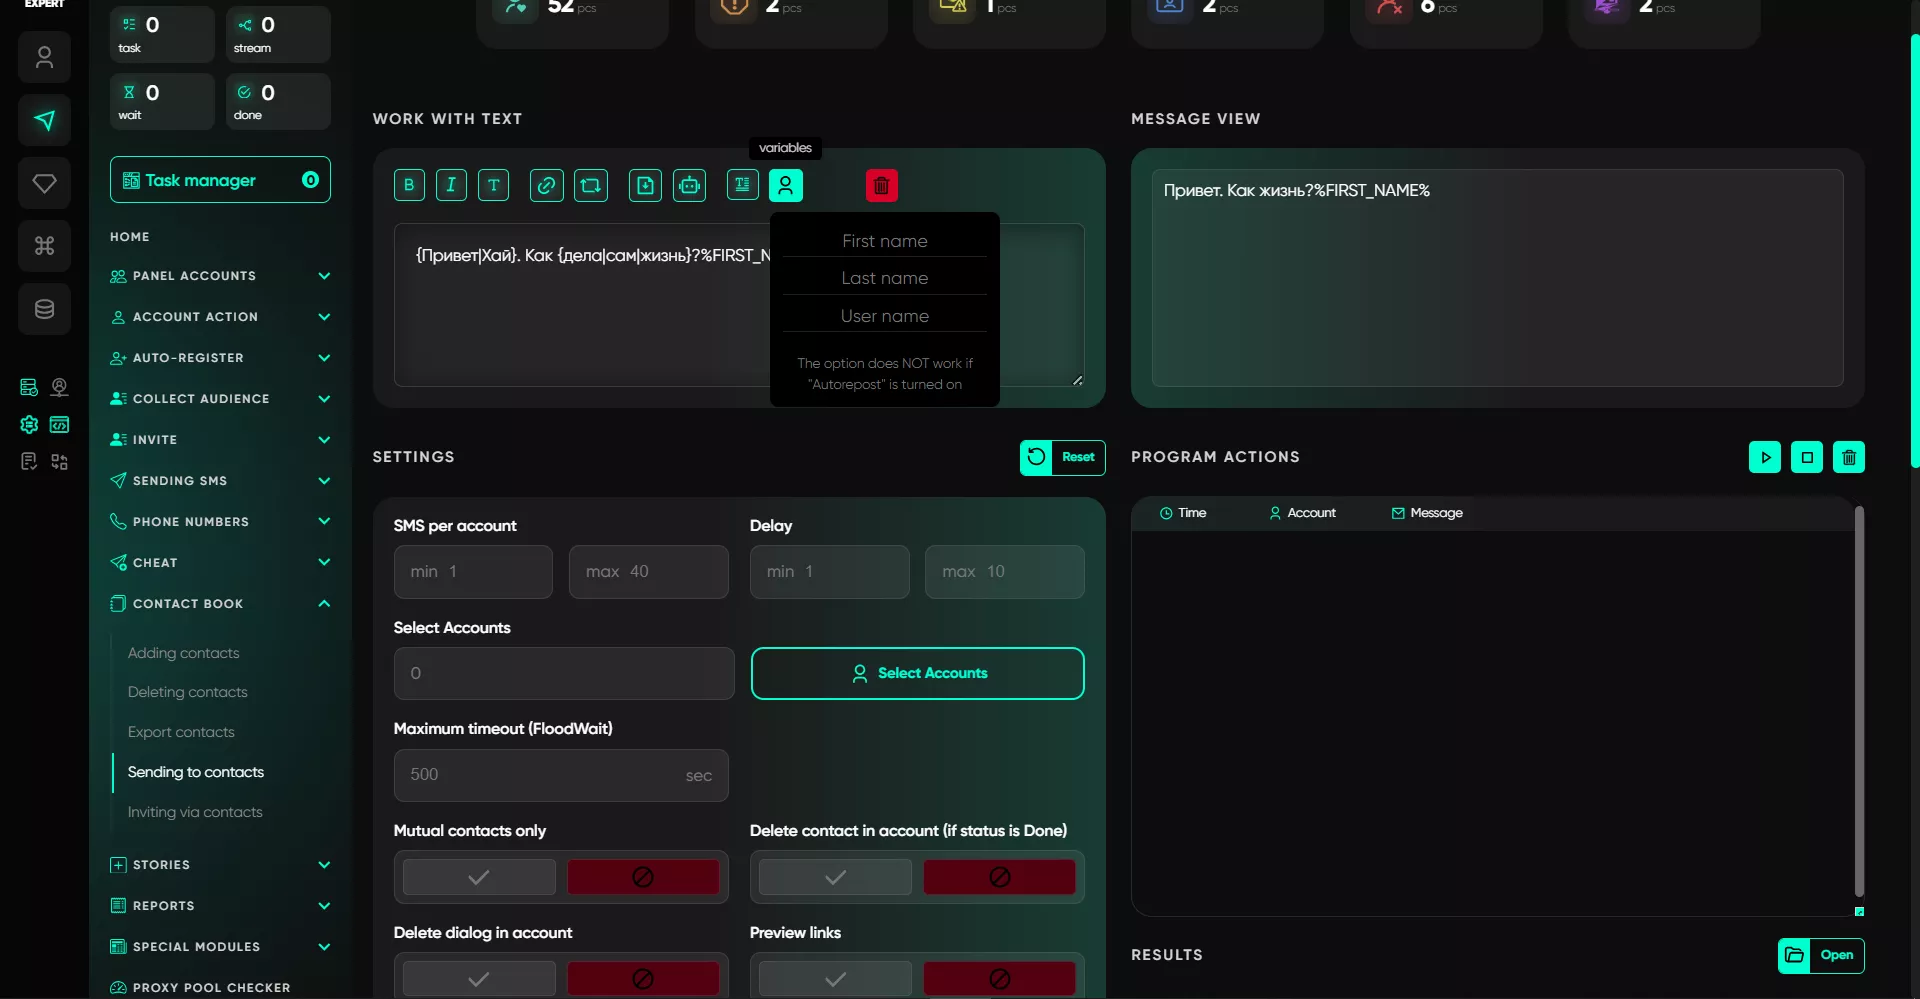
5. Variables — This option automatically inserts the recipient’s name into the text, making it easier to send messages both by phone numbers and usernames.
2. Message Preview
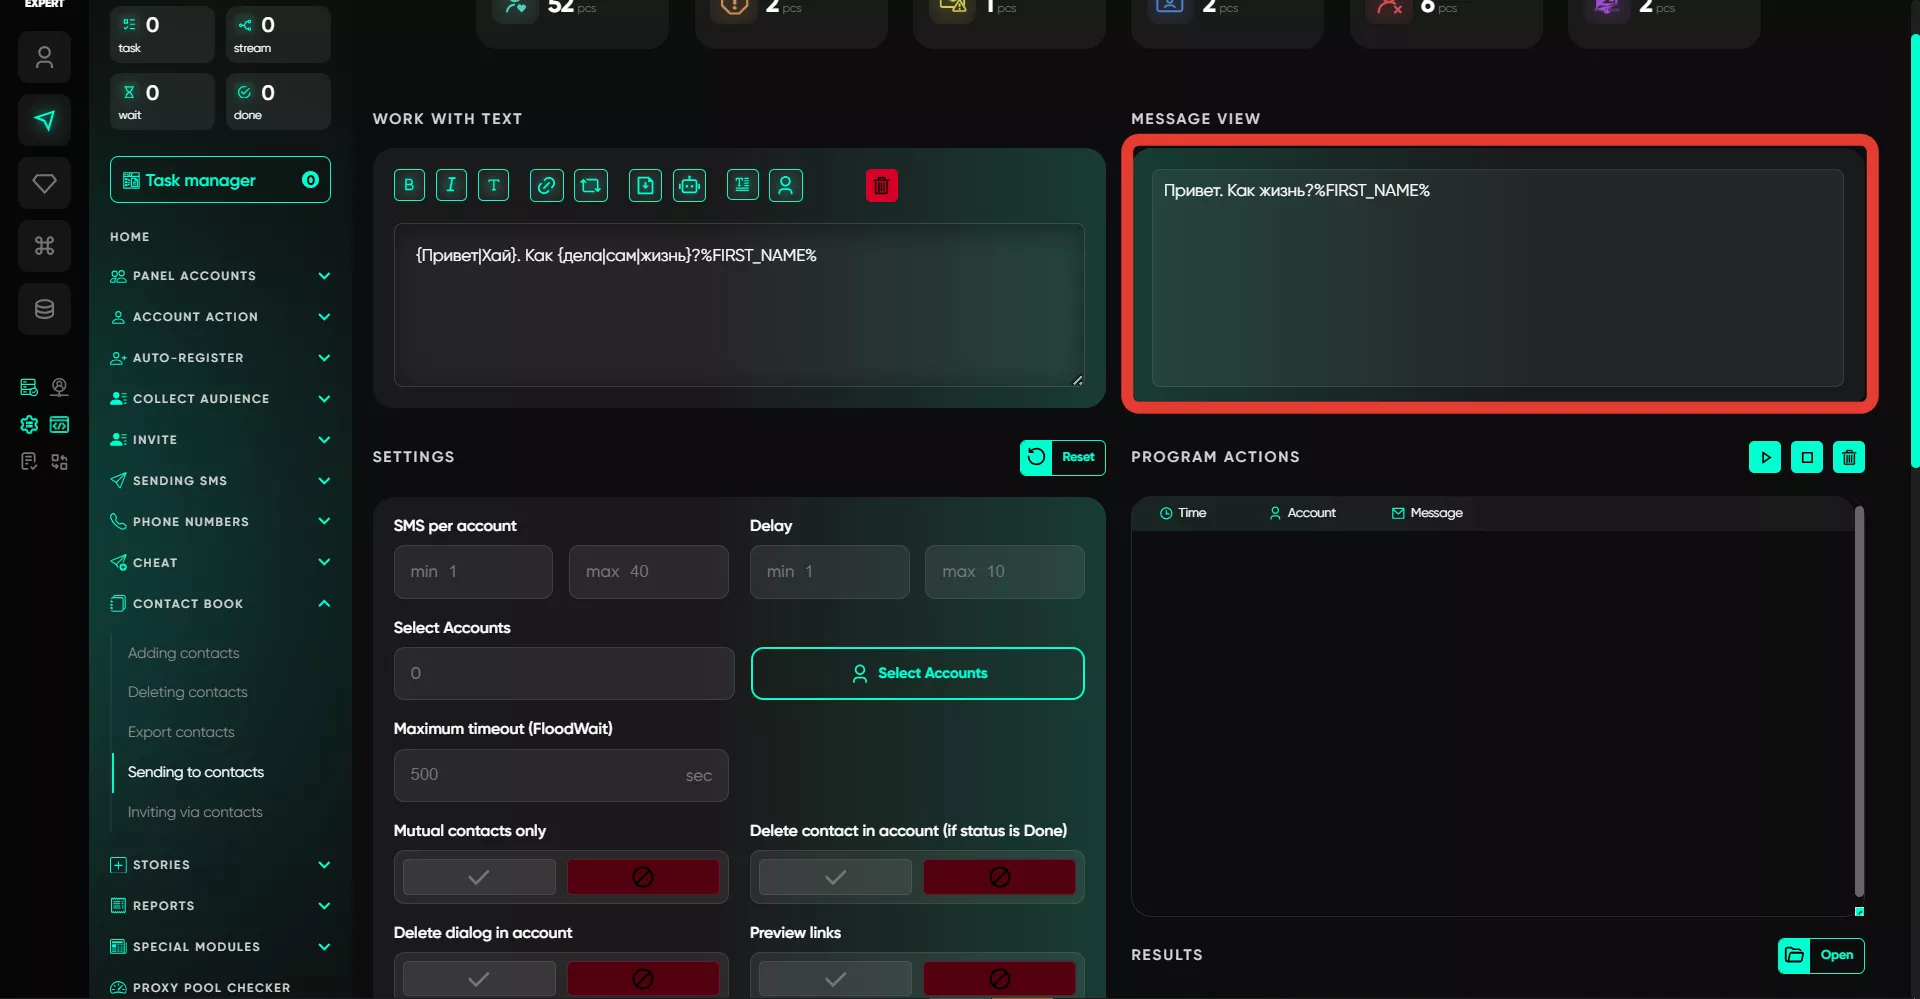
This field displays the text that you will ultimately send to users in the message. Attached files will not be displayed here because they are sent separately.
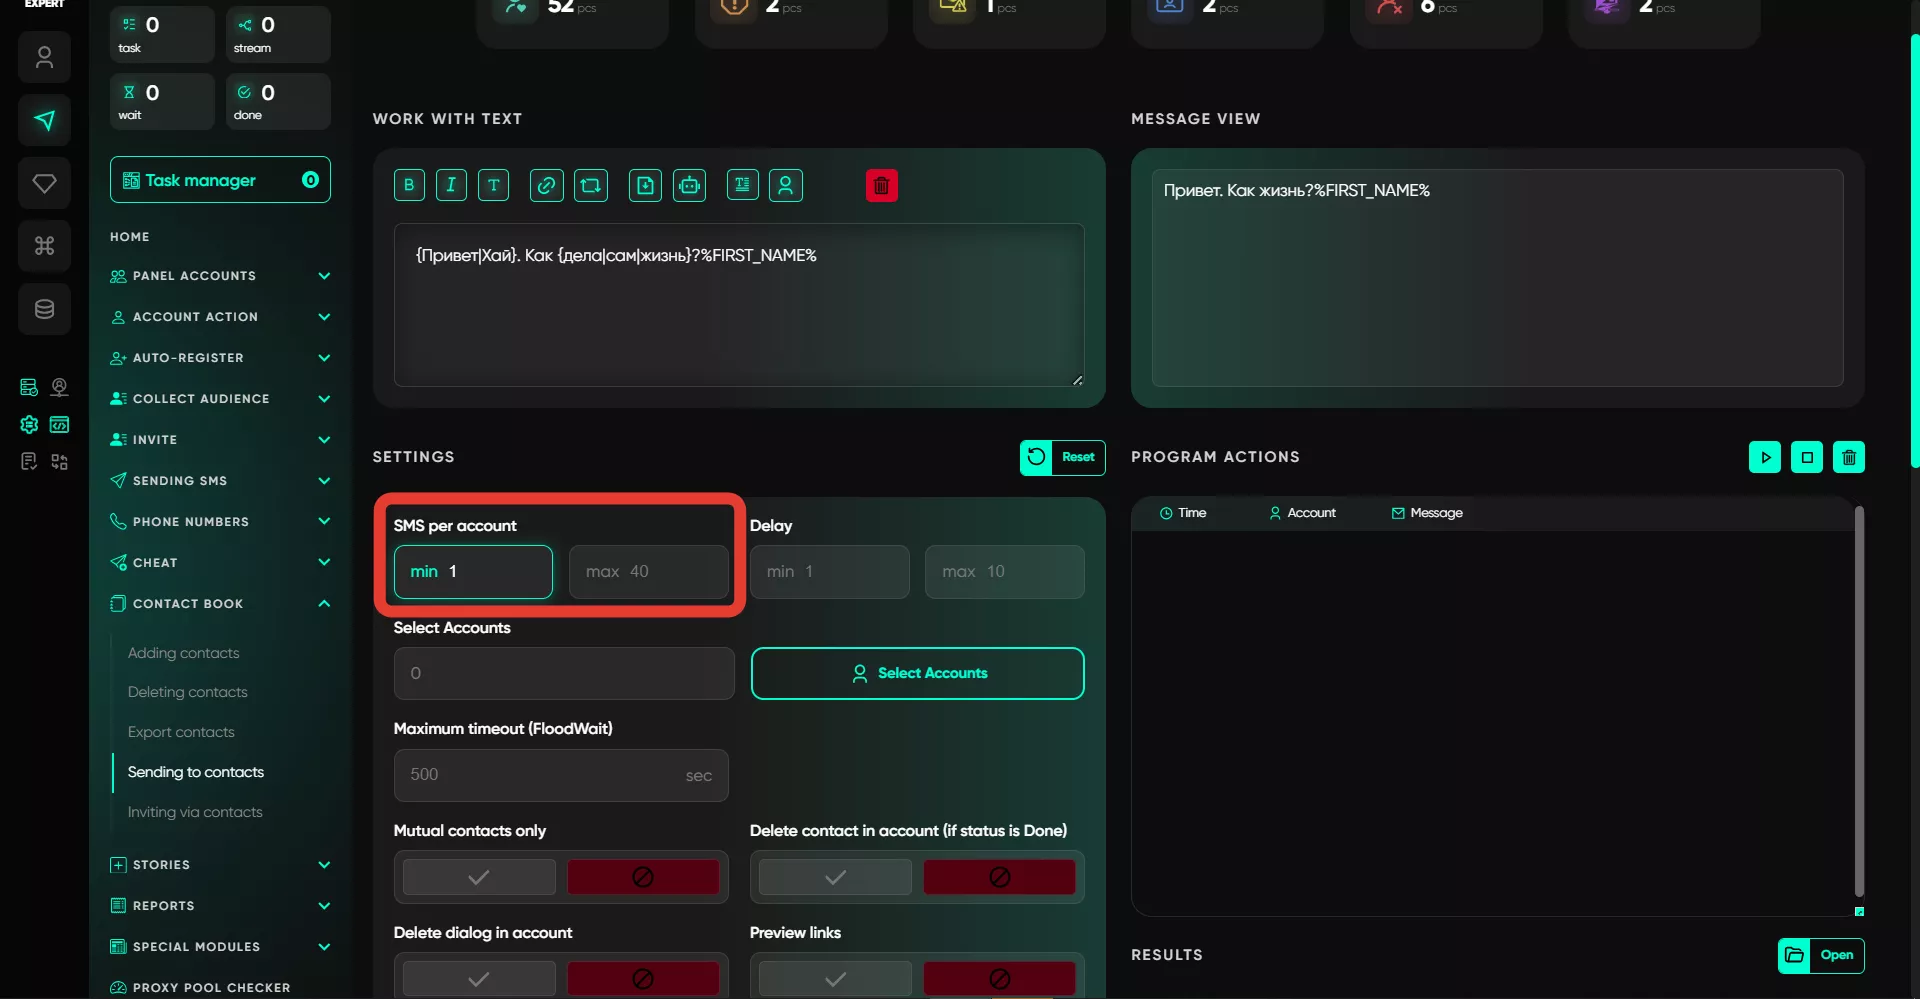
3. Number of messages per account
In this section, you need to specify the minimum and maximum number of messages that will be sent from an account. Values are entered as a range, and the software selects a random value for each sending. For example, from 5 to 10 — it may send 5, 6, 7, and so on messages from one account. However, if sending fails due to certain restrictions, the software will continue sending from one account until it sends the specified minimum.
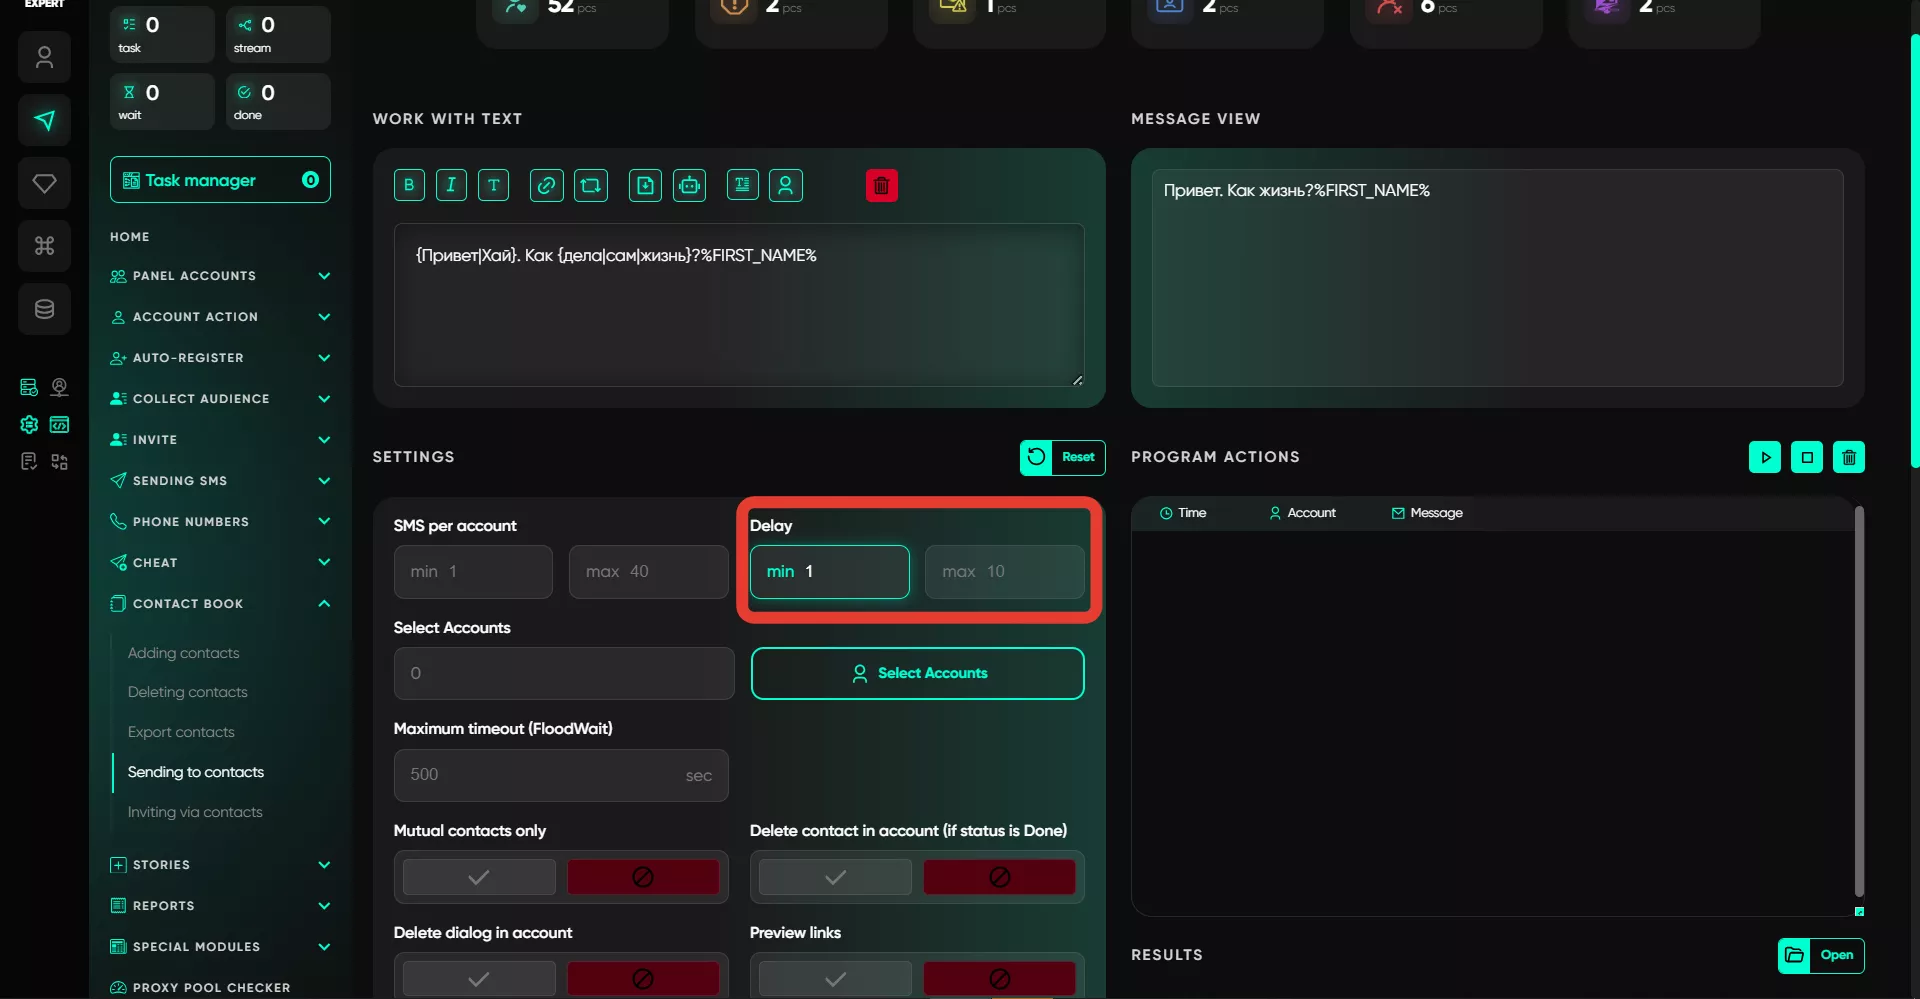
4. Delay
In this section, time delays between message sendings are configured. Values are also entered as a range, and the software selects a random amount of time from it for each subsequent sending.
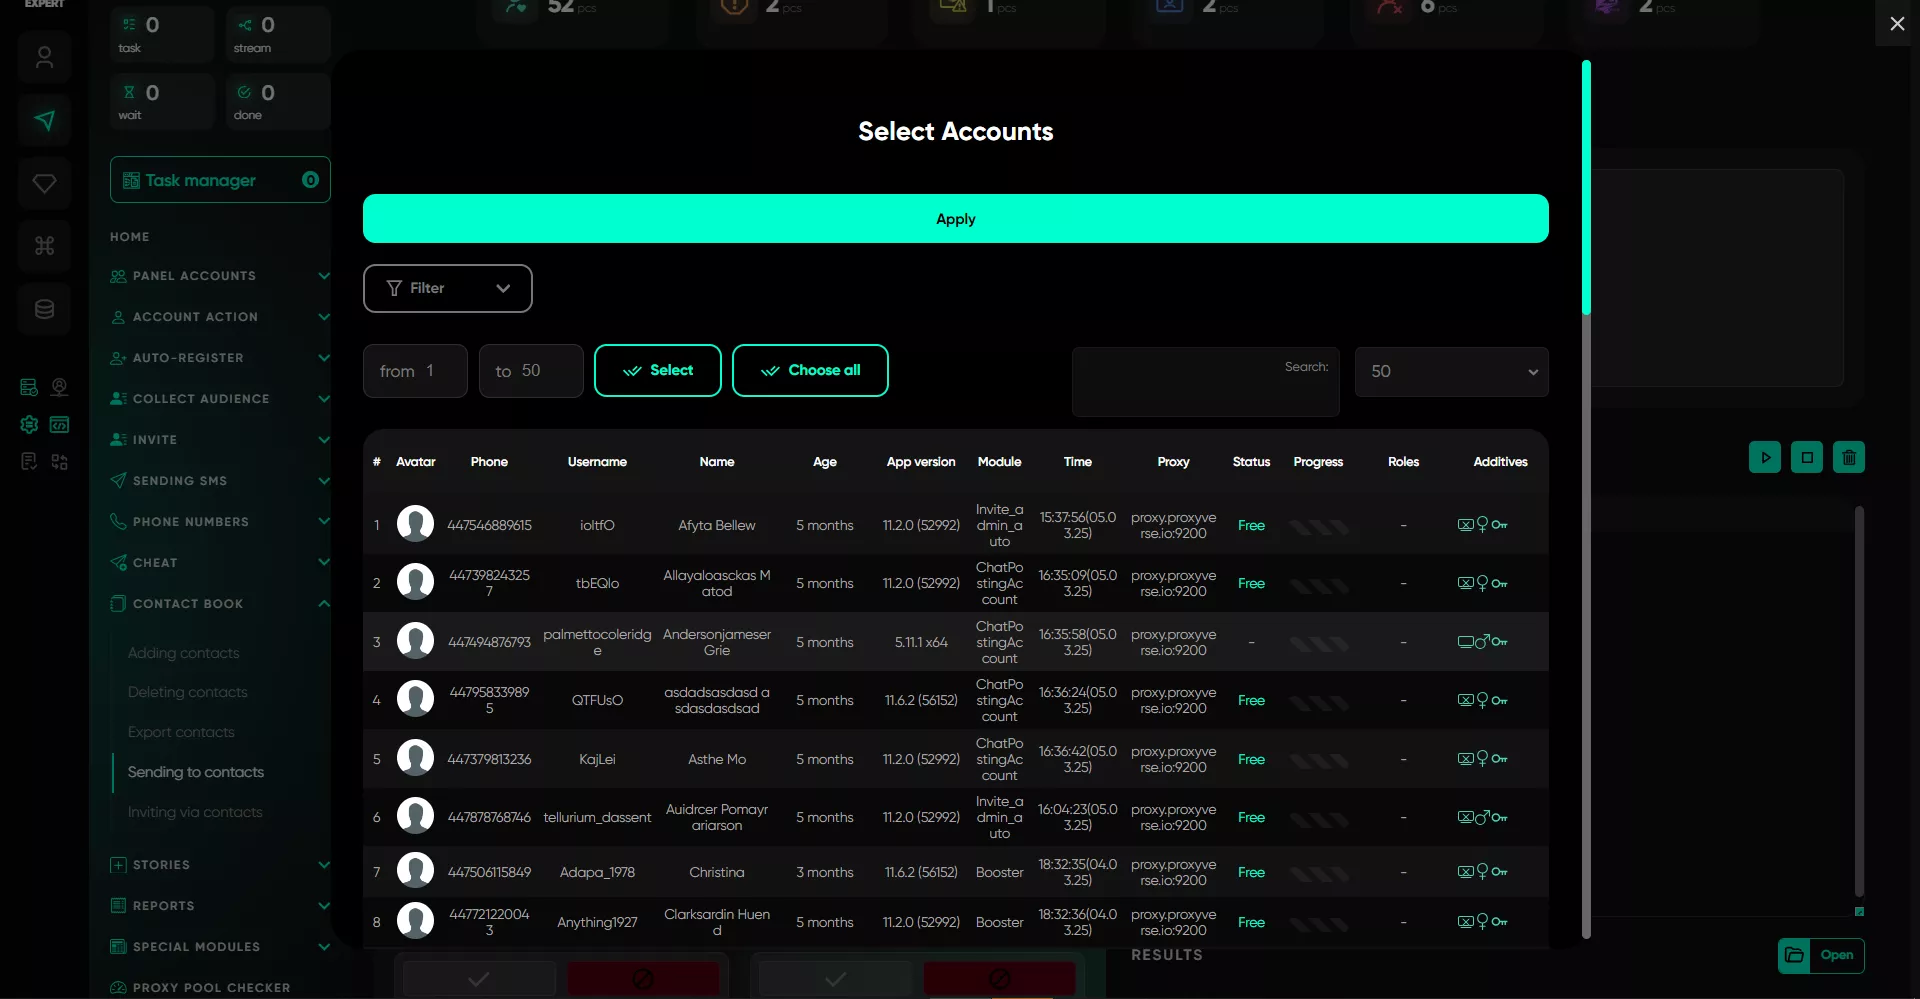
5. Select Accounts
Here, you need to select the accounts from which the sending to their contacts will be performed. The selection is made from accounts in the "Active" folder.
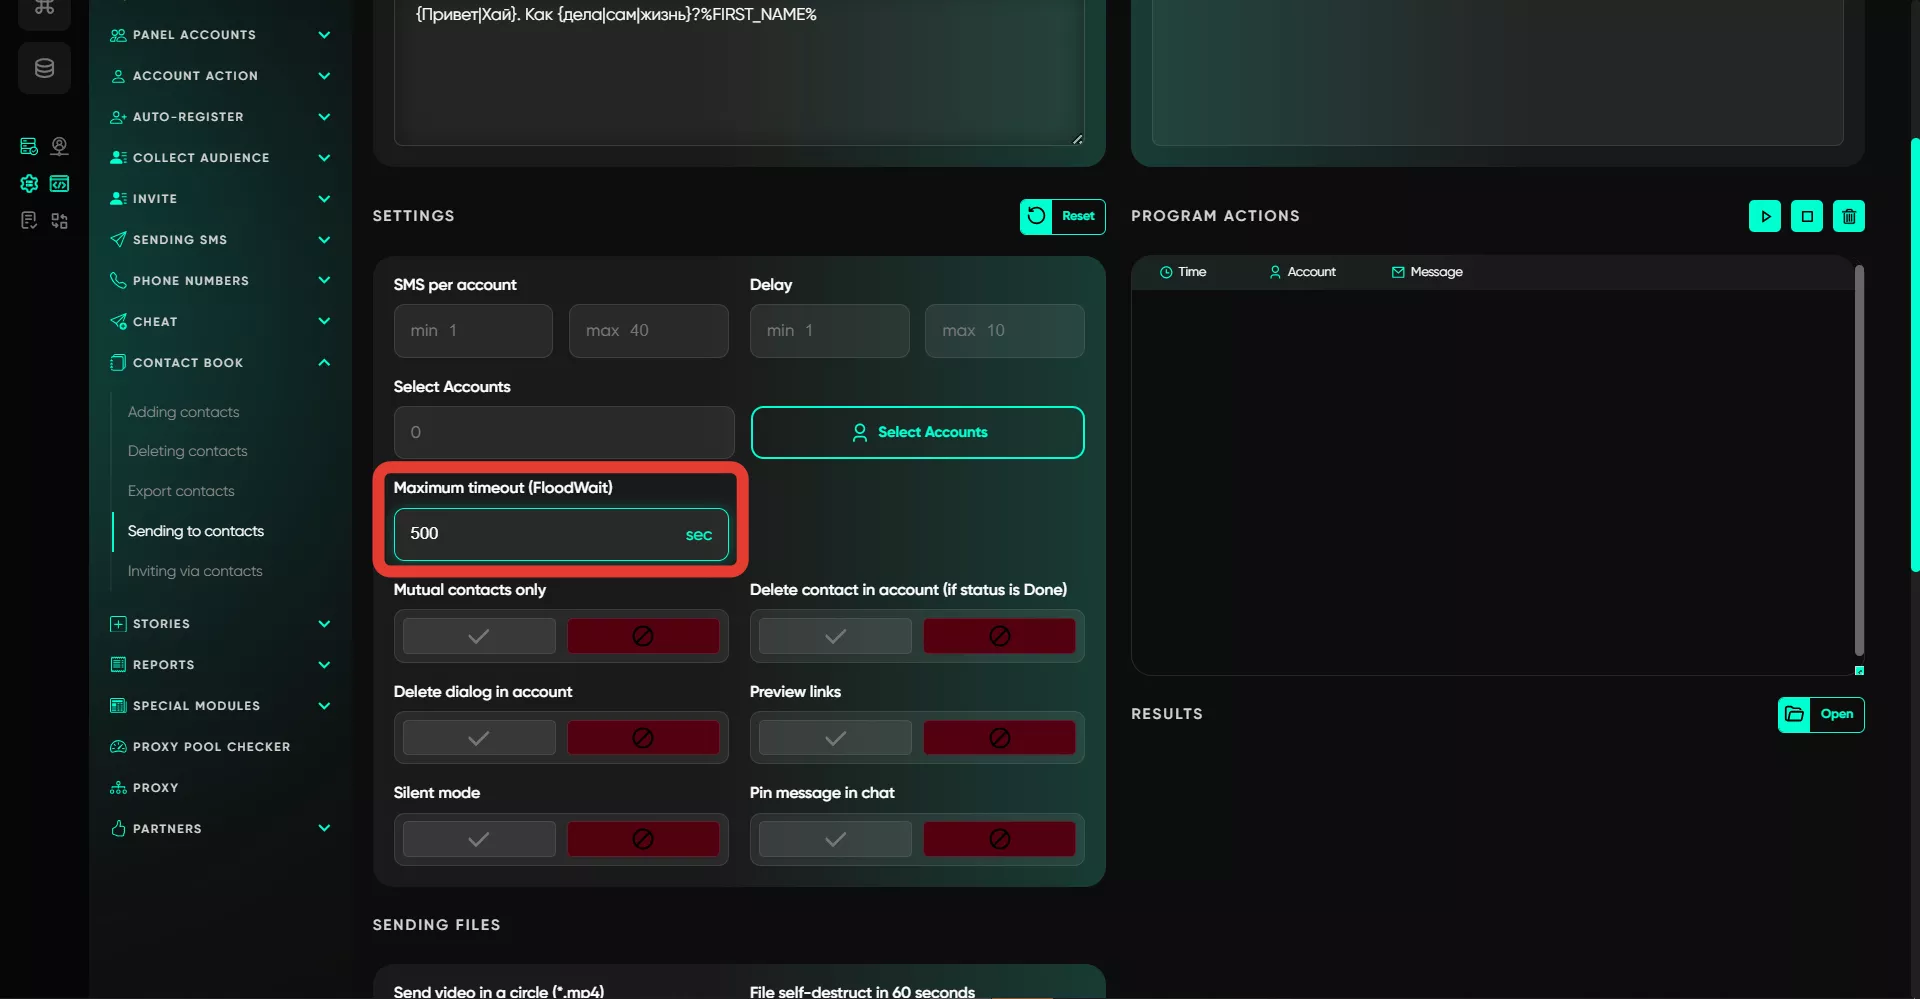
6. Maximum Wait Time (FloodWait)
In this field, you need to specify the time in seconds that the software will wait in case of a flood restriction on the account. If the account receives a flood restriction longer than the specified time, the account will be removed from the task. If shorter, the account will wait for the time you entered and then continue working.
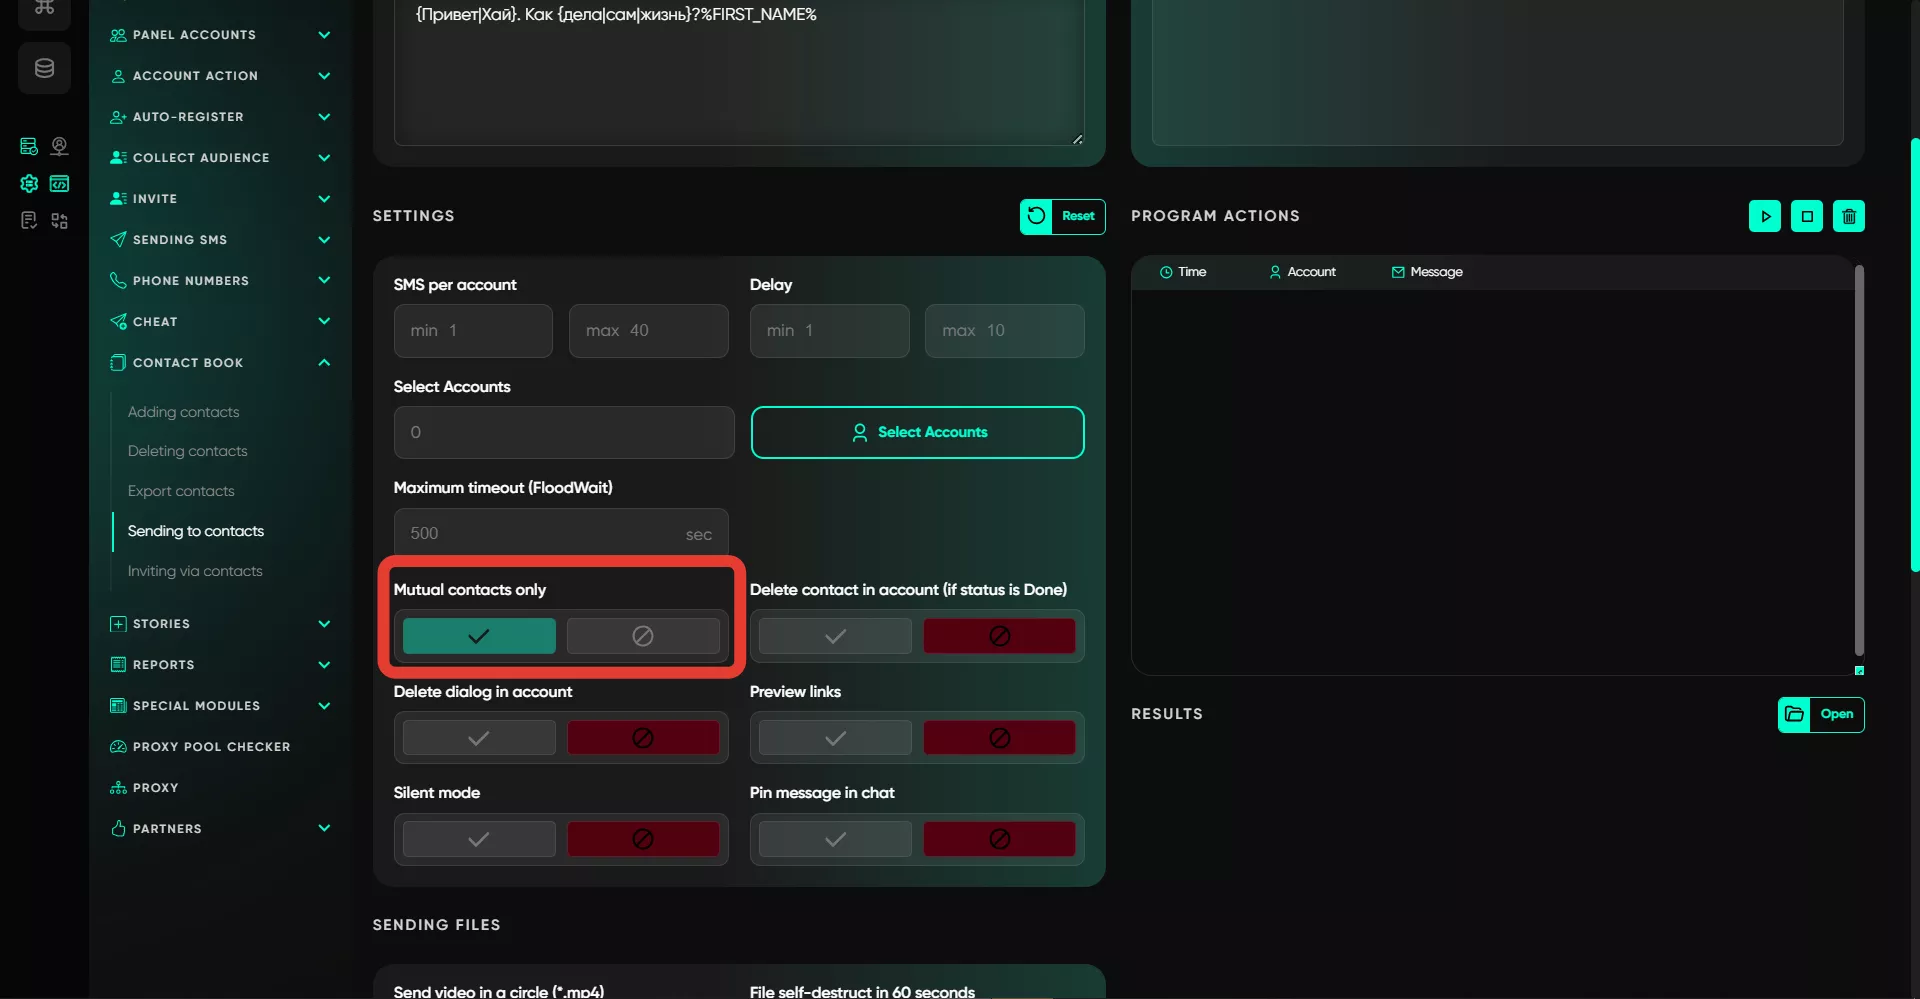
7. Only Mutual Contacts
This option allows you to send messages only to mutual contacts — those who have added you back to their contact list.
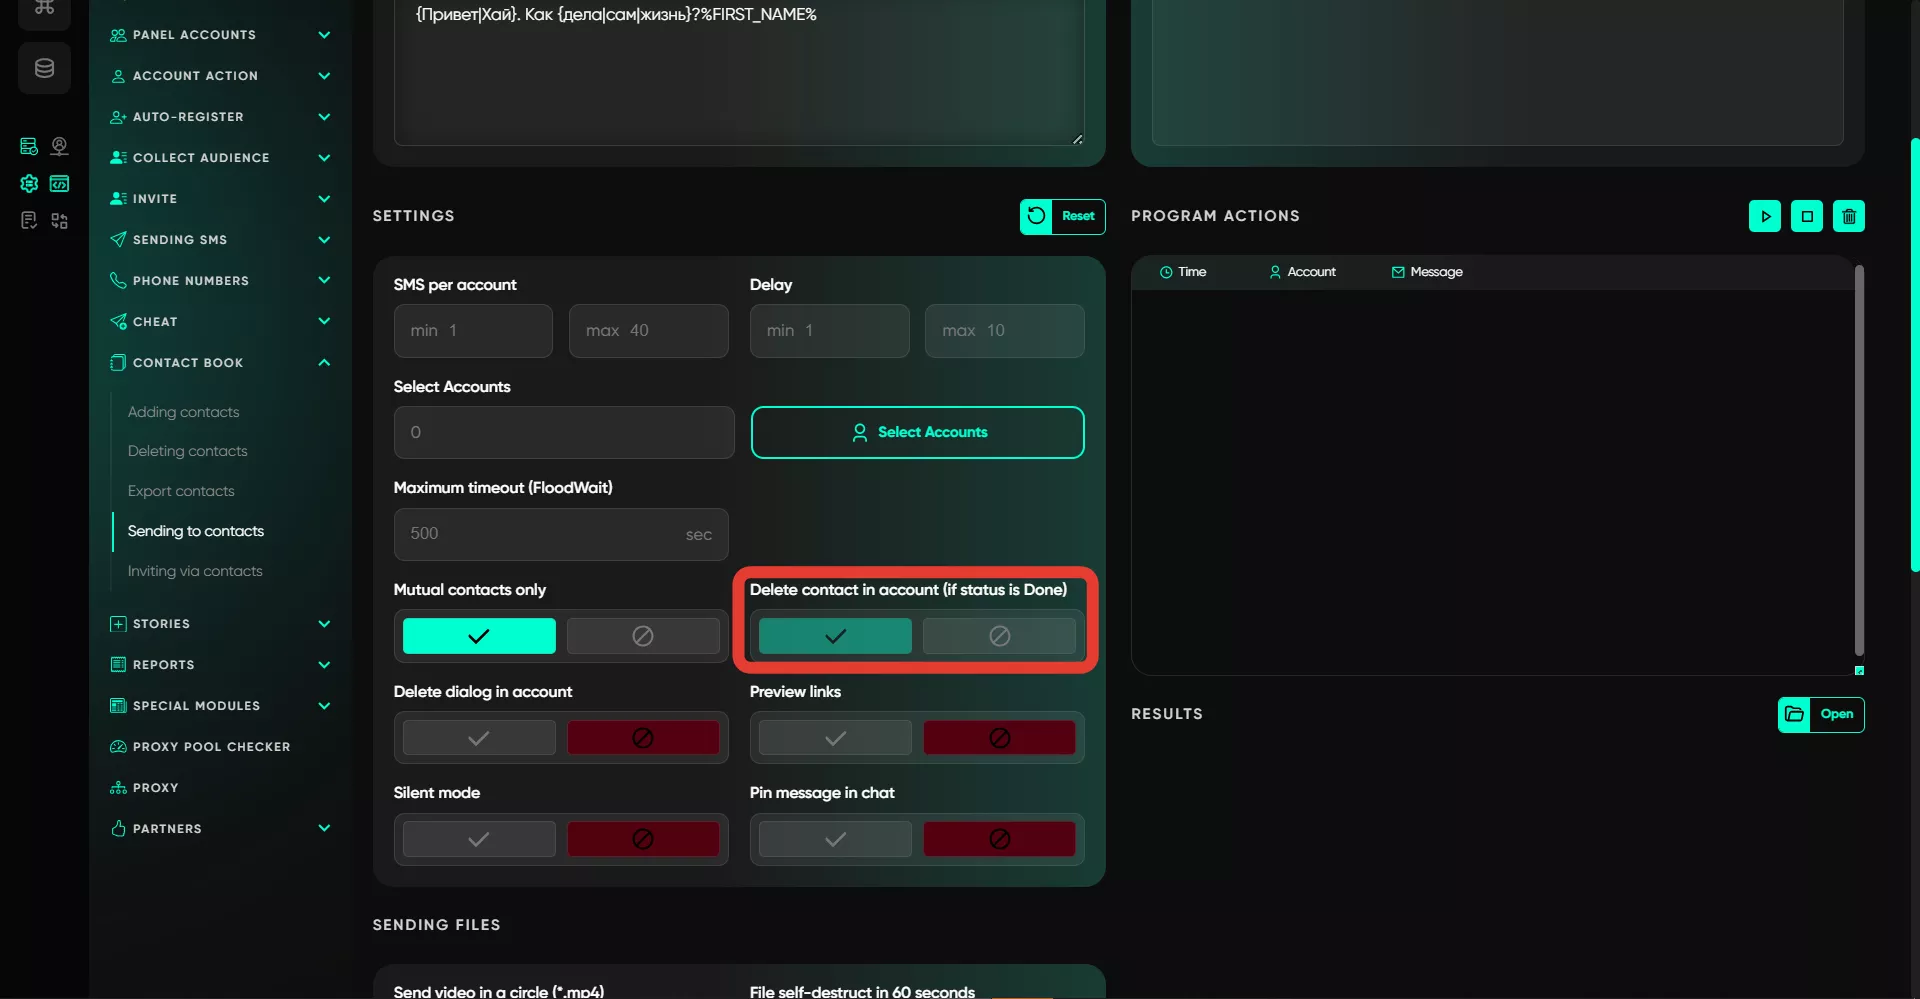
8. Delete Contact in Account (if status Done)
When this function is activated, the software will delete all accounts to which messages were successfully sent. This is convenient for quickly identifying users with whom you haven’t interacted.
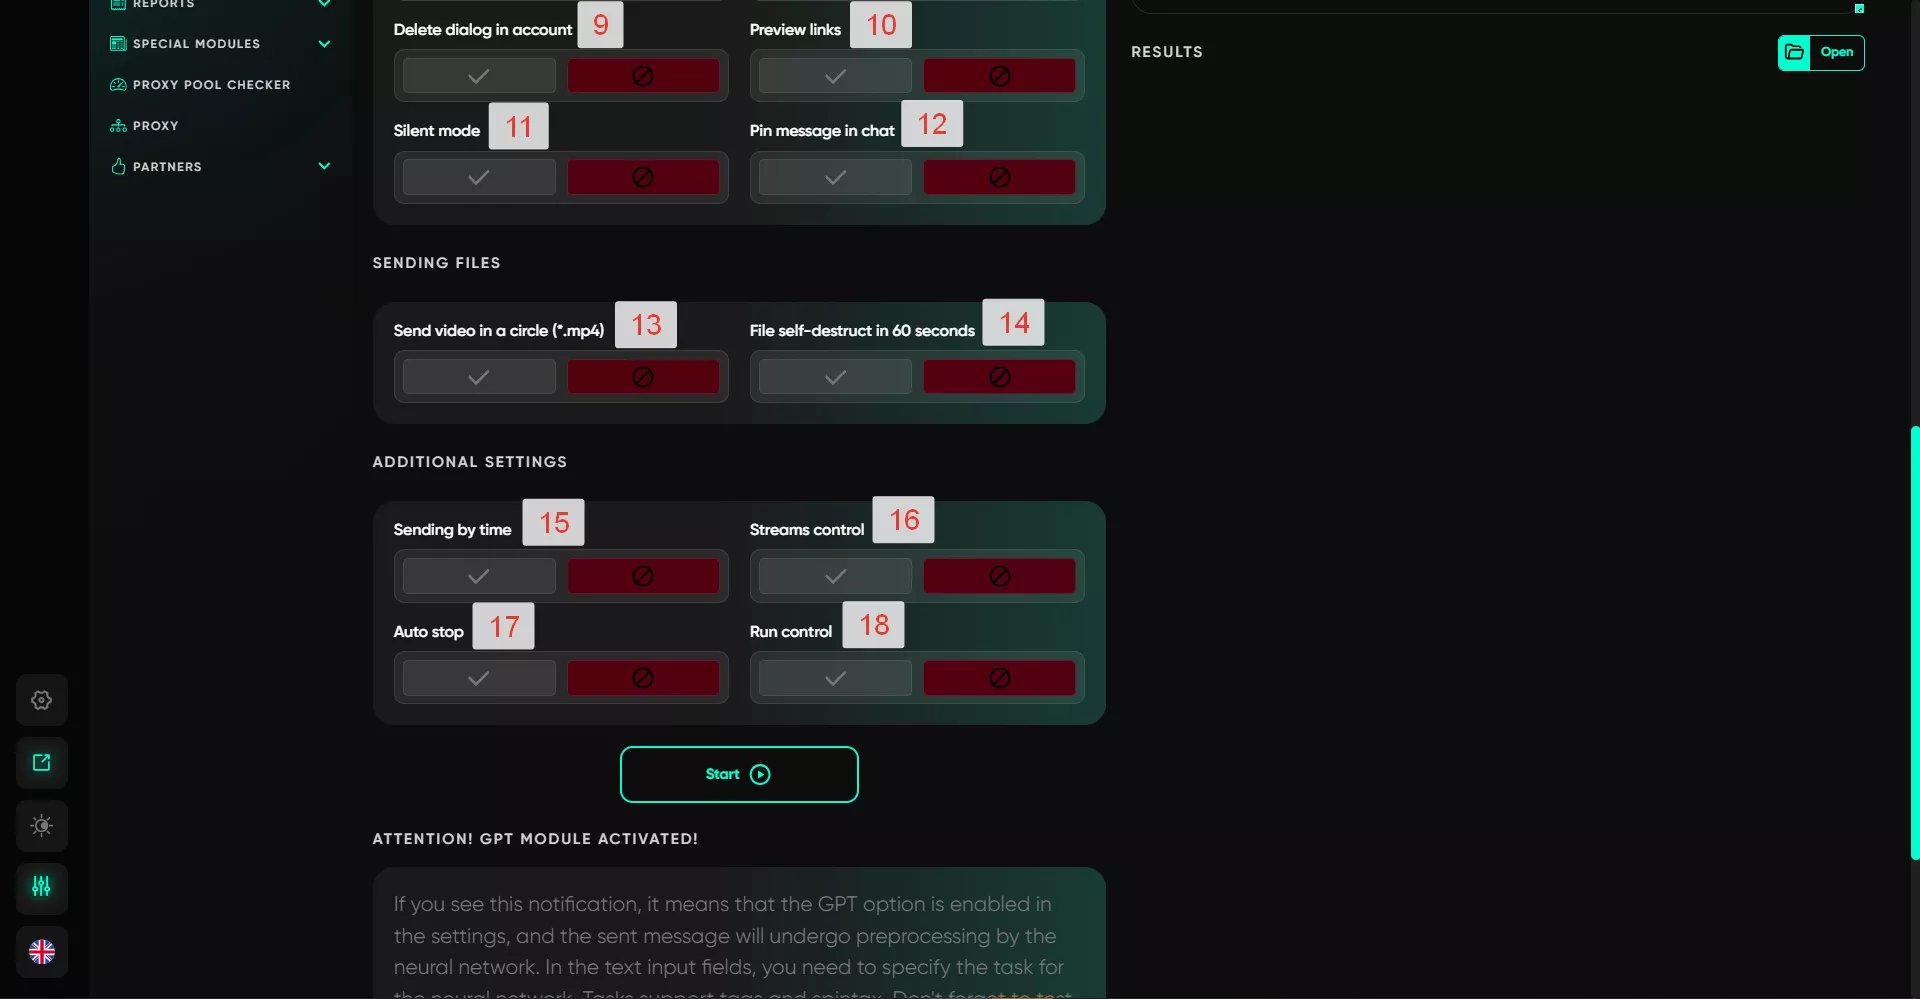
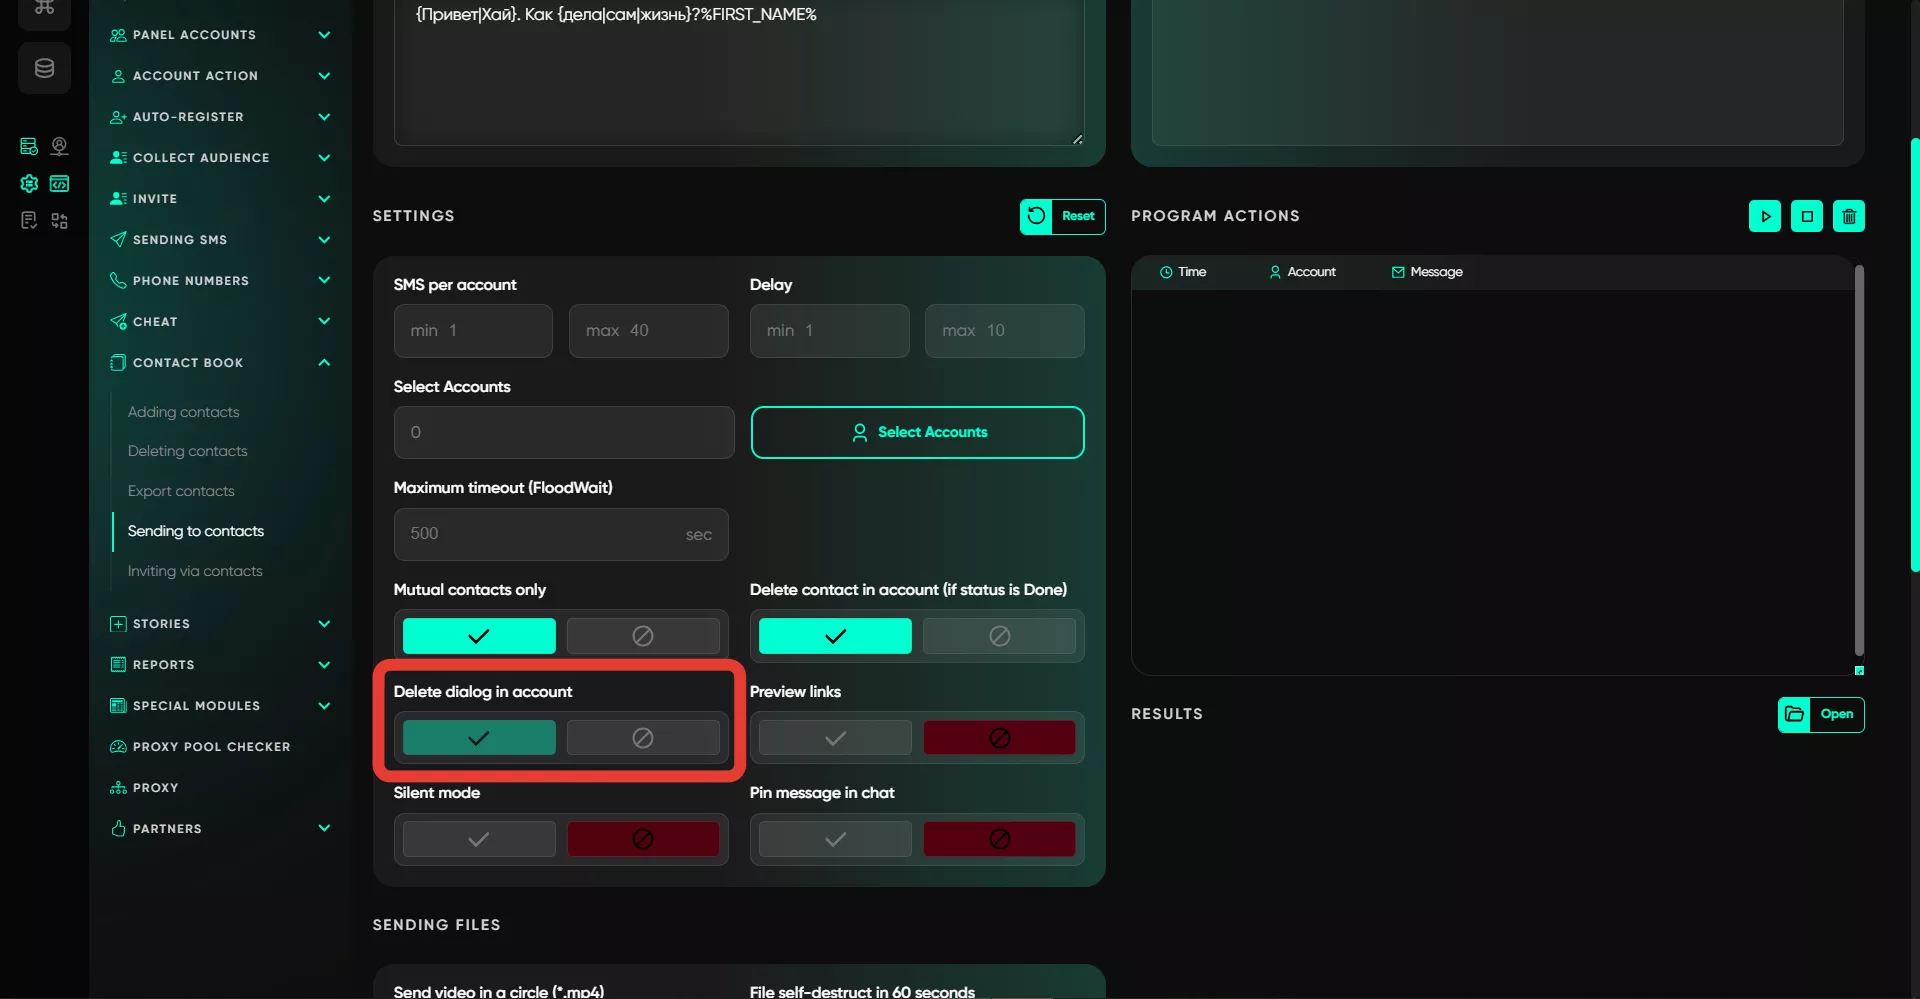
9. Delete Dialog in Account
After sending, the dialog will be deleted in the account, but it will remain for the recipient. This helps to avoid cluttering the account.
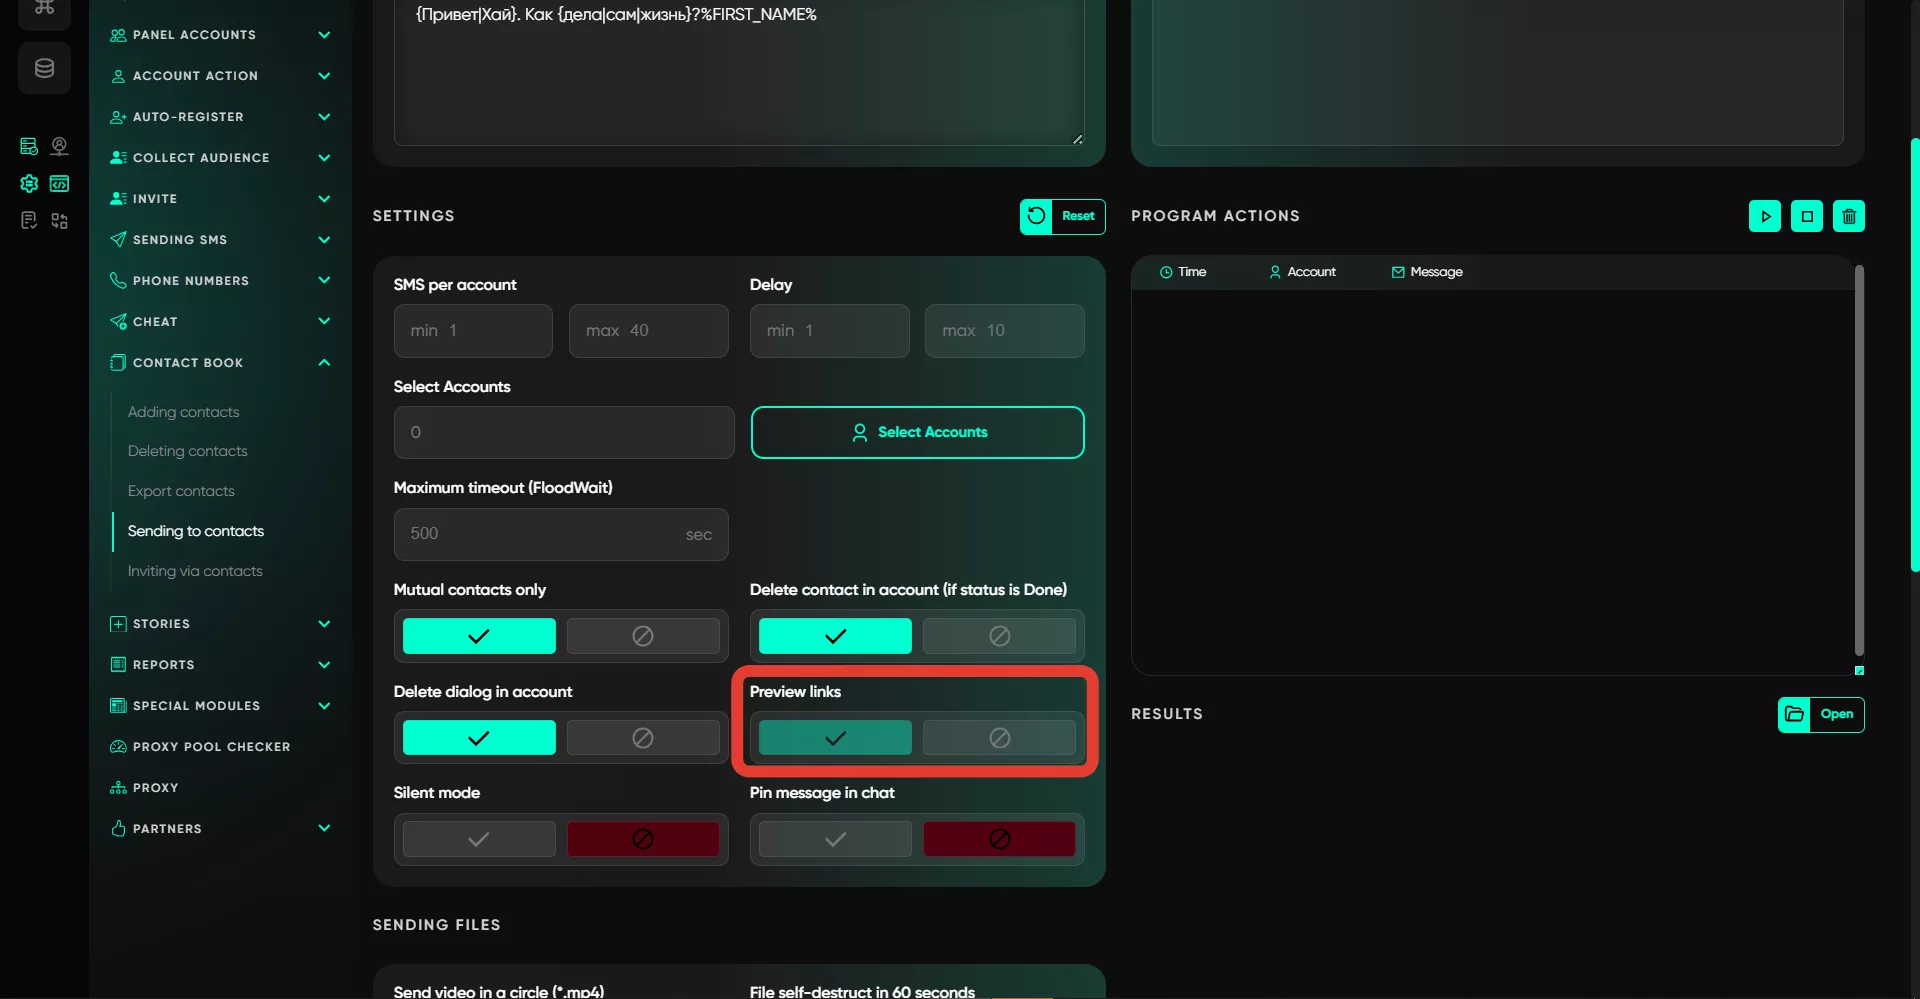
10. Link Preview
If you activate this feature, when sending a link, the recipient will see a preview of it. This can affect trust — many people are hesitant to open unknown links. With a preview, recipients will immediately see its approximate content.
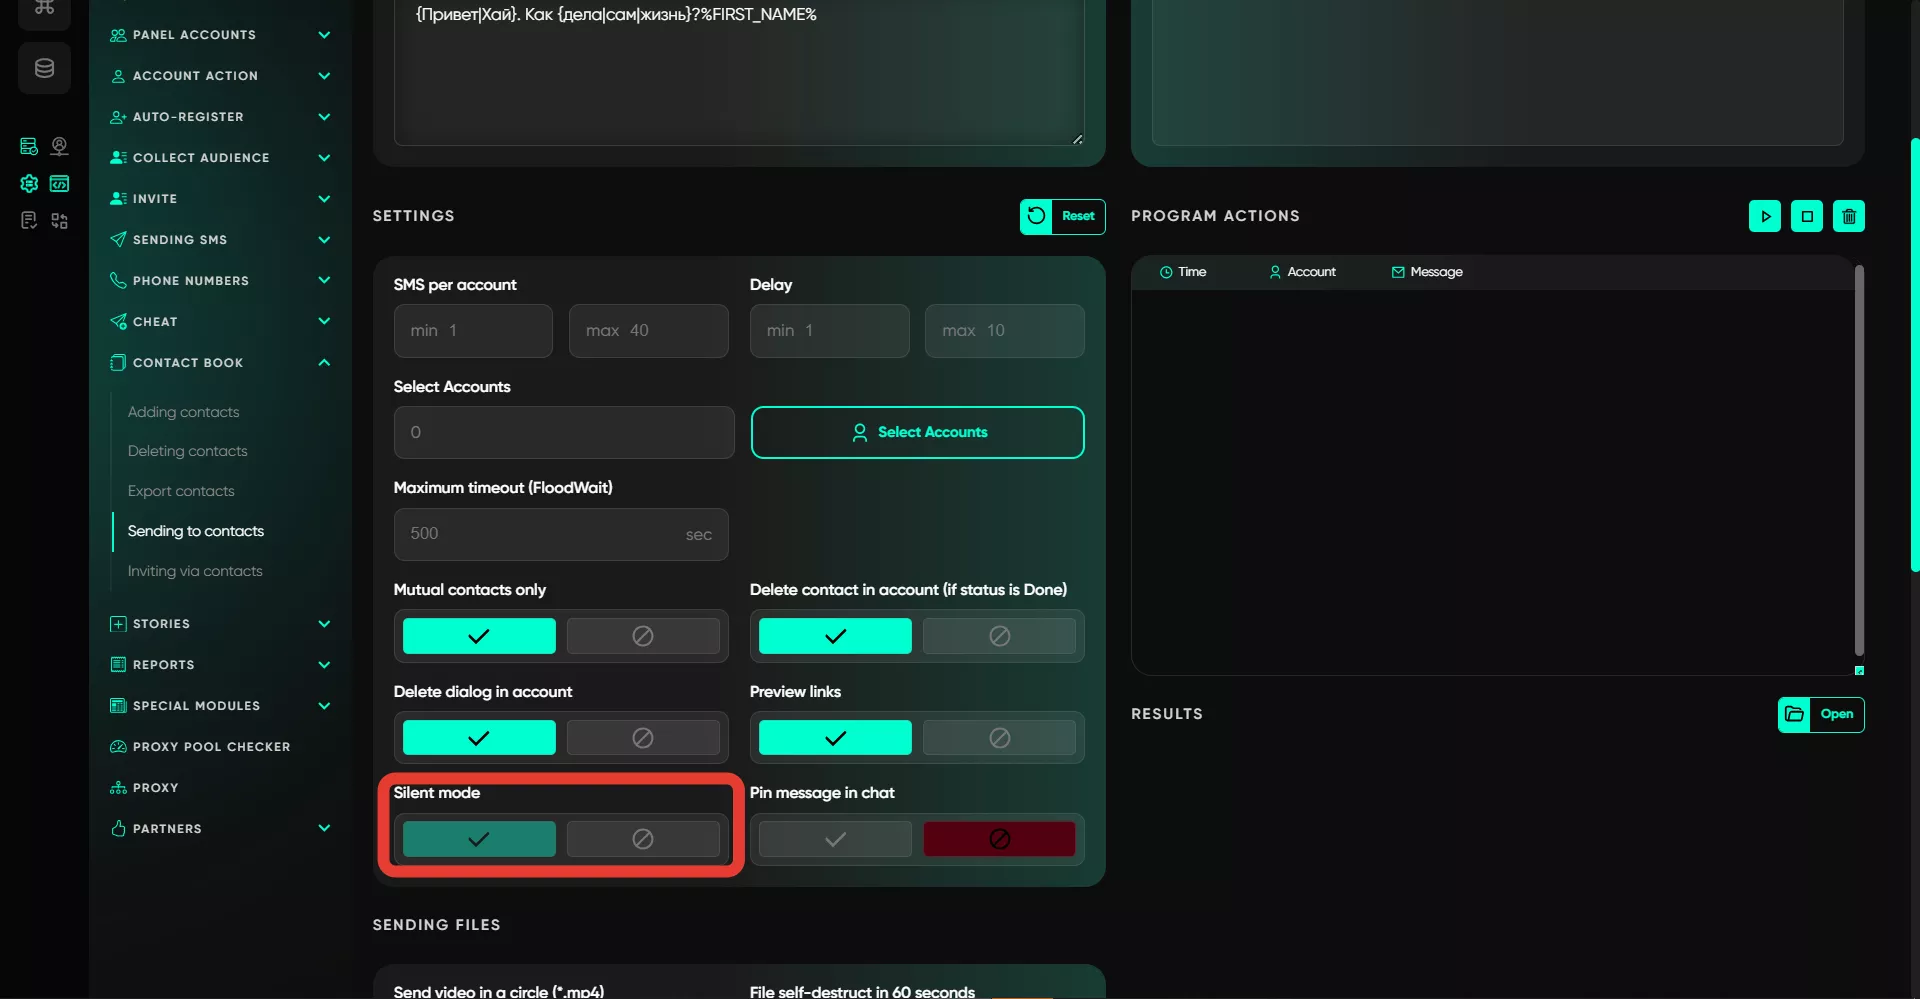
11. Silent Mode
When sending a message, the recipient won’t hear a notification about the new message. This can help avoid complaints in certain cases.
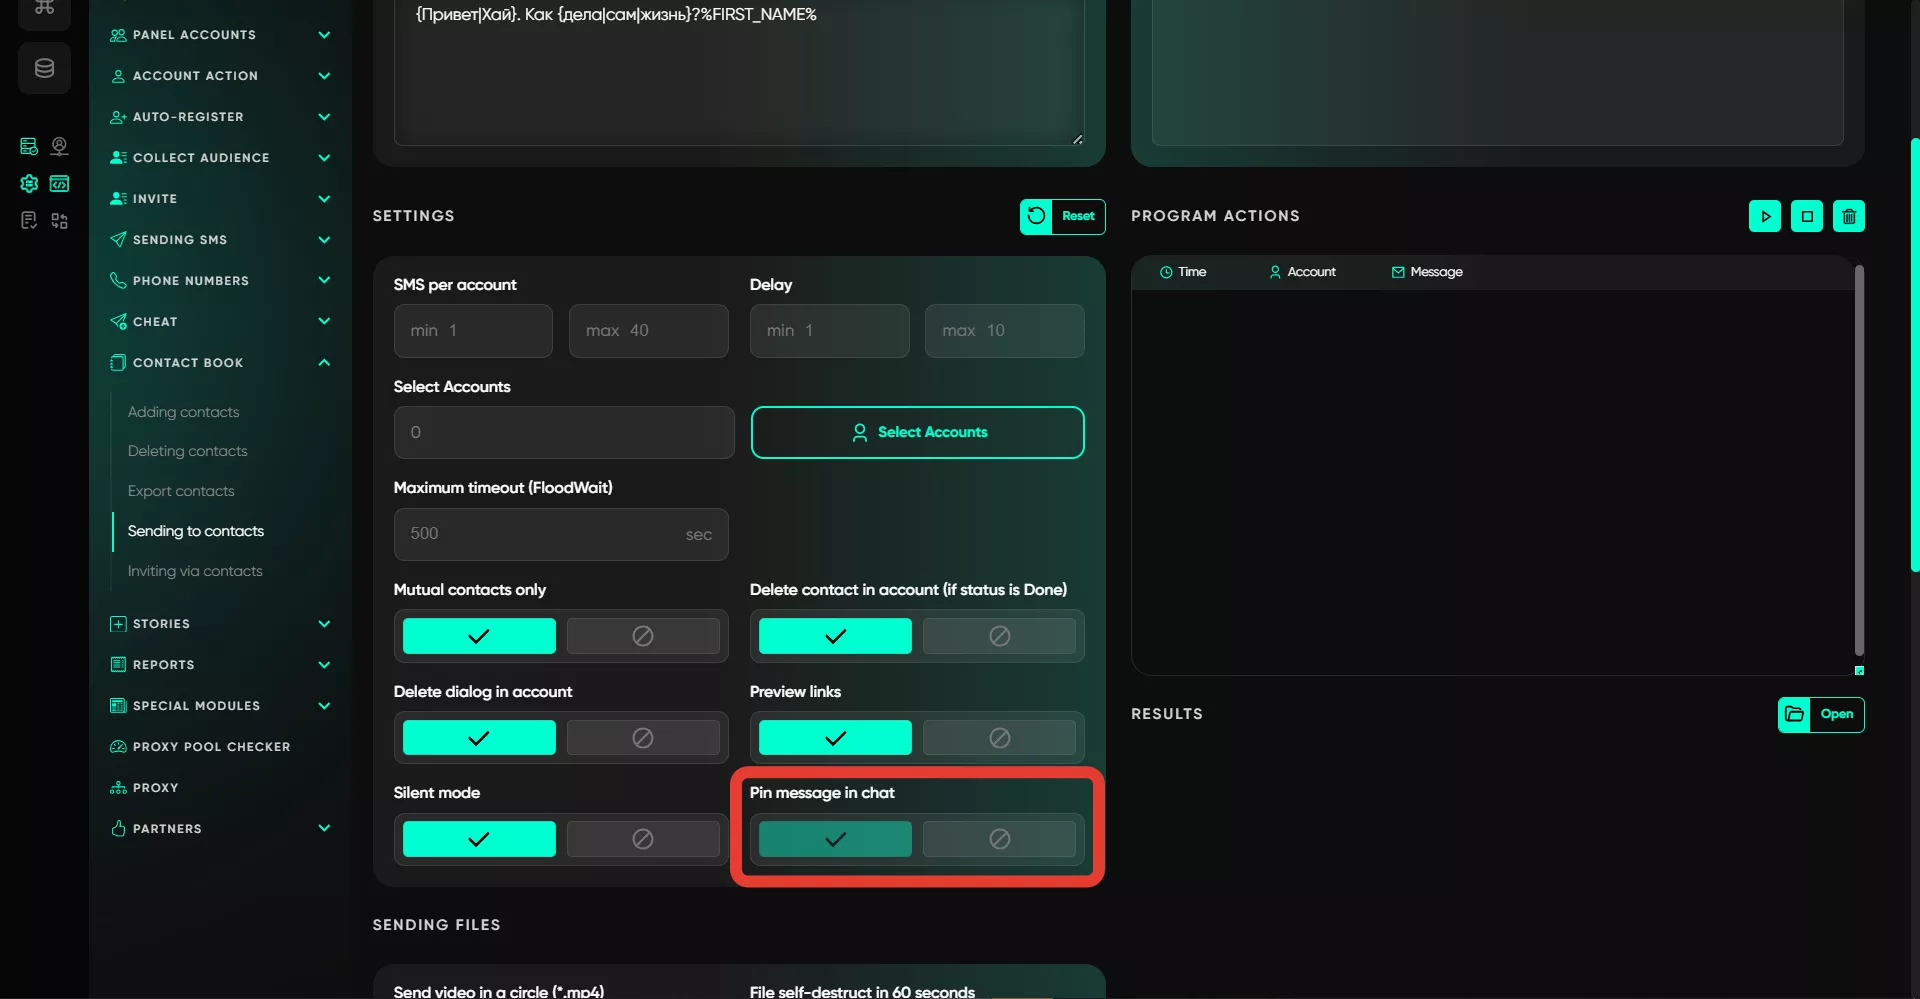
12. Pin Message in Dialog
The sent message will be pinned in the dialog with the recipient for convenience.
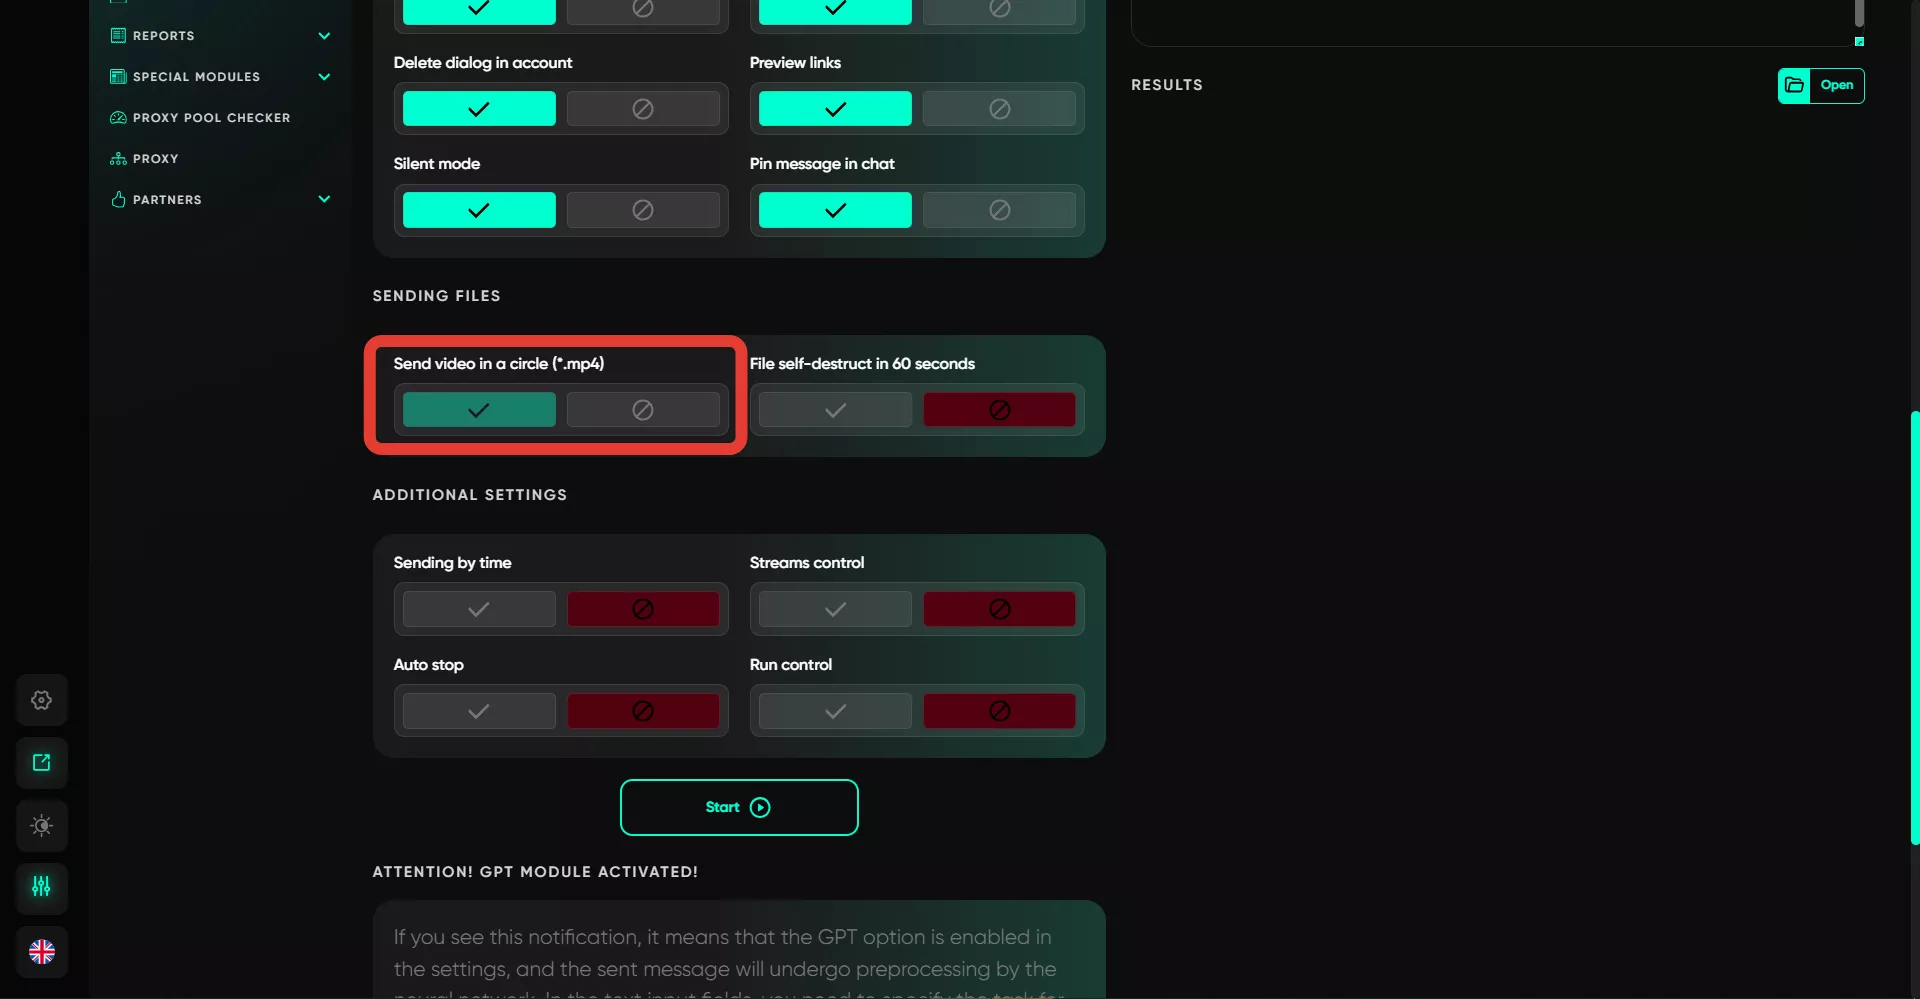
13. Send Video in a Circle
If you want to send a personal video, you can try the circle format, as it’s more standard for Telegram. In addition to activation, you need to upload a file already in circle format (previously downloaded from Telegram) in the text input field.
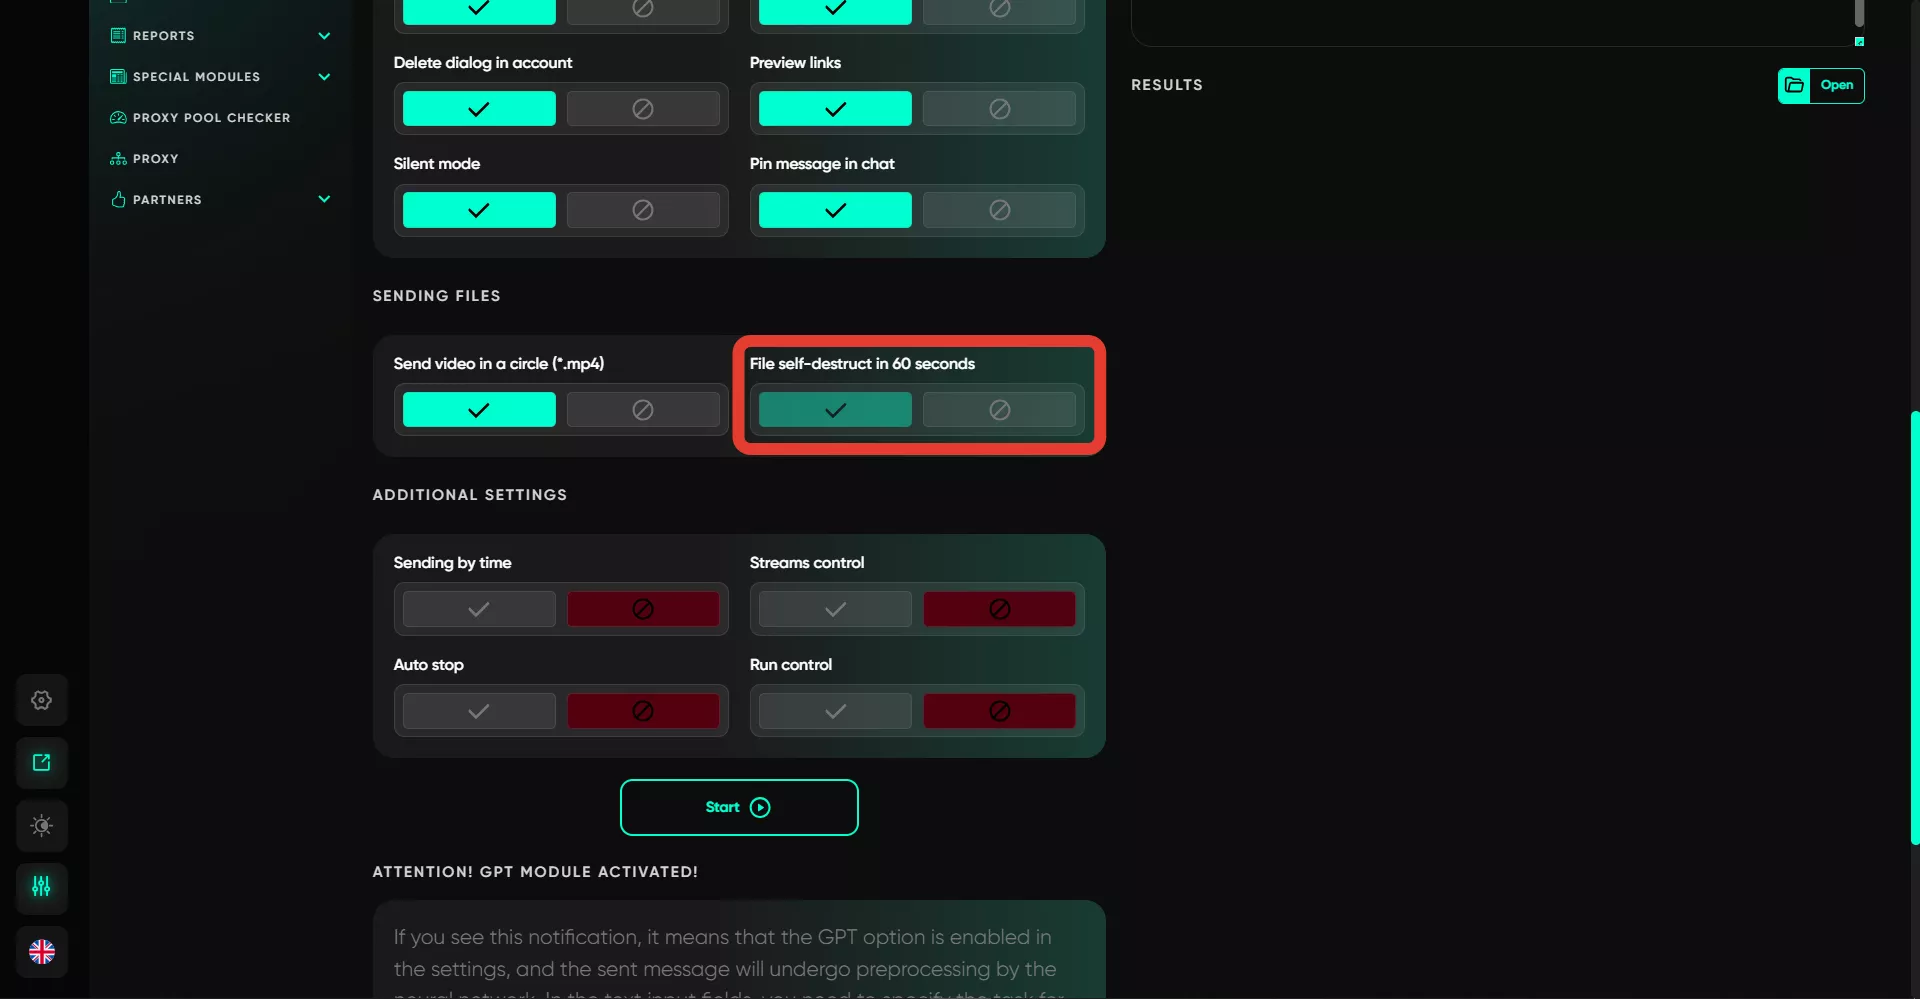
14. File Self-Destruct After 60 Seconds
After viewing the file, it will automatically delete for both parties after one minute.
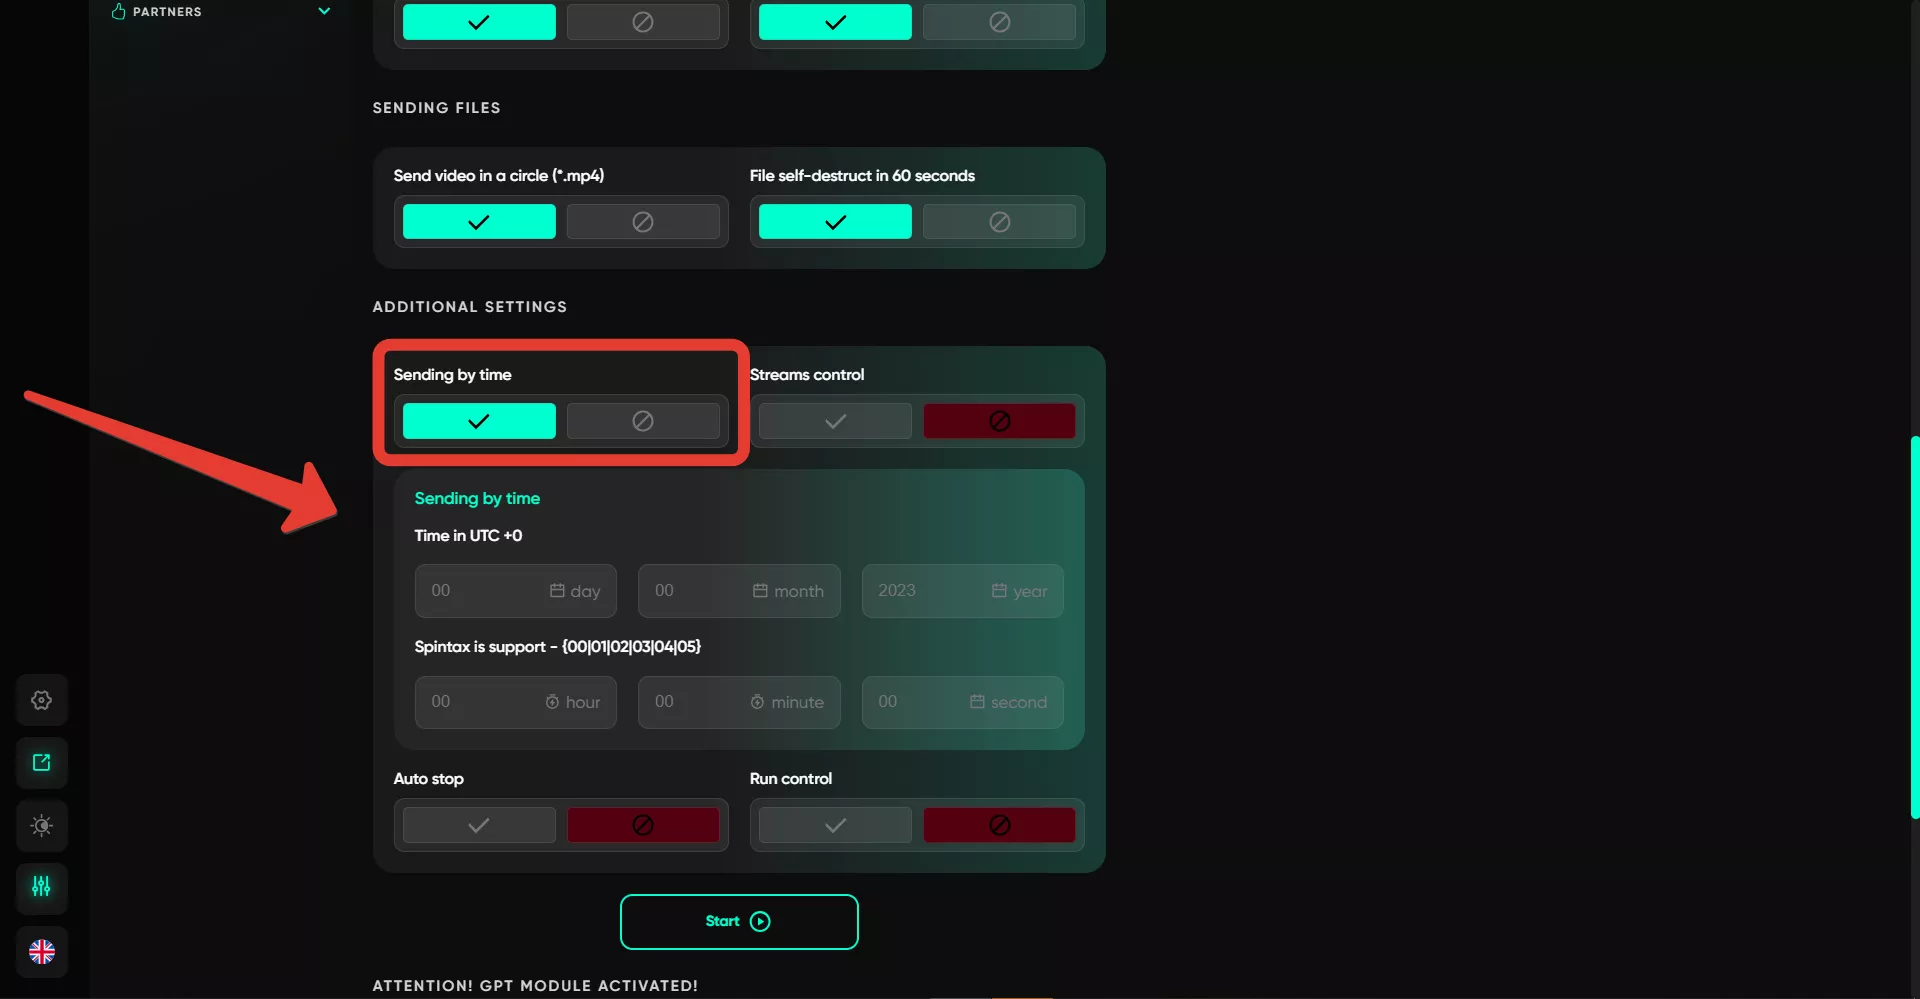
15. Scheduled Sending
With this option, you can set up delayed sending, as done in Telegram. Specify the day, month, year, and exact sending time. The software will create a scheduled message that will be sent at your desired time.
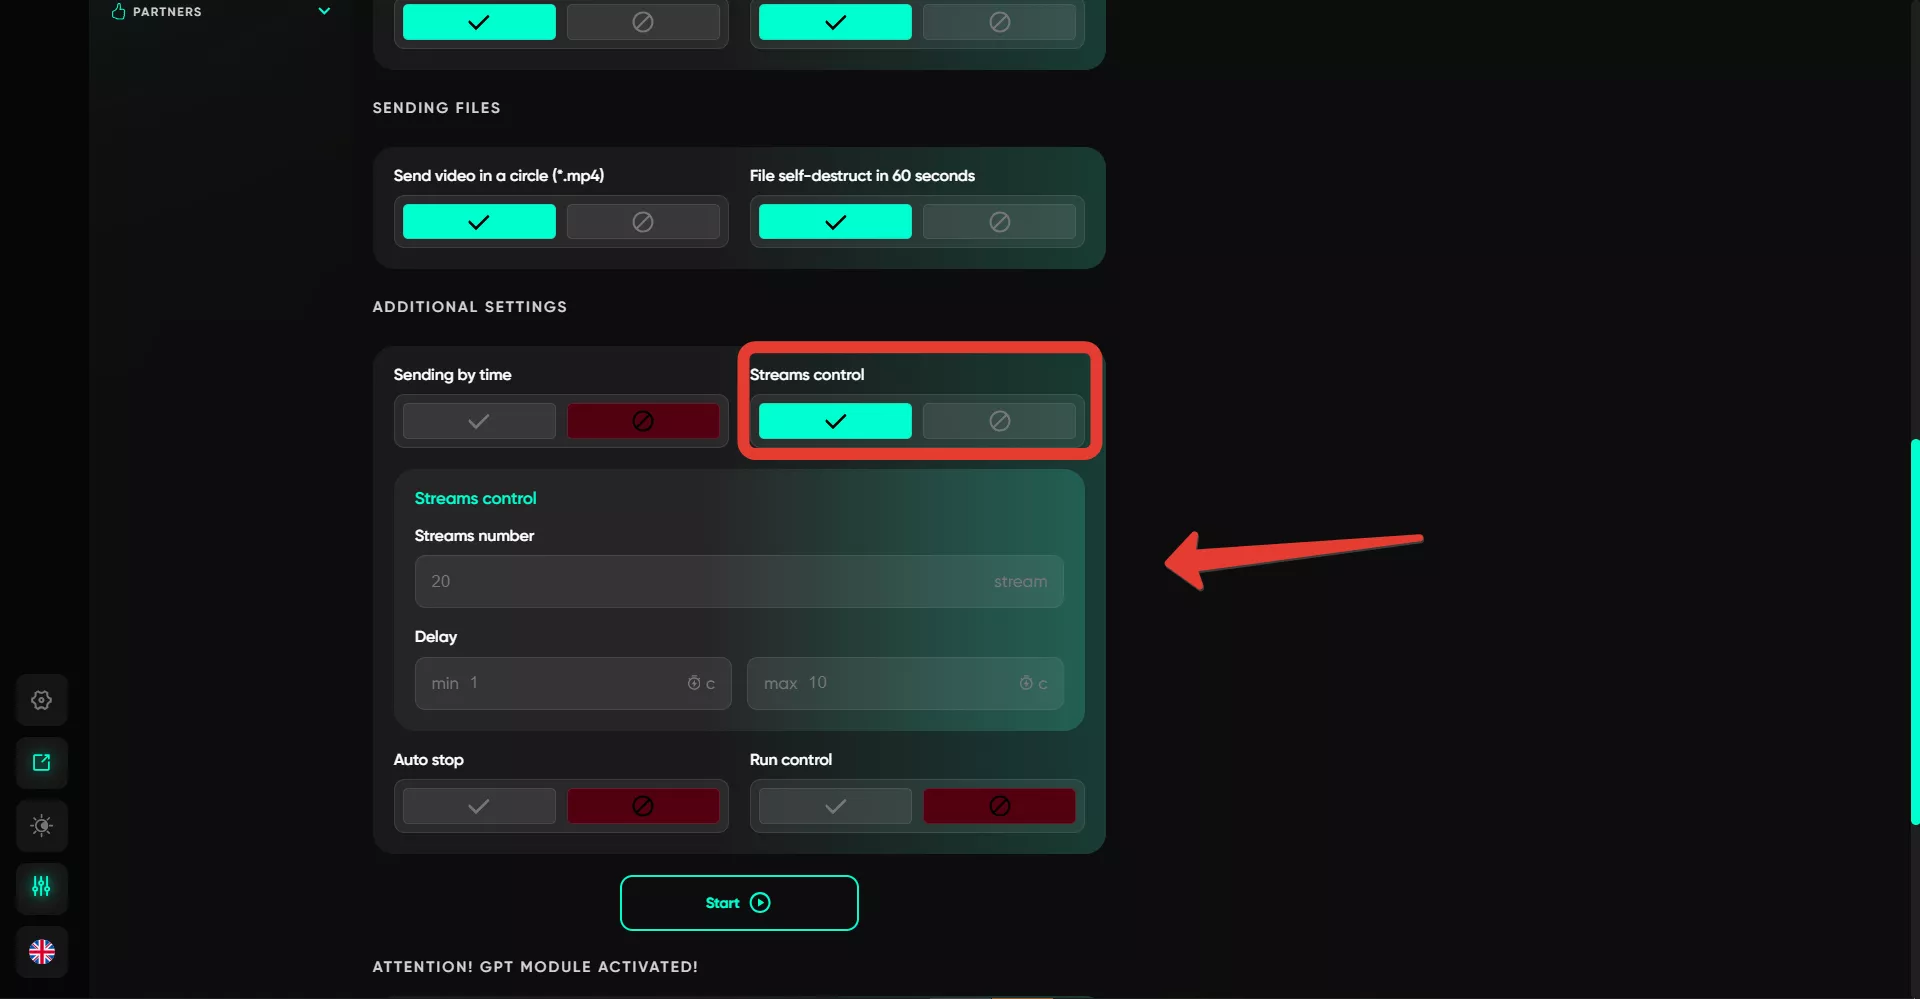
16. Thread Management
This option allows you to configure multi-threaded operation. Simply specify the number of threads, equal to the number of accounts working in parallel, and the delays. When entering delays, specify values as a range, and the software will select a random value from this range and wait that time before taking the next account into operation.
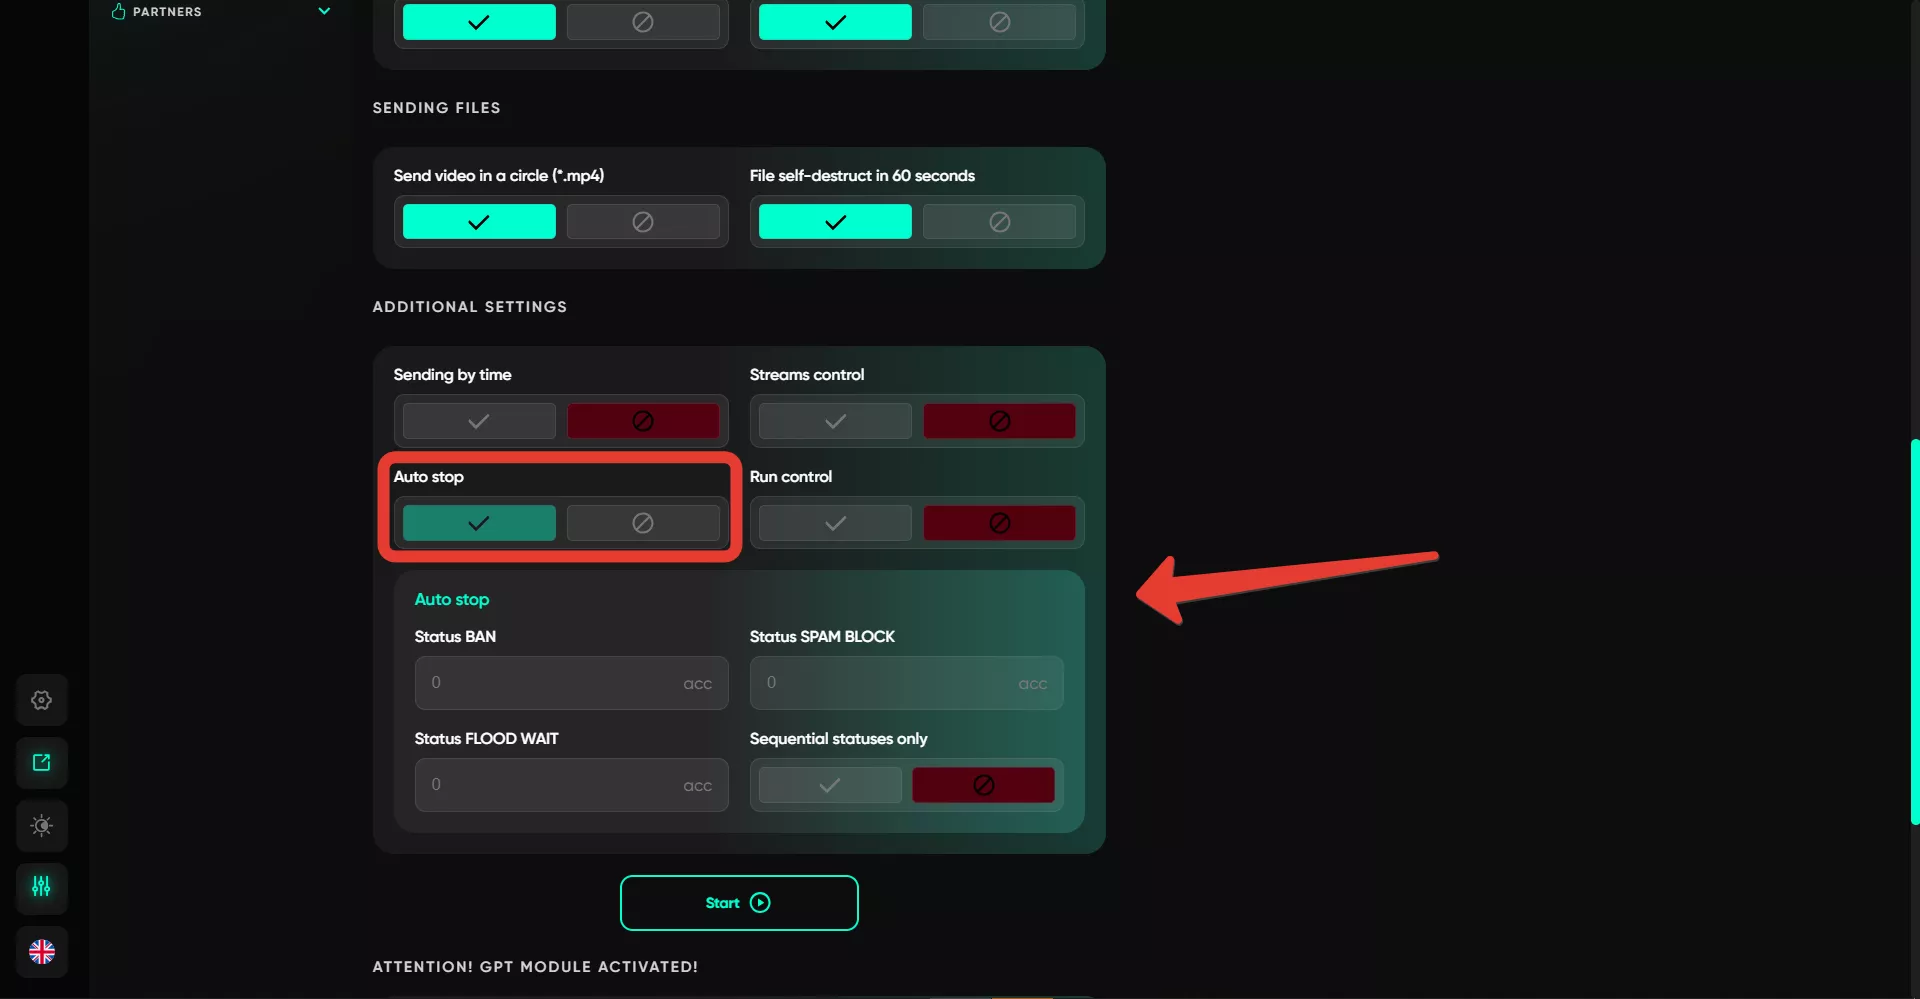
17. Automatic Stop
Automatic stop allows halting the accounts’ work on the task upon receiving restrictions. You can set a rule — how many accounts should receive specific statuses to stop the task. For example, one account for Ban, Spamblock, or FloodWait, and the task will stop when this happens — a total of three accounts receive these statuses. If you enable "Only Sequential Statuses," the task will stop if restrictions come in sequence — first Ban, then Spamblock, and finally FloodWait.
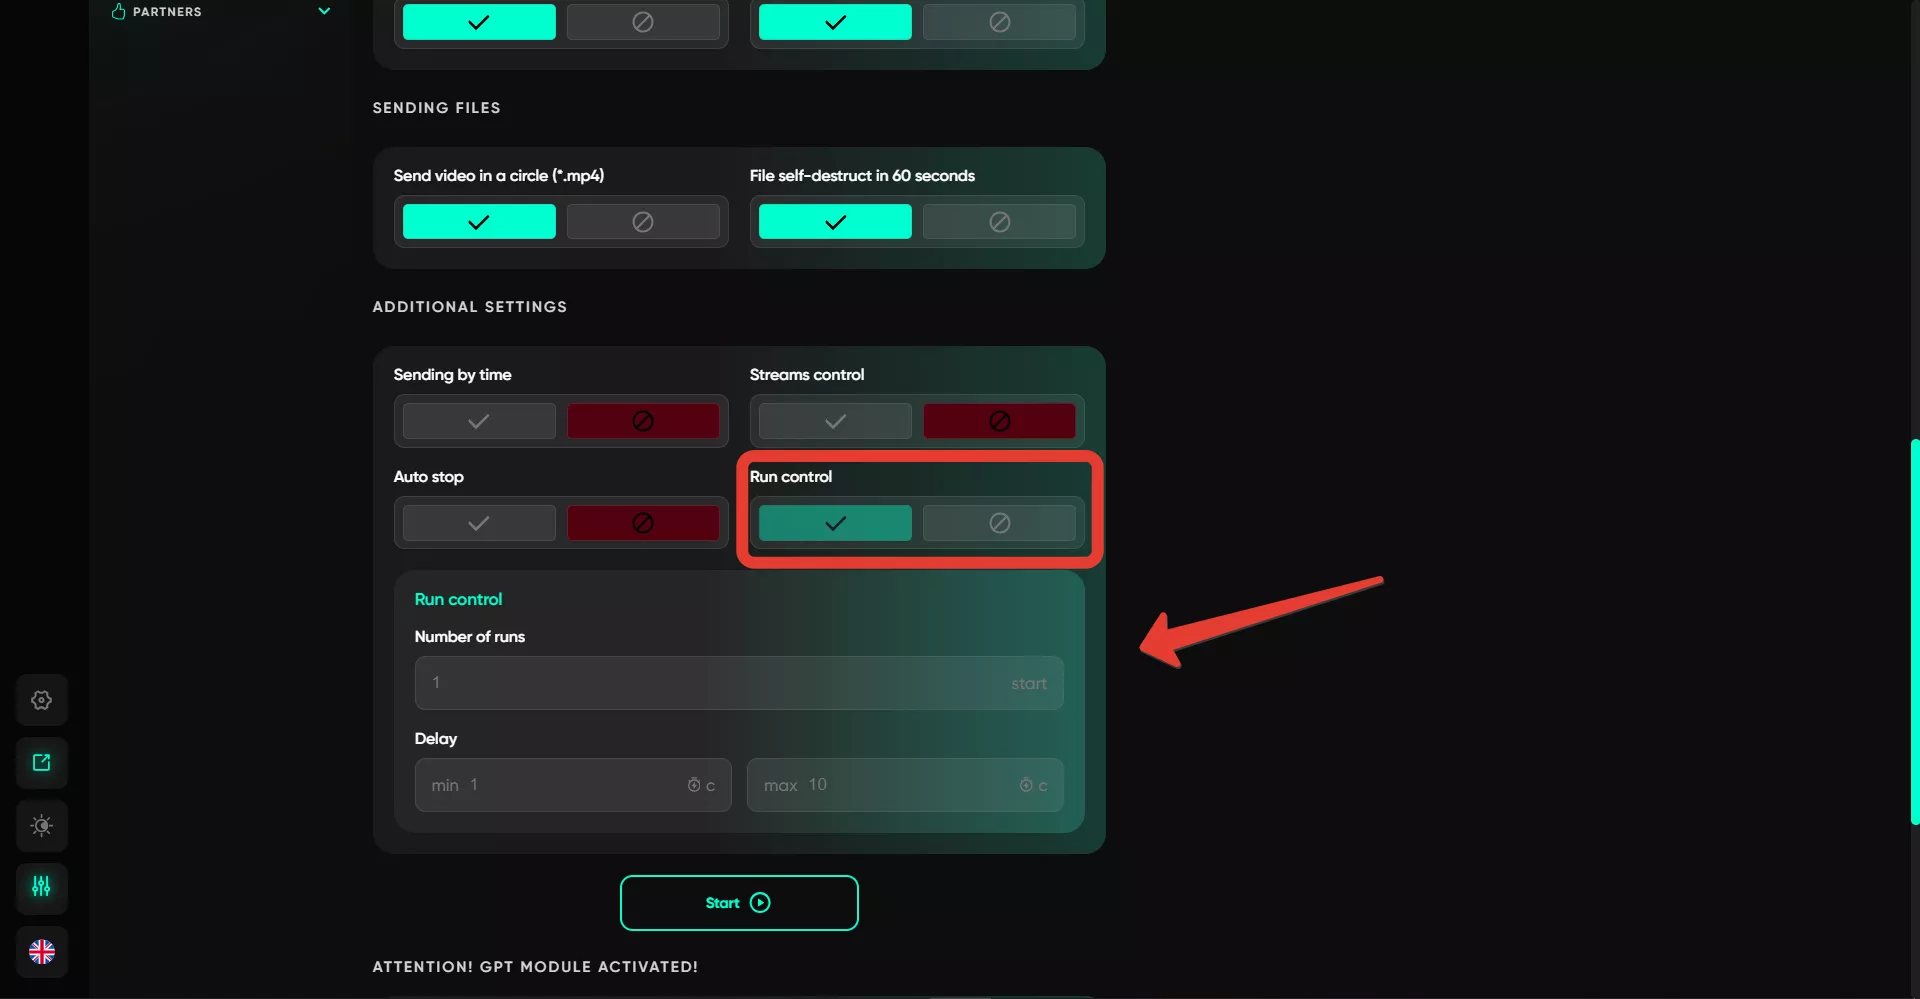
18. Launch Management
An option that allows you to run sending cycles at specified intervals. For example, after completing the mailing to all contacts, if an interval of 1 hour is set in the settings, the system will automatically repeat the process after that time period.
