
Manual
Adding contacts
The contact addition module allows you to quickly add users to your contact list. To work with it, you need a database of phone numbers or usernames, which you can easily obtain after parsing.

Setup Procedure:
1. Use Database
If you previously worked with the module but didn’t complete the task, you can add the Base database so that the software resumes from where it left off.
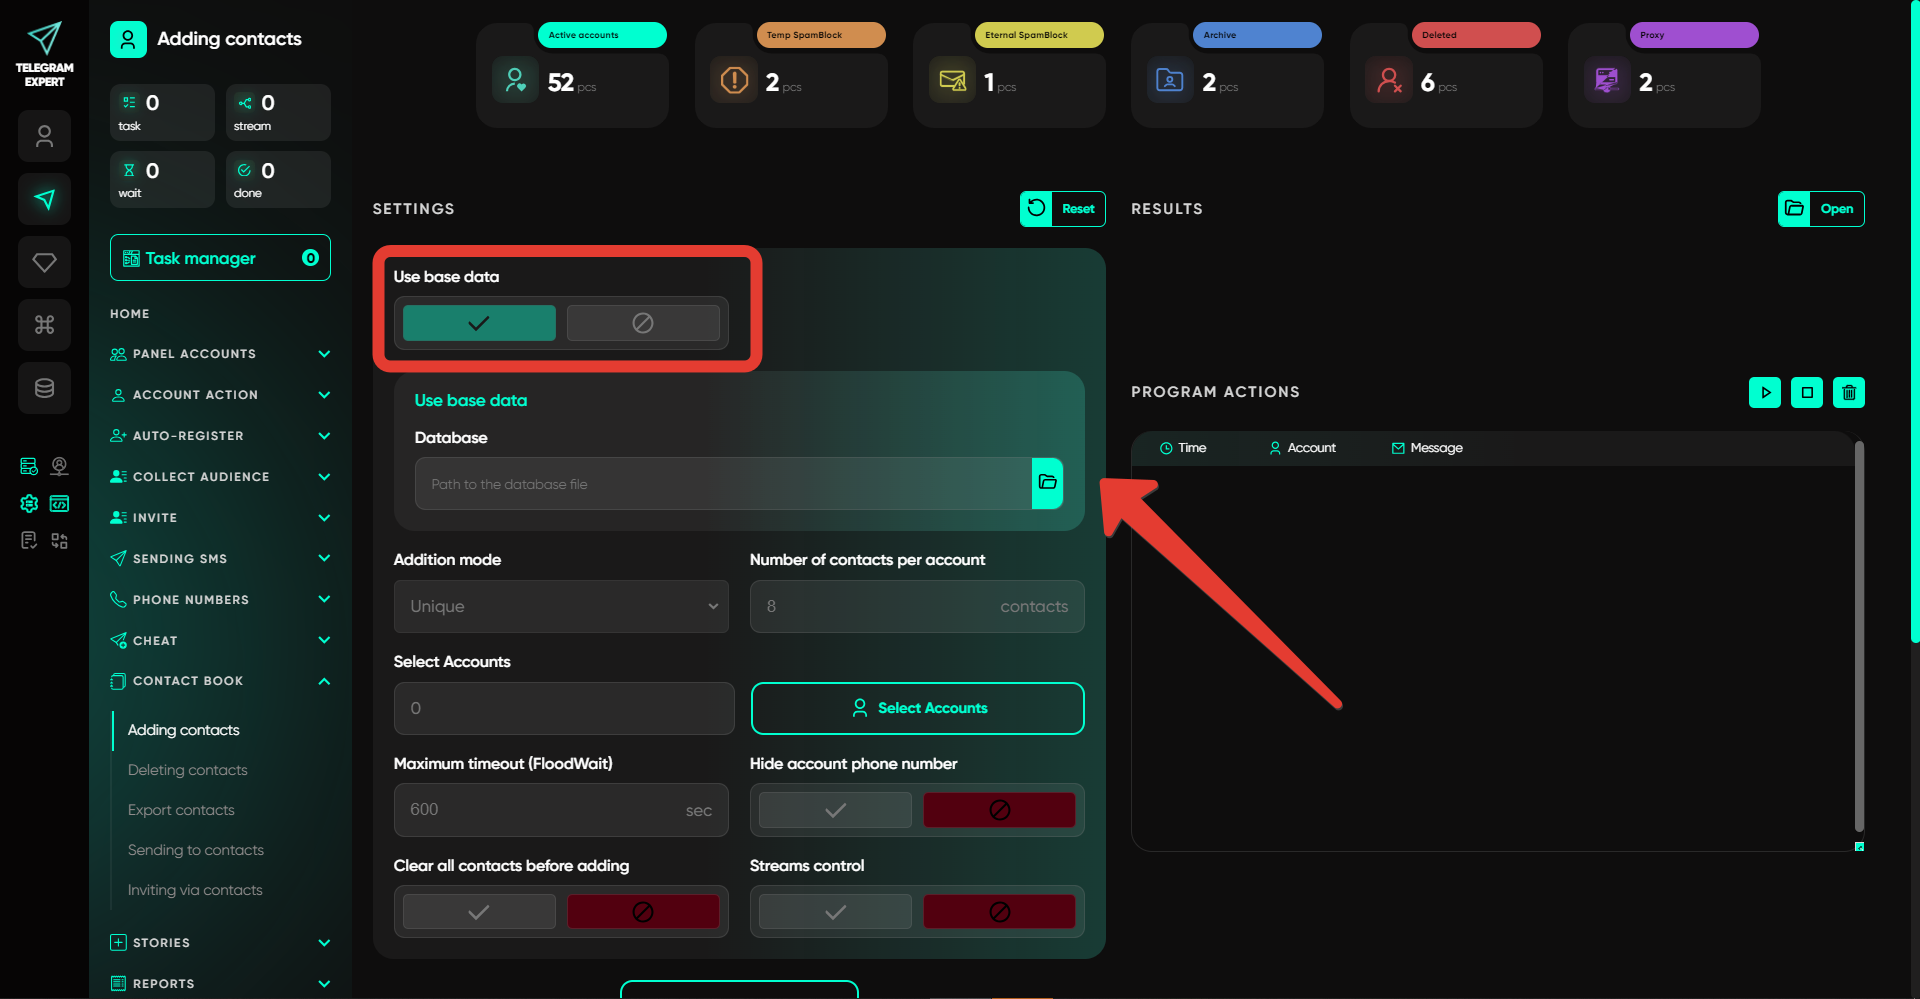
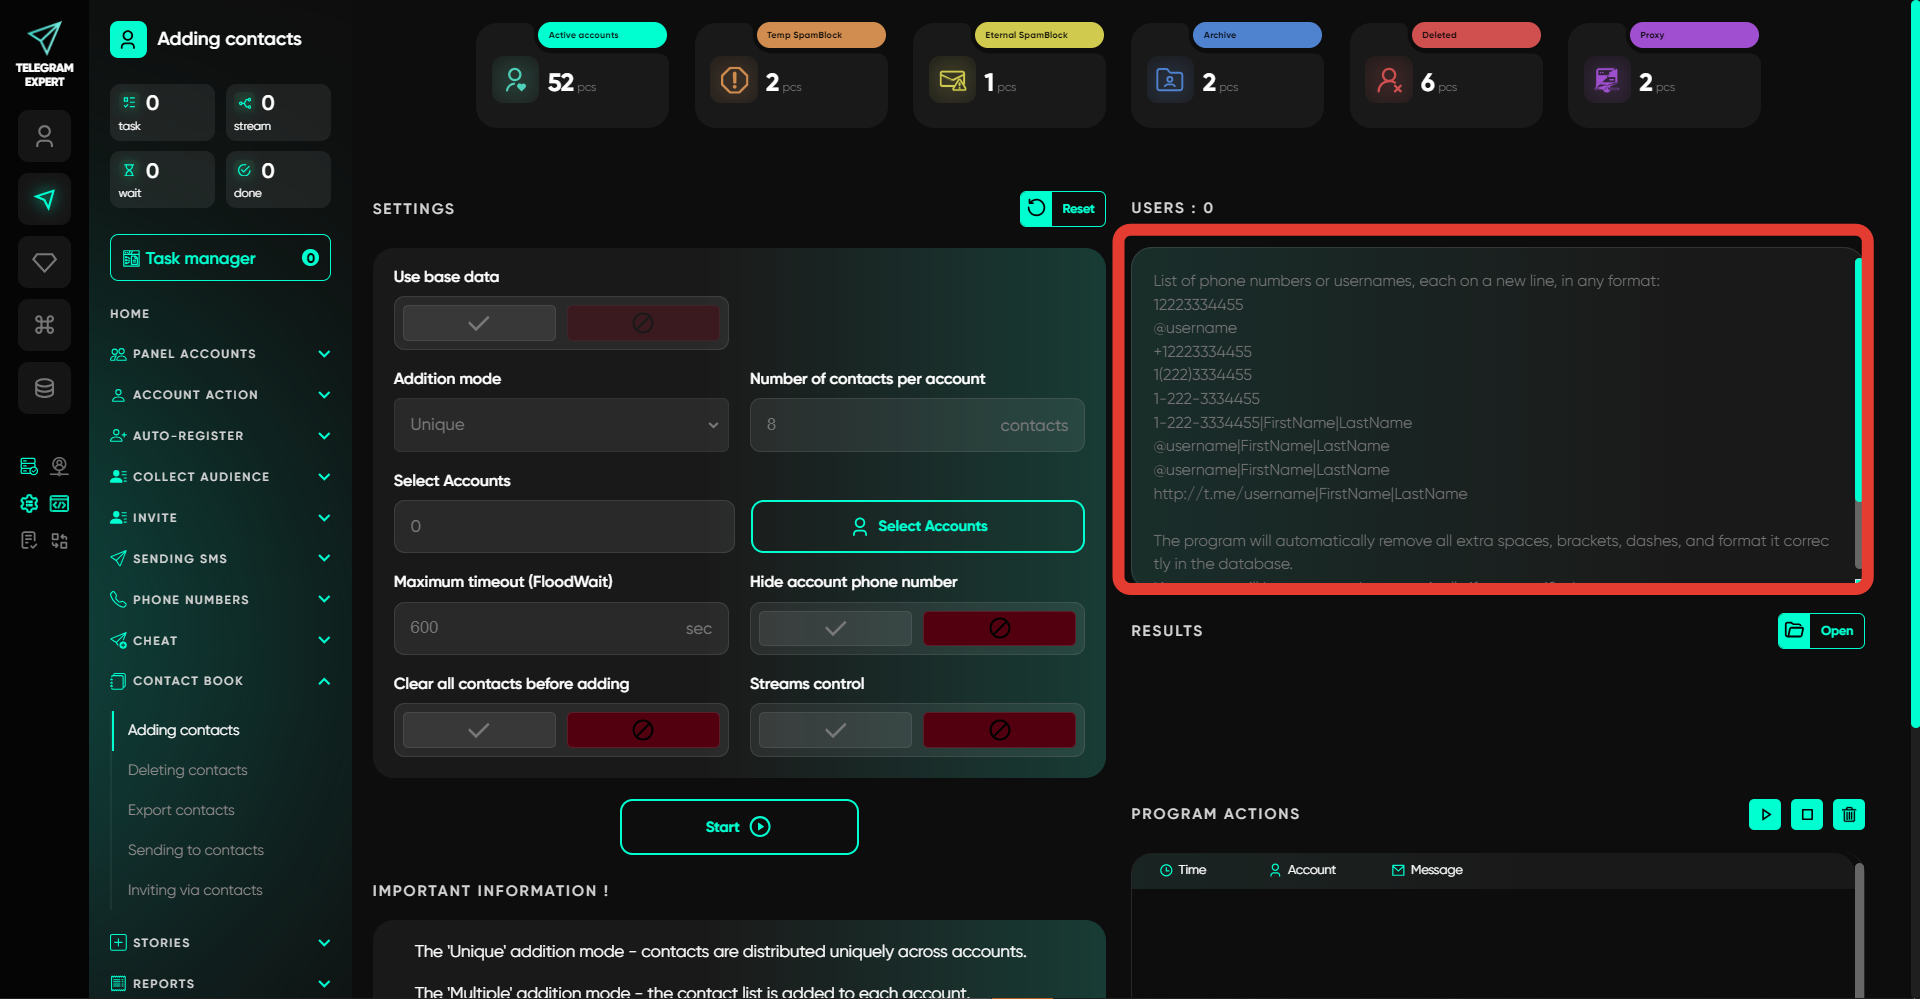
If there’s no database, you can specify a list of phone numbers or usernames in the window on the right. You can enter them not only in the standard format but also with the first and last name included. The format for this is username|FirstName|LastName or +1112223334444|FirstName|LastName. In this case, the specified first and last names will be added to the contact list. If you don’t specify a name and surname, they will be randomly generated by the software.
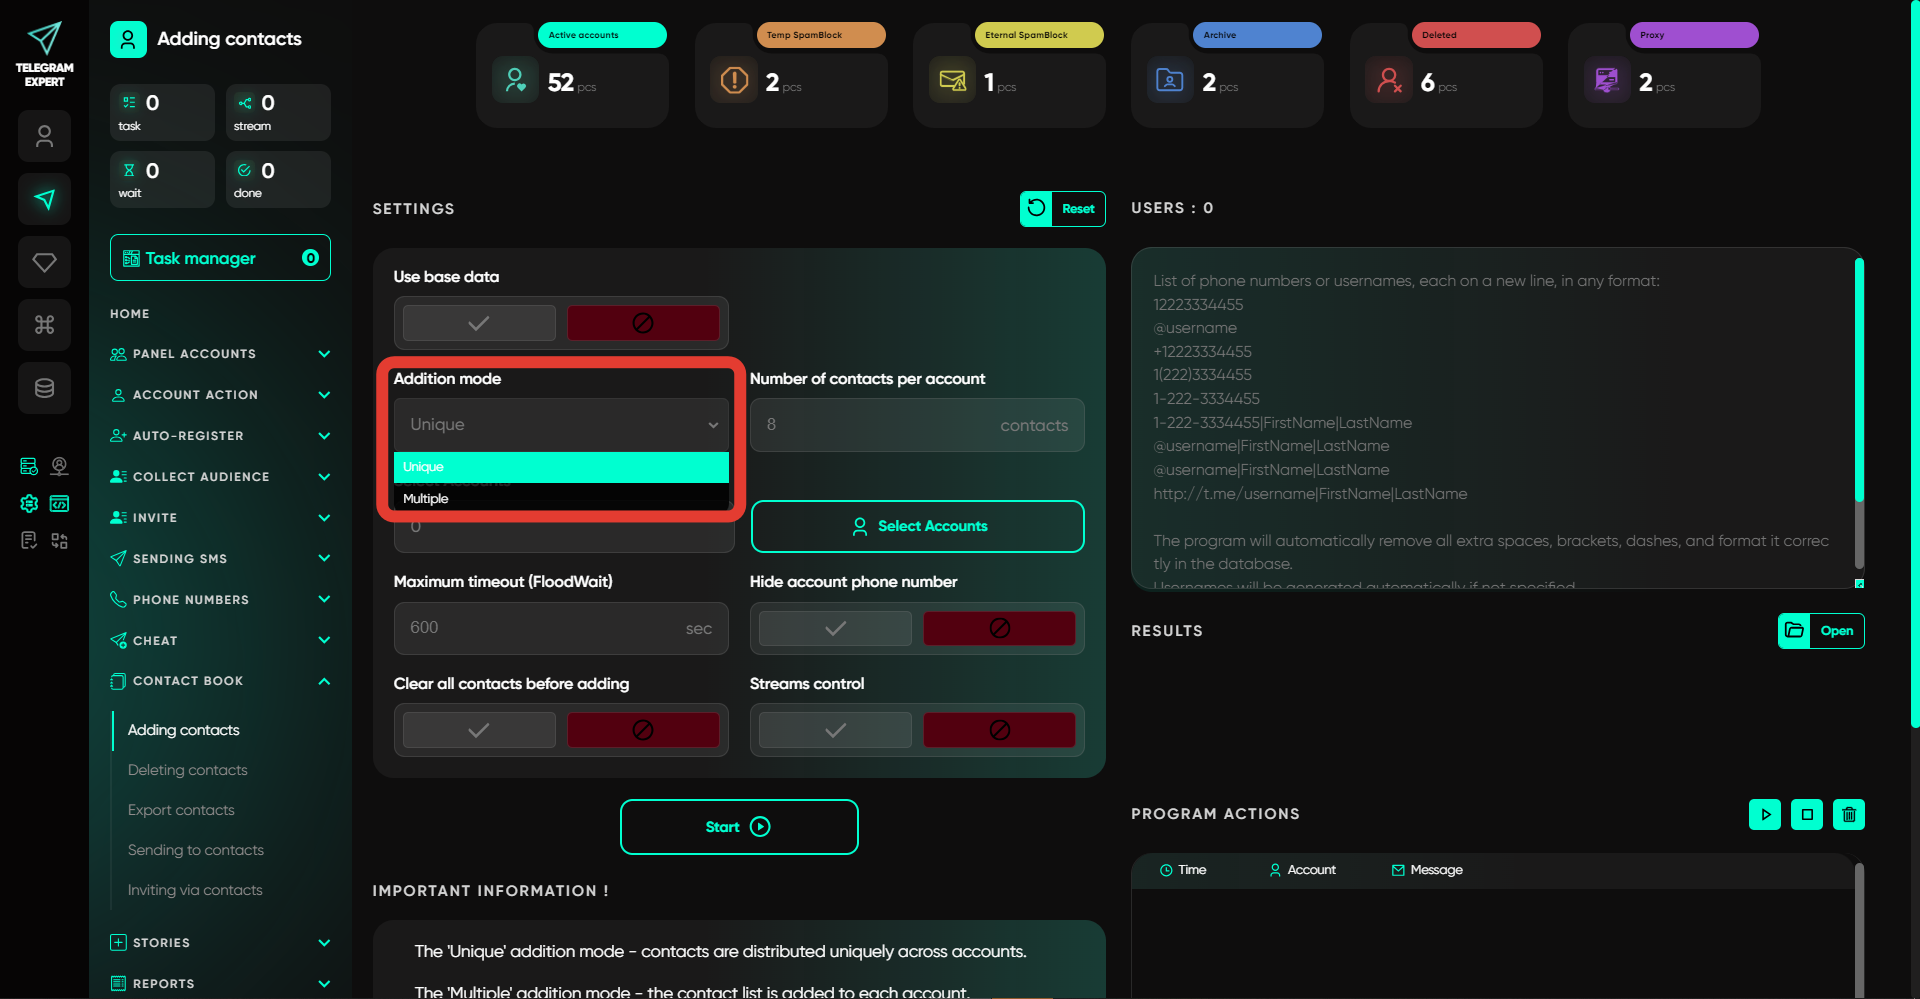
2. Addition Mode
When selecting the addition mode, note that "unique" means adding unique users per account, meaning duplicates are excluded. If you choose "multiple," then the entire contact list will be added to each account.
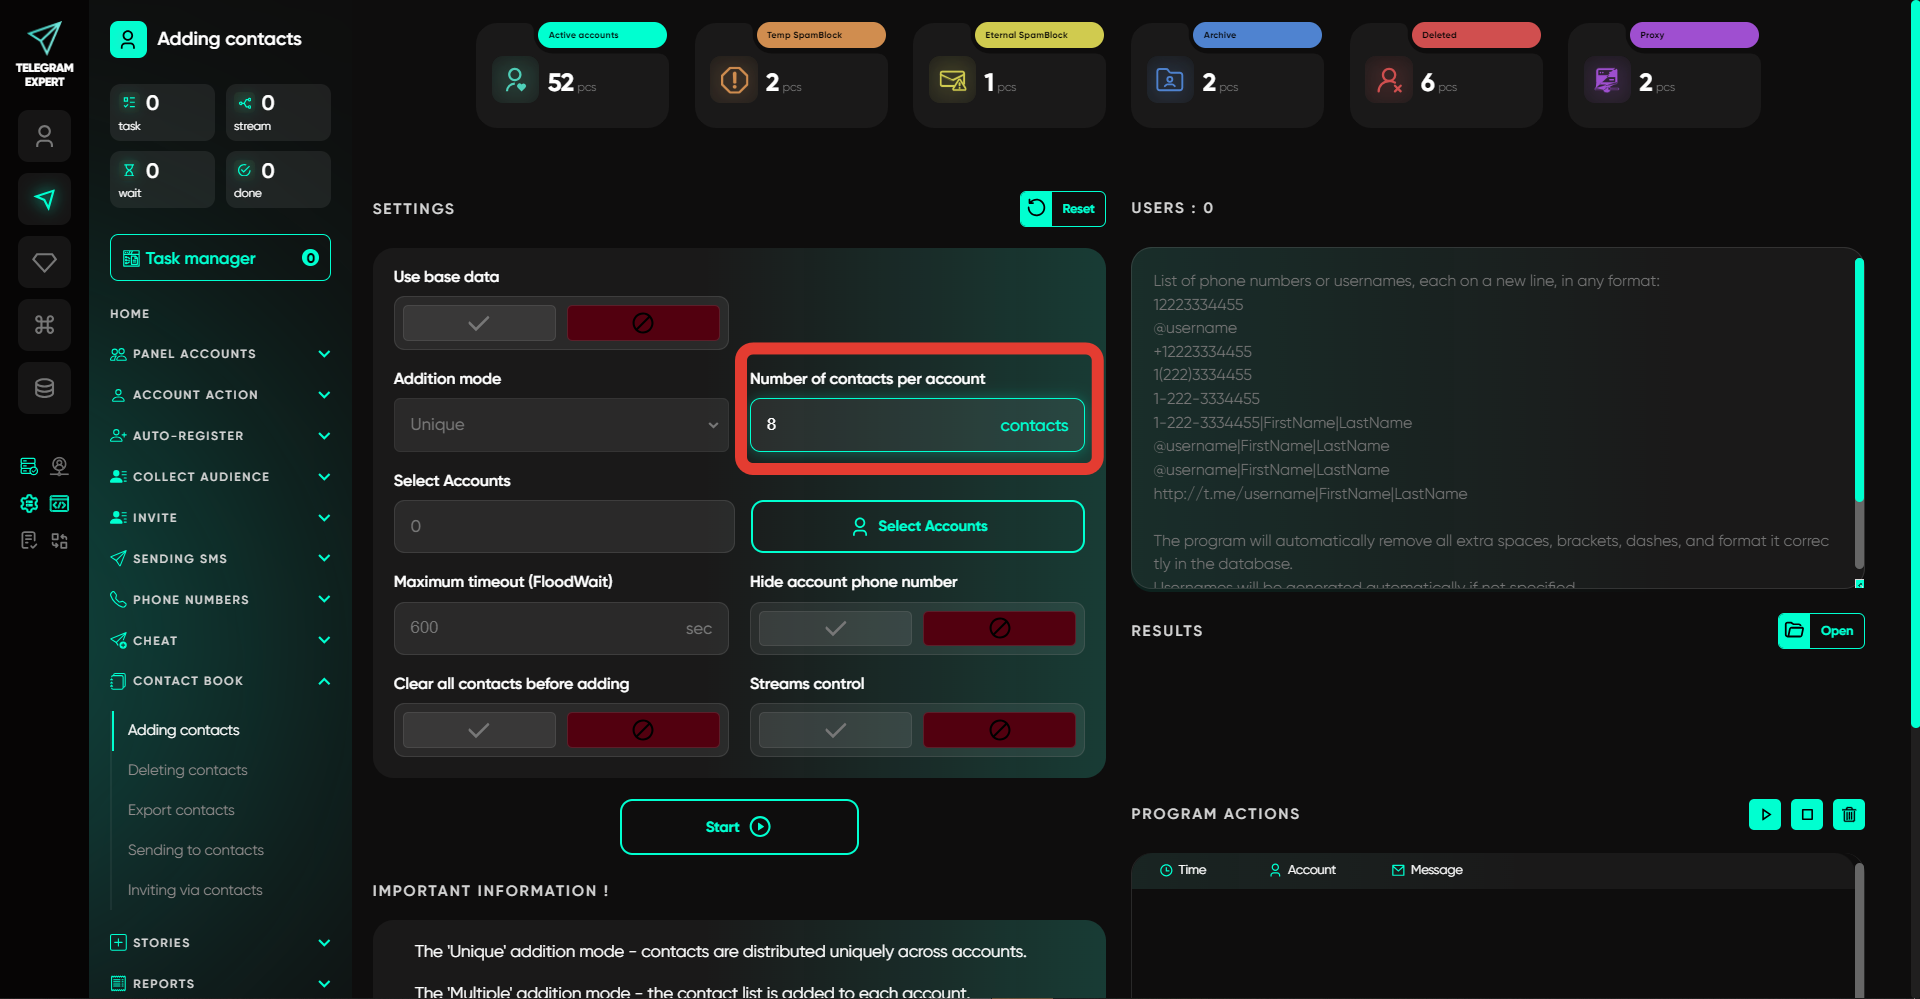
3. Number of Contacts per Account
Here, you can specify the number of contacts that will be added to one account. If you’re working in unique addition mode, unique contacts will be added to each account. For example, if there are 100 contacts and you set 10 per account, each account will have 10 unique contacts. However, keep in mind — if the number of accounts is larger, the addition process will stop when the number of unique contacts runs out.
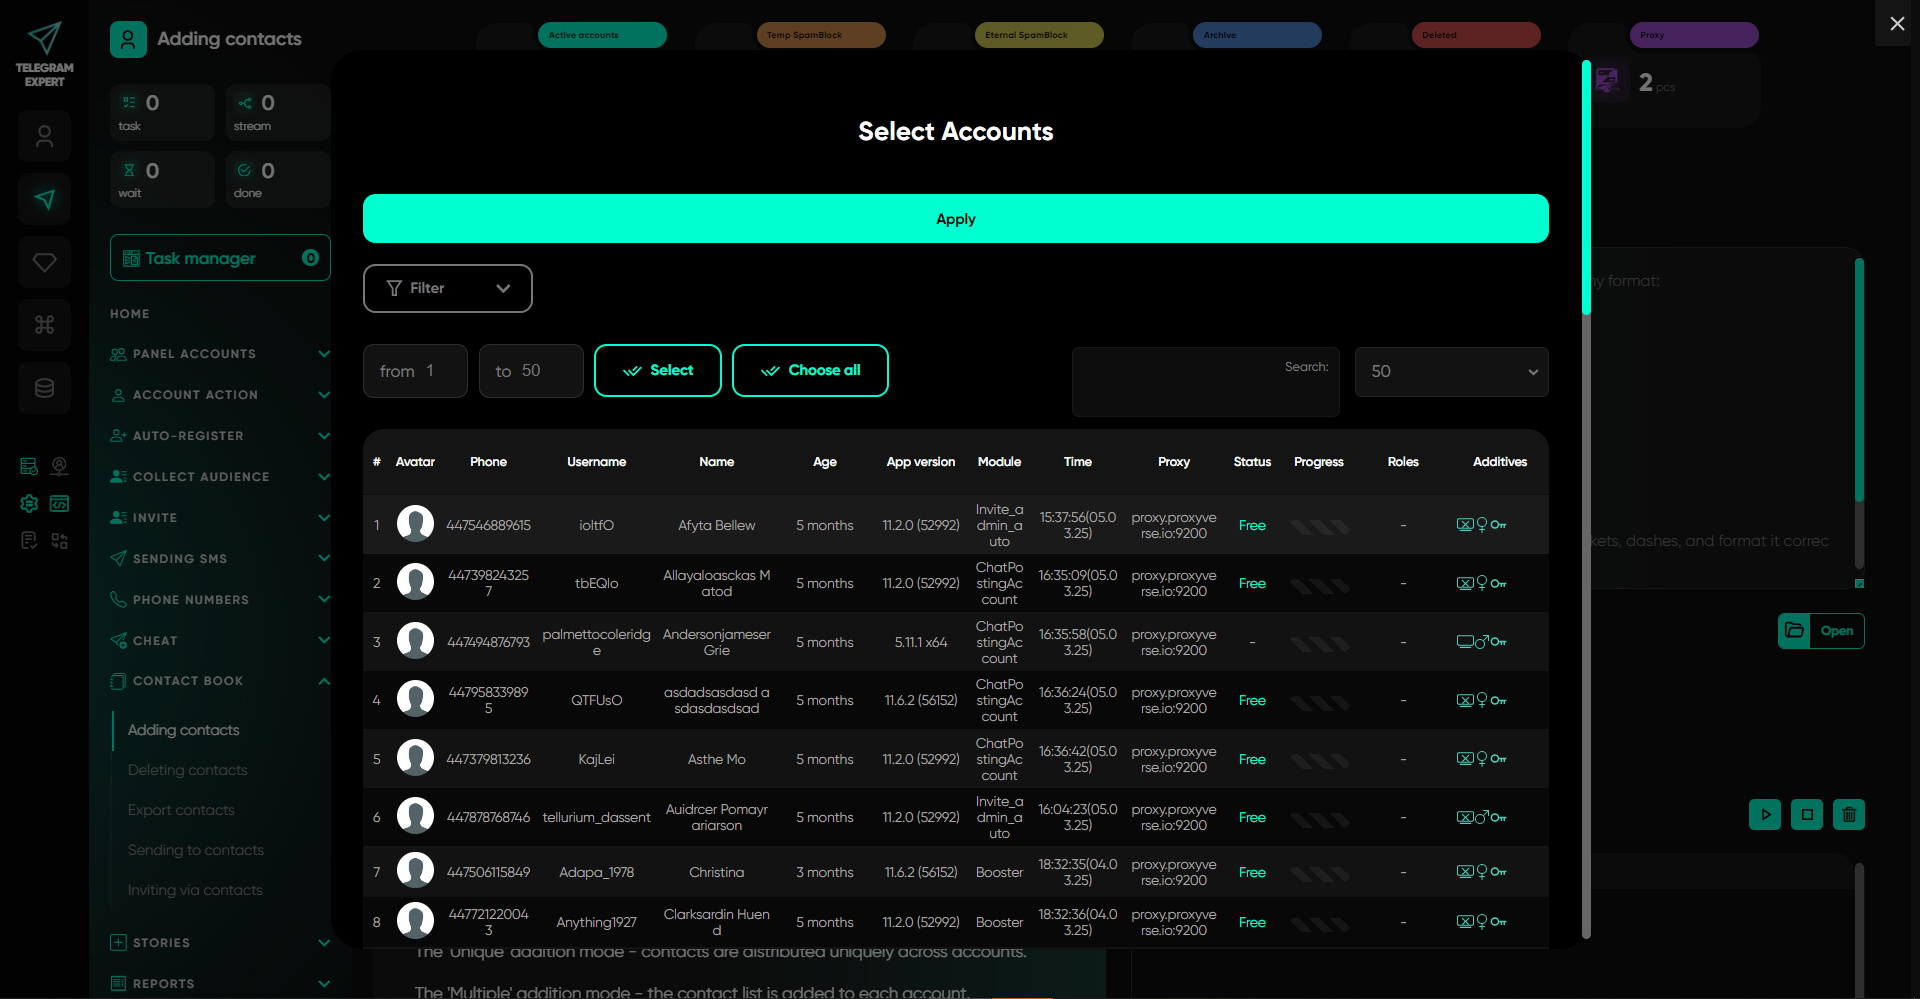
4. Select Accounts
In this section, select the accounts for the task — the contacts will be added to these accounts. Remember that only accounts from the "Active" folder are displayed.
5. Maximum Wait Time (FloodWait)
While working with accounts, flood restrictions may occasionally occur for a certain period. The field specifies the maximum value, and if the restriction lasts longer than that, the account will be removed from the task. If the flood restriction is lifted earlier, the software will wait for the specified time and continue working with the account.

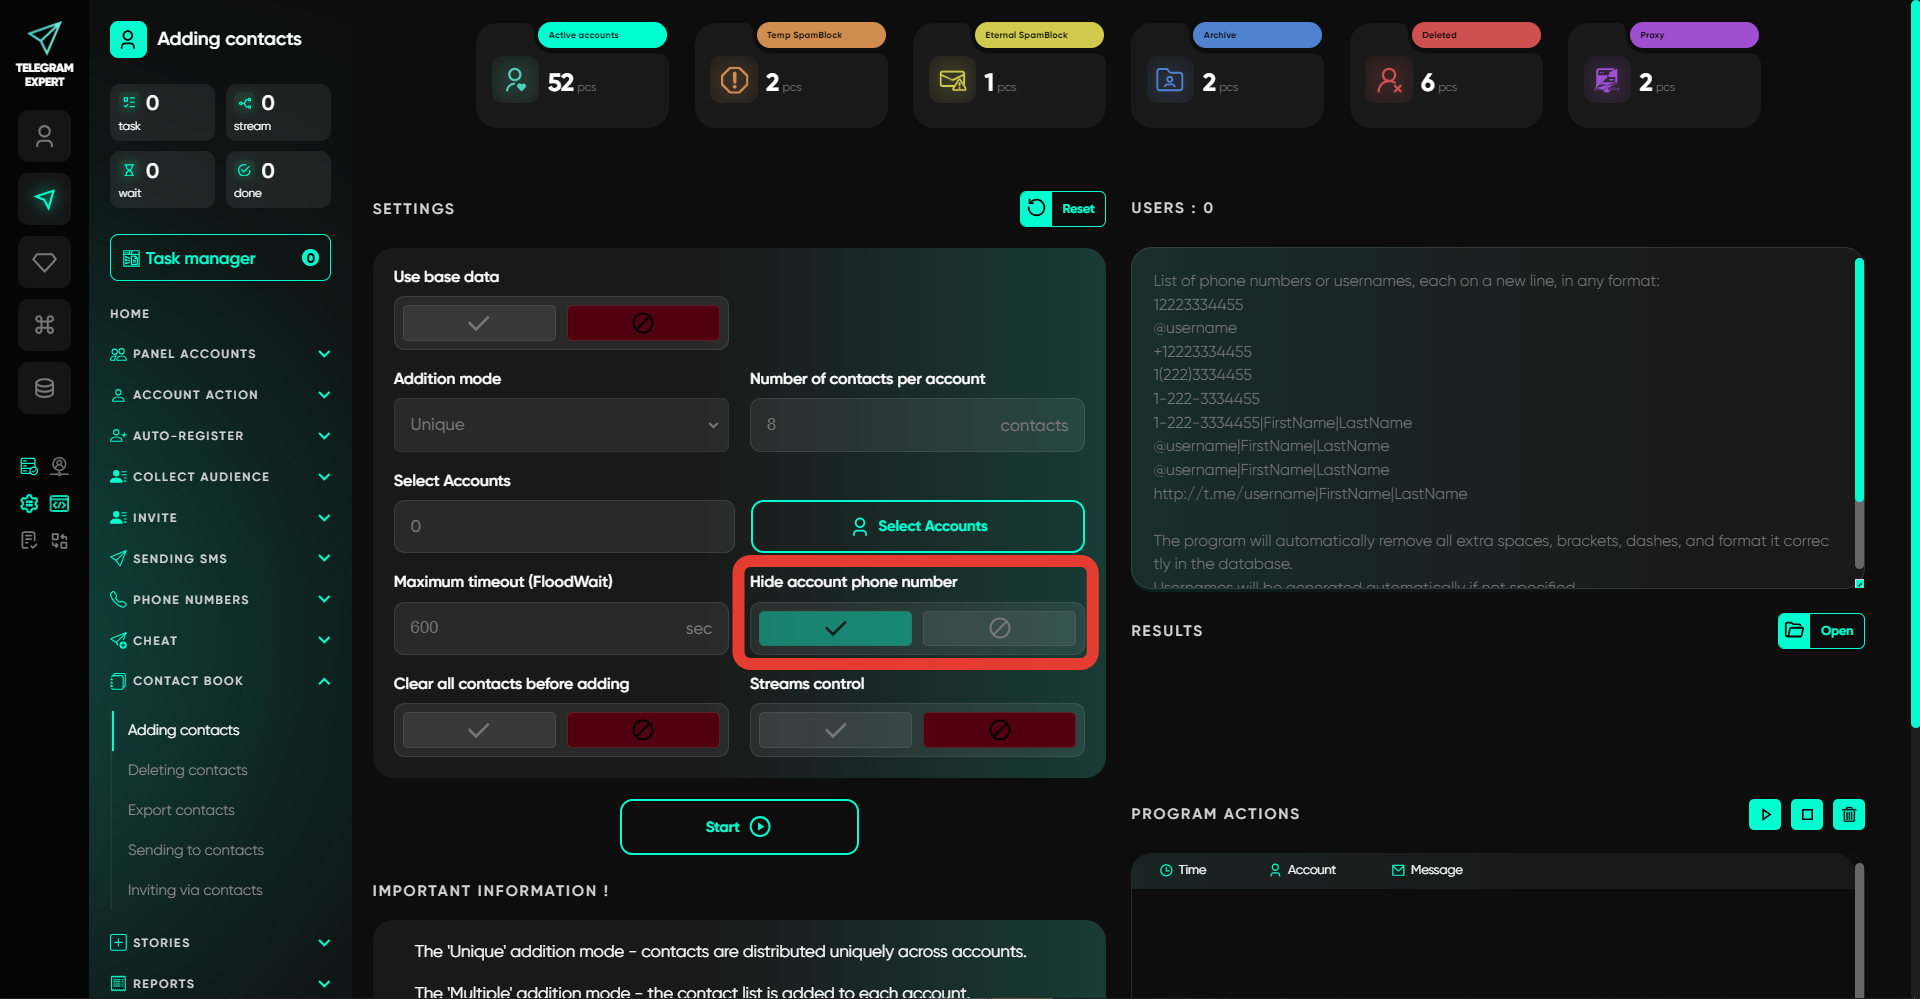
6. Hide Account Phone Number
When this option is activated, the phone number will be hidden in the privacy settings of the accounts to which contacts are being added, and other users won’t be able to see it.
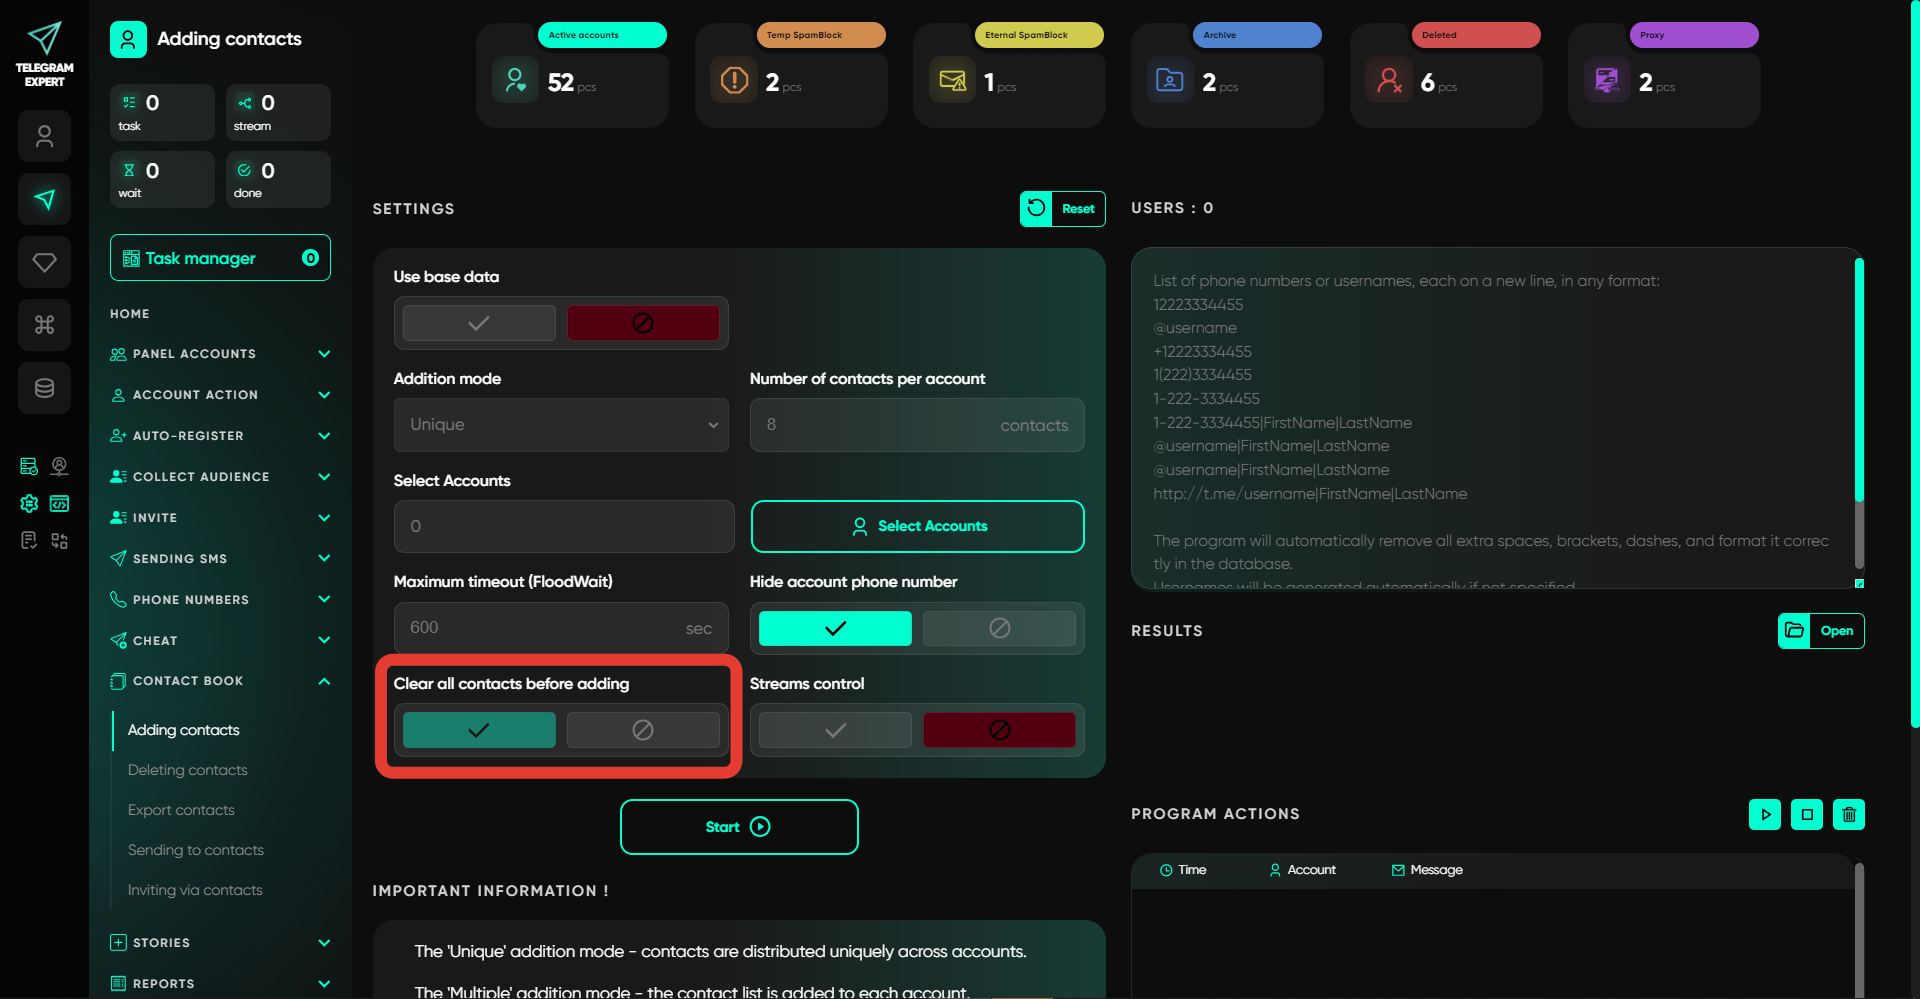
7. Clear All Contacts Before Adding
If this option is activated, the software will delete all contacts from the accounts before starting the addition process.
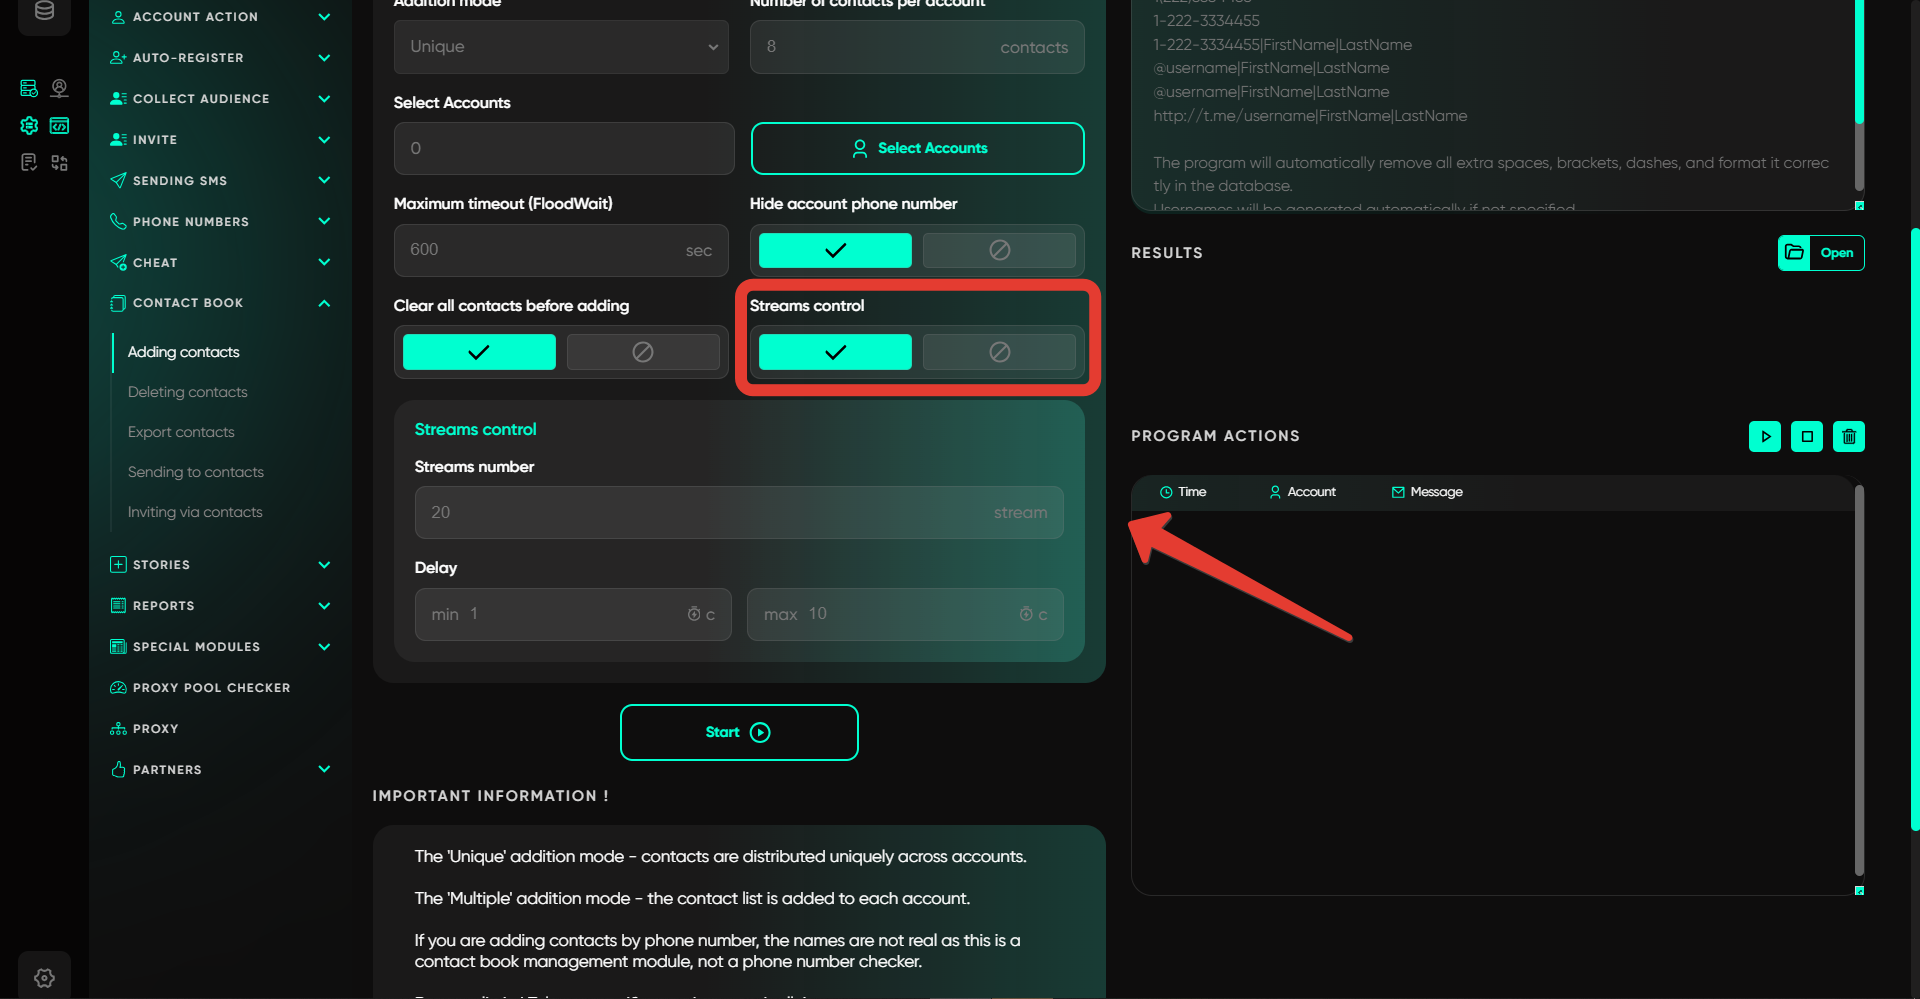
8. Thread Management
This option allows you to set the number of threads — for example, if you specify 20, work will start simultaneously on 20 accounts. The delay indicates the time the software will wait before processing each subsequent account. Values are randomly selected from the specified range. If threads are not set, the software will take these values from the settings.
Discover more features of the website
Do not limit yourself to just this page - we have collected the best manuals, useful articles, answers to questions, and real user reviews for you. Go to the section you are interested in to learn more, explore new features, and make your experience on the website as effective as possible.

Download Telegram Expert - software for Telegram promotion
Telegram Expert is professional software for fast channel growth and sales in Telegram. Launch mass mailings and invites, warm up accounts without bans, consolidate dialogs in one place, and scale your team. All in one window - fast, safe, and tailored to your tasks.
What it can do:
- TDATA Converter - массово переводит session+json в TDATA.
- Booster - account warm-up via smart dialogs to increase trust.
- Registrar - account creation via any SMS services with the sms-activate standard.
- Duplicator - a second session for existing accounts for transfer and protection.
- Forwarder - routes incoming replies to a working group and sends replies to clients.
- Interceptor - catches messages by keywords from chats/channels and forwards them to you.
- Invite via admin - invitations even to restricted groups.
- Channel and chat cloner - full copies, including protected content.
- Reporter - mass complaints about messages/users/channels.