Bot creation
The module allows you to quickly create bots from your accounts, including in bulk. This significantly reduces the time spent because there’s no longer a need to contact @BotFather each time for creation — just specify the settings and get a batch of ready-made bots.
Setup Procedure:
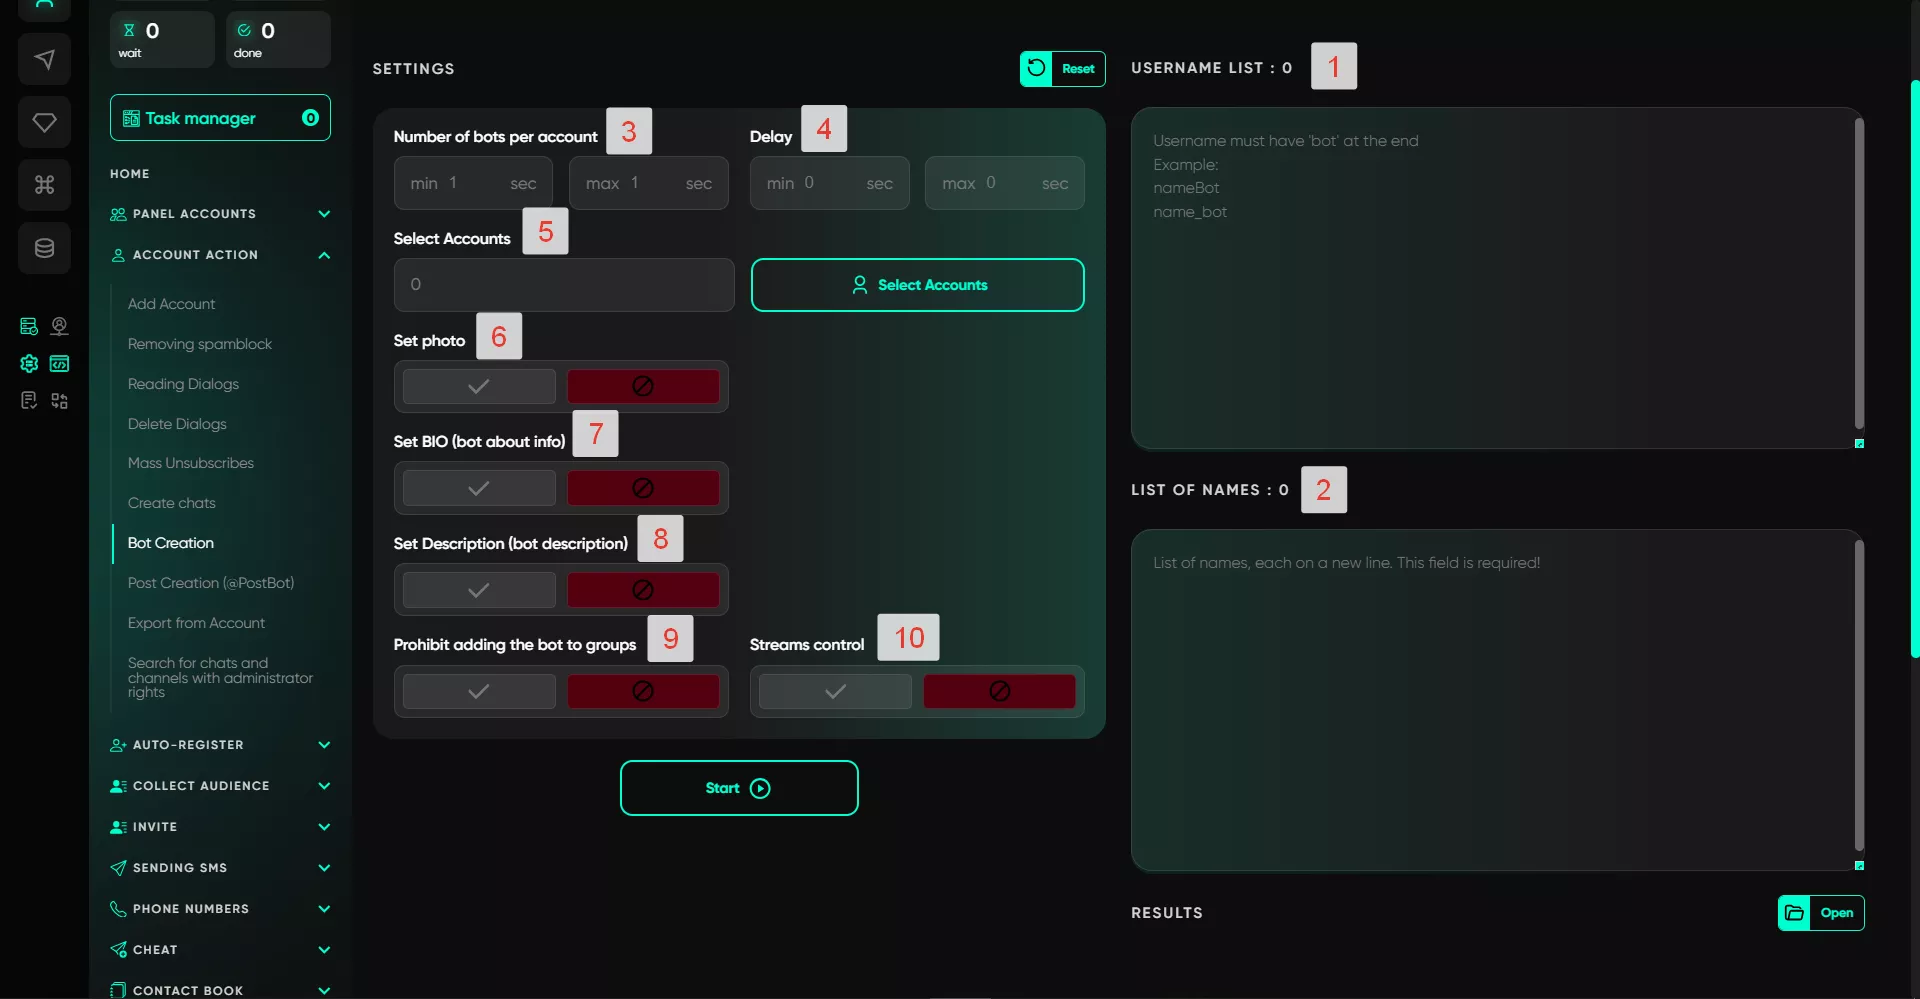
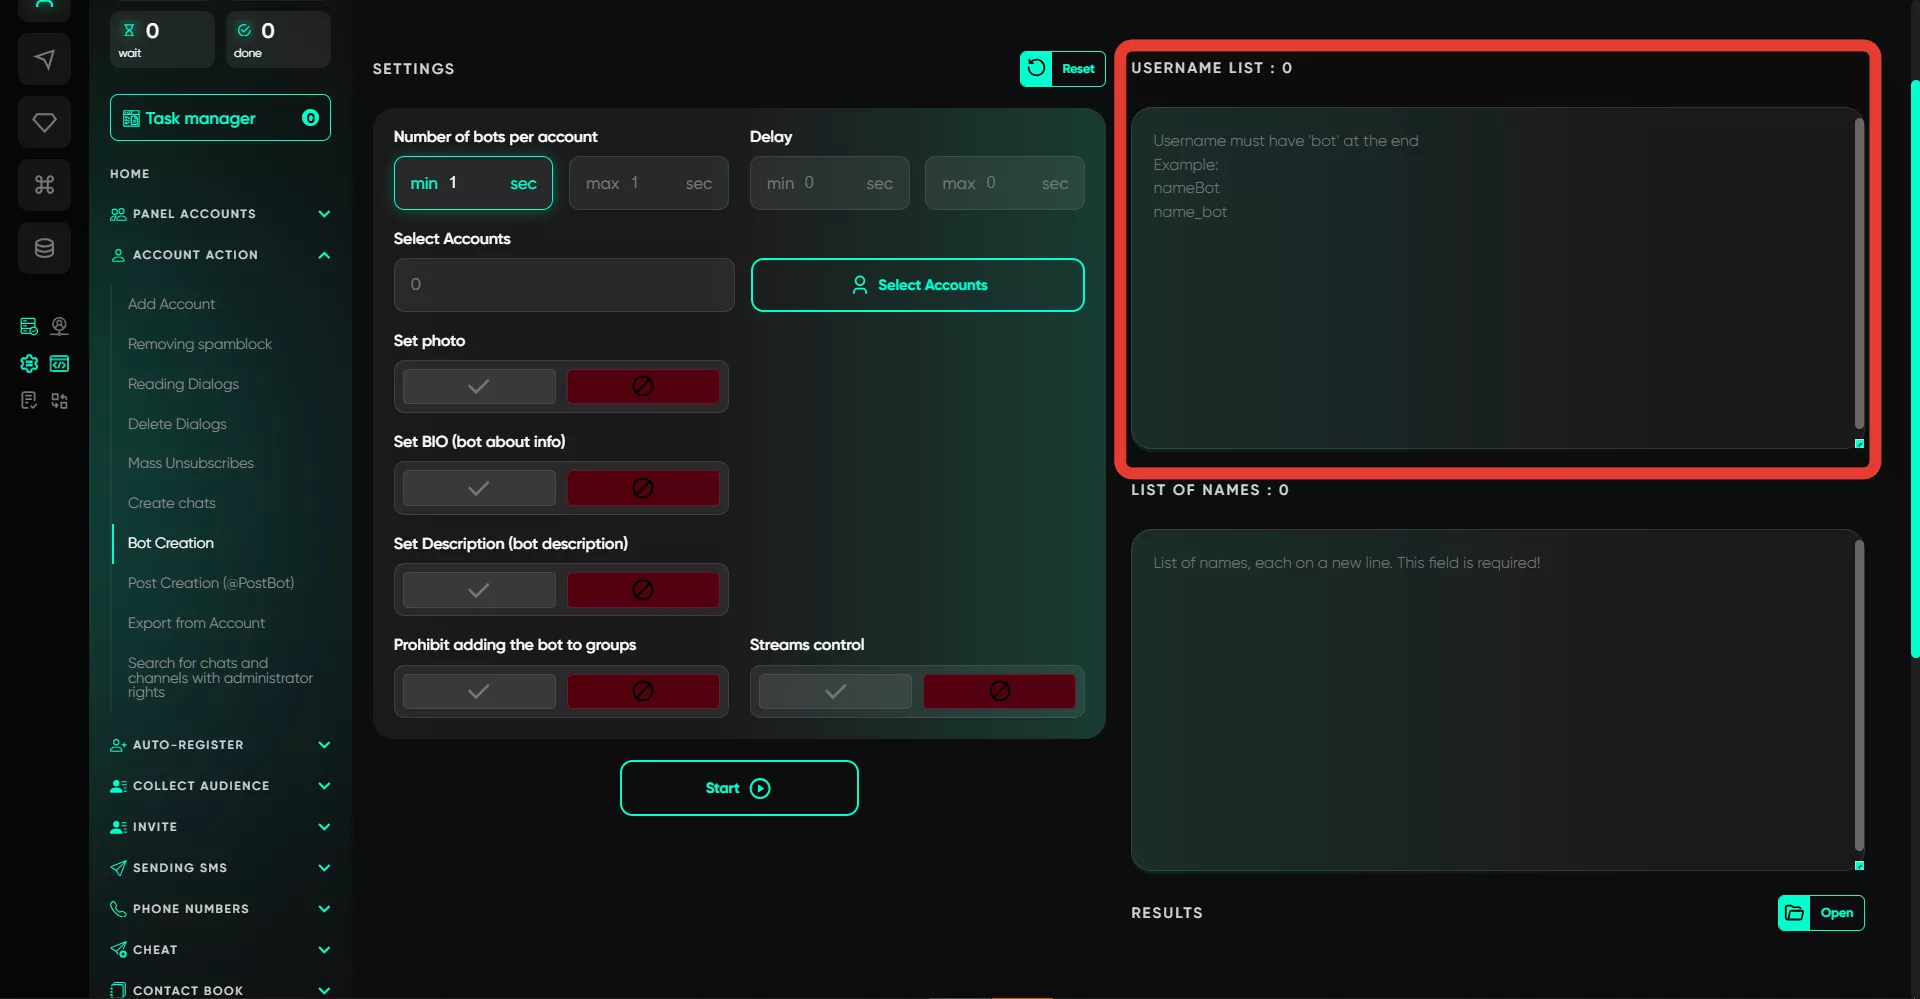
1. List of usernames
In this field, specify the list of usernames that will be used for the bots. It should be indicated according to the required quantity. The software will take them sequentially for each subsequent bot, but if the number runs out, it will loop back and simply add random numbers or symbols to make the username unique. You can set the suffix "bot" for all usernames as required by @BotFather. However, if you don’t do this, the software will automatically add it.
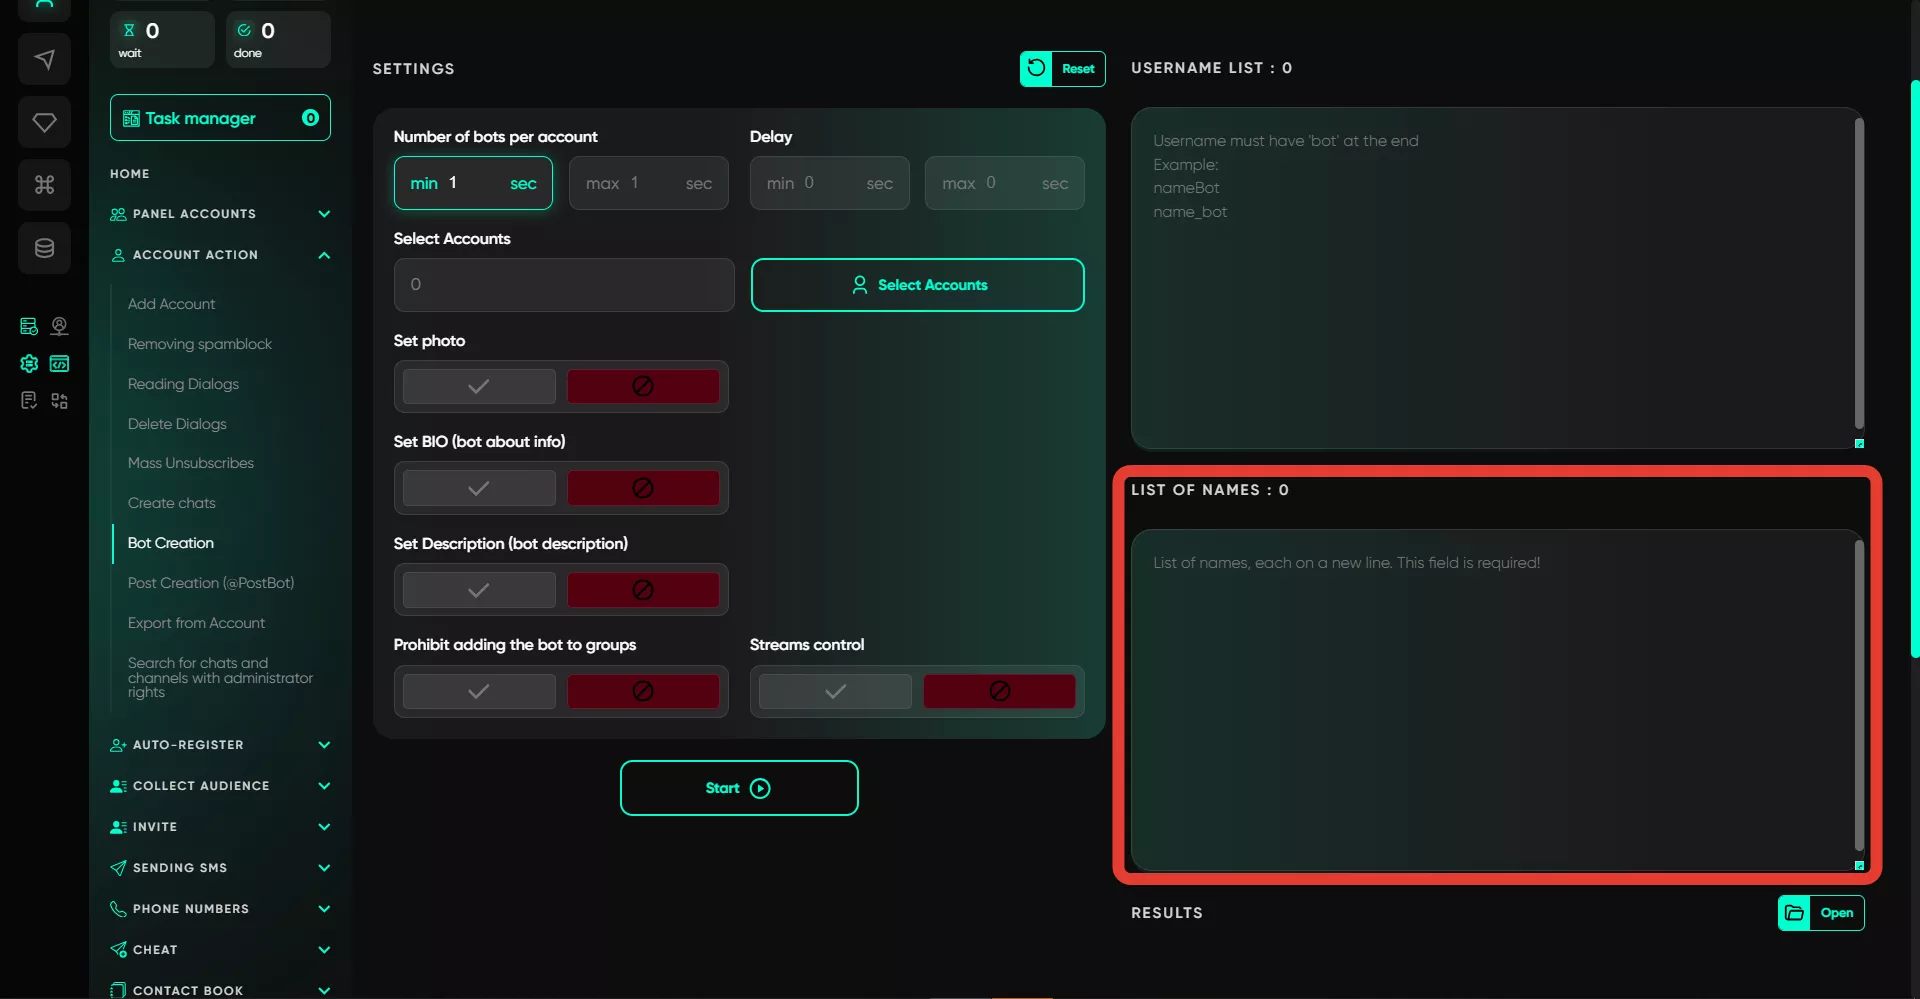
2. List of names
This is the list of names for the bots — another mandatory item for @BotFather. Here, it’s important to note that names are selected randomly, unlike usernames, so it’s advisable to provide as many options as possible for variety.
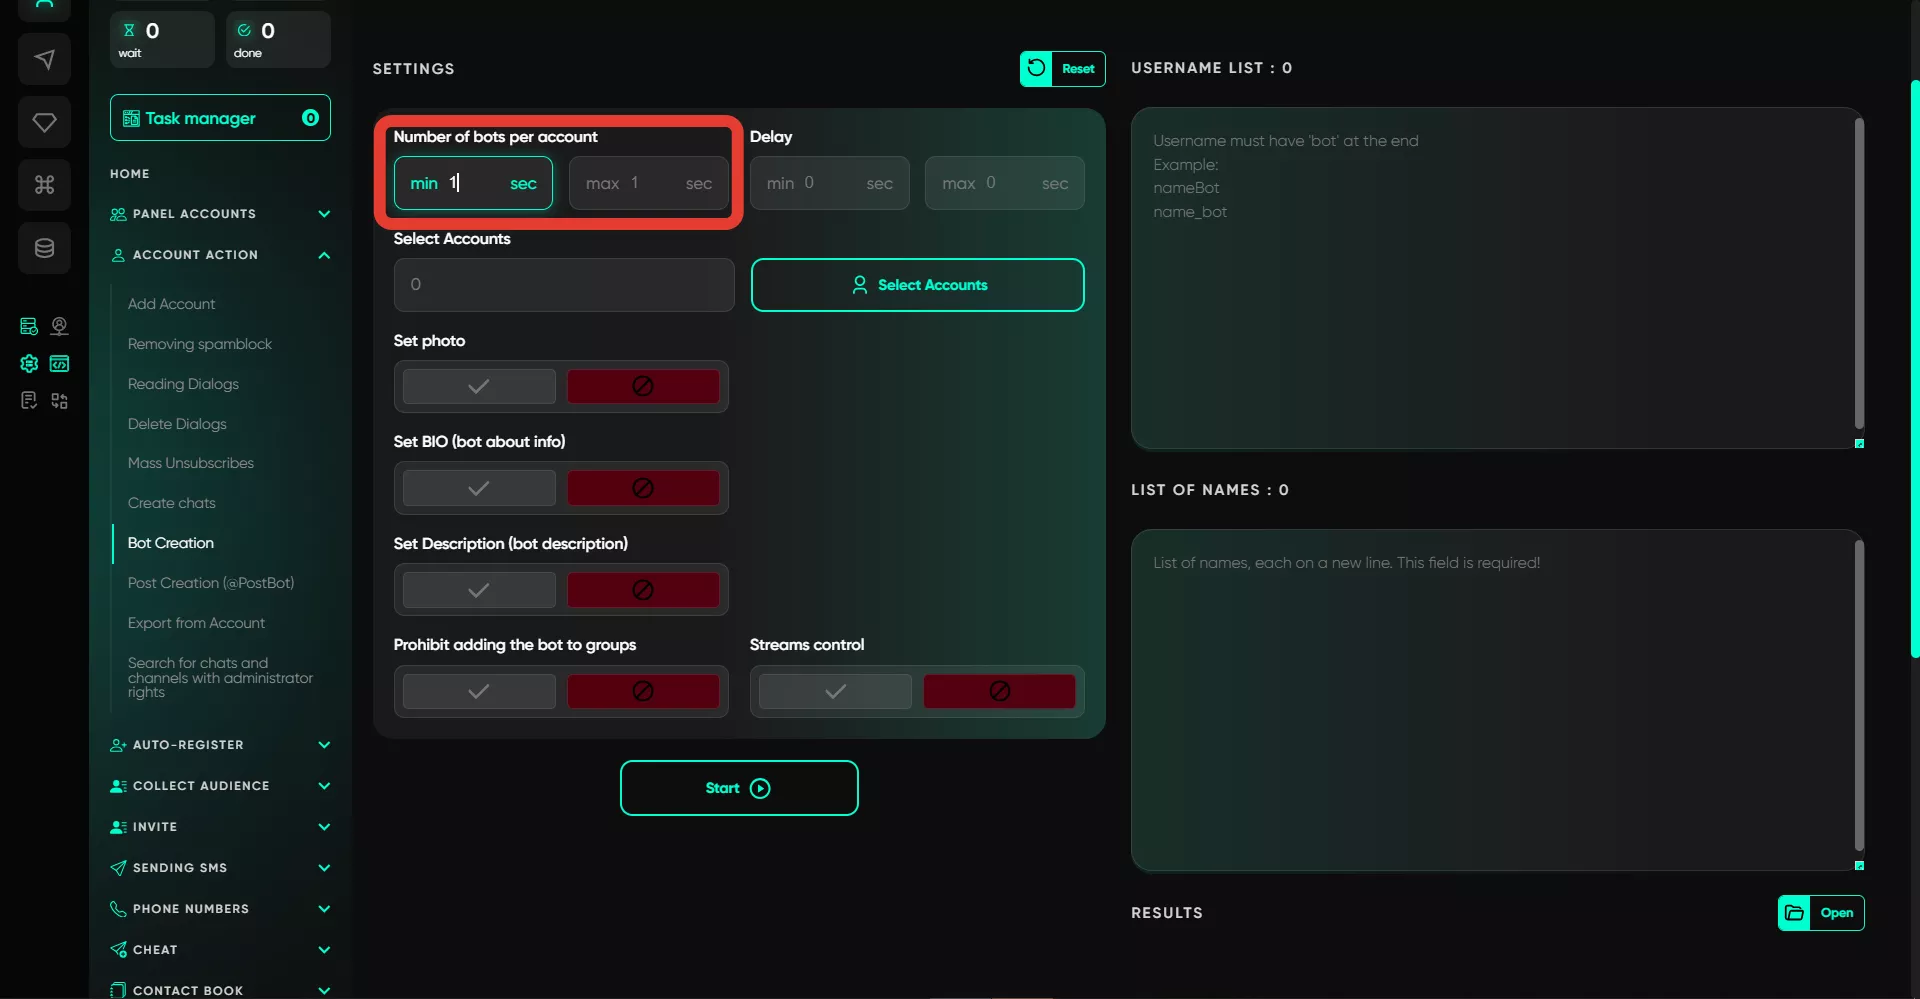
3. Number of bots per account
Here, specify how many bots will be created from one of your accounts. The value is entered as a range — meaning that during operation, the software will select a random number within that range. For example, if you specify 1 to 5 bots, the software may create either 1, 2, 3, 4, or 5 bots from a single account.
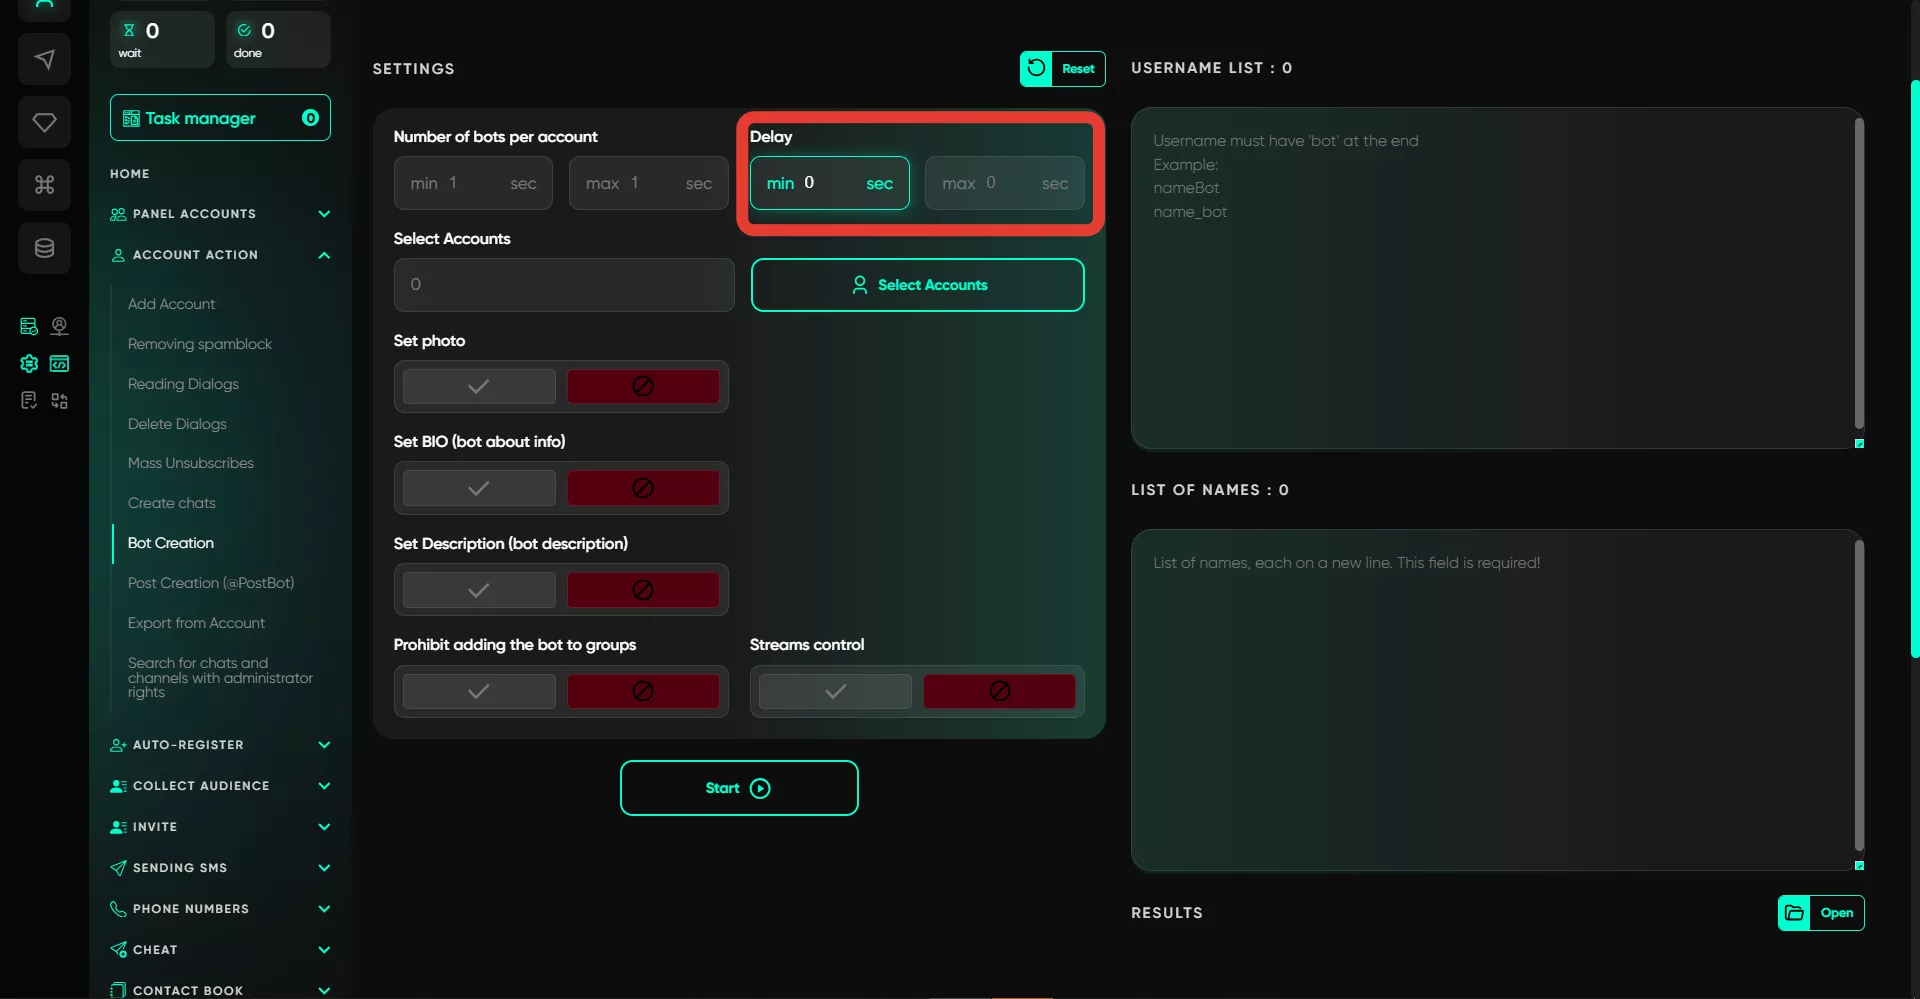
4. Delay
The delay is also specified as a range, and Telegram Expert will pick a random amount of time within that range. This time is intended to create natural delays between creating bots on a single account. It’s recommended to set it at no less than 10-15 seconds.
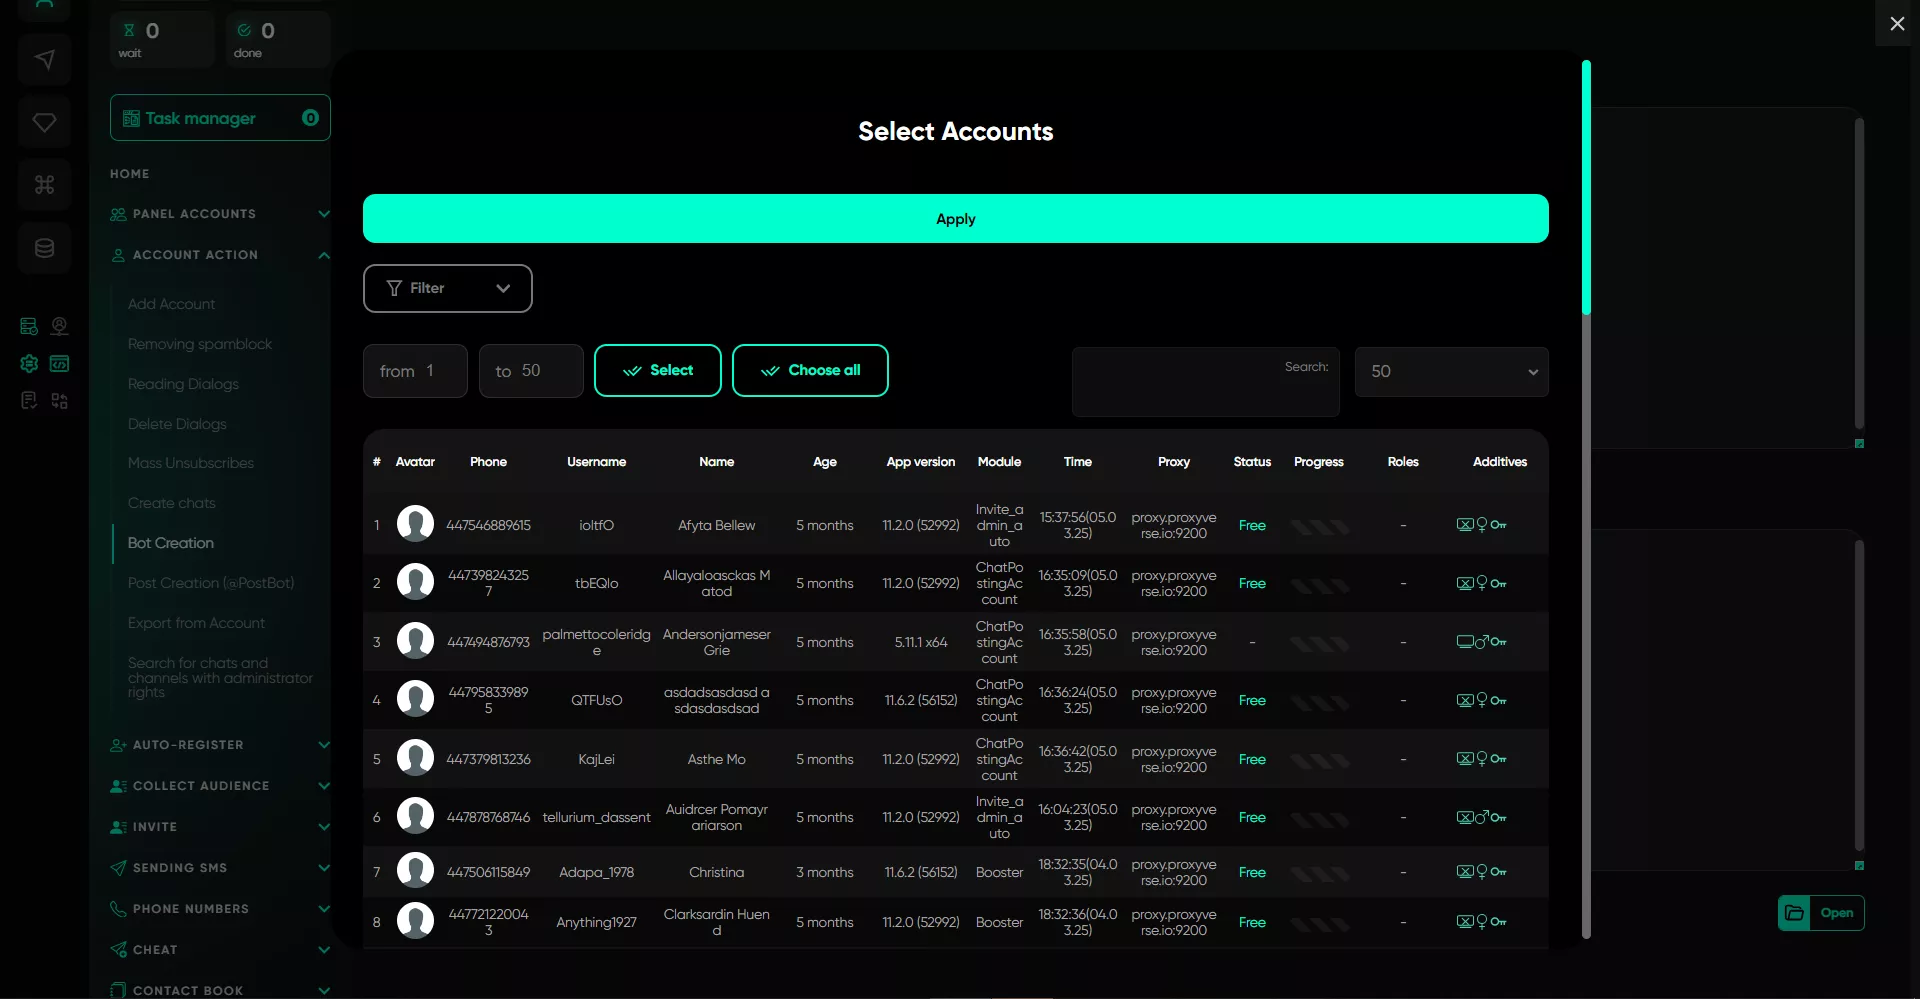
5. Select accounts
Here, you choose the accounts on which the bots will be created. The selection is made from the accounts in the "Active" folder.
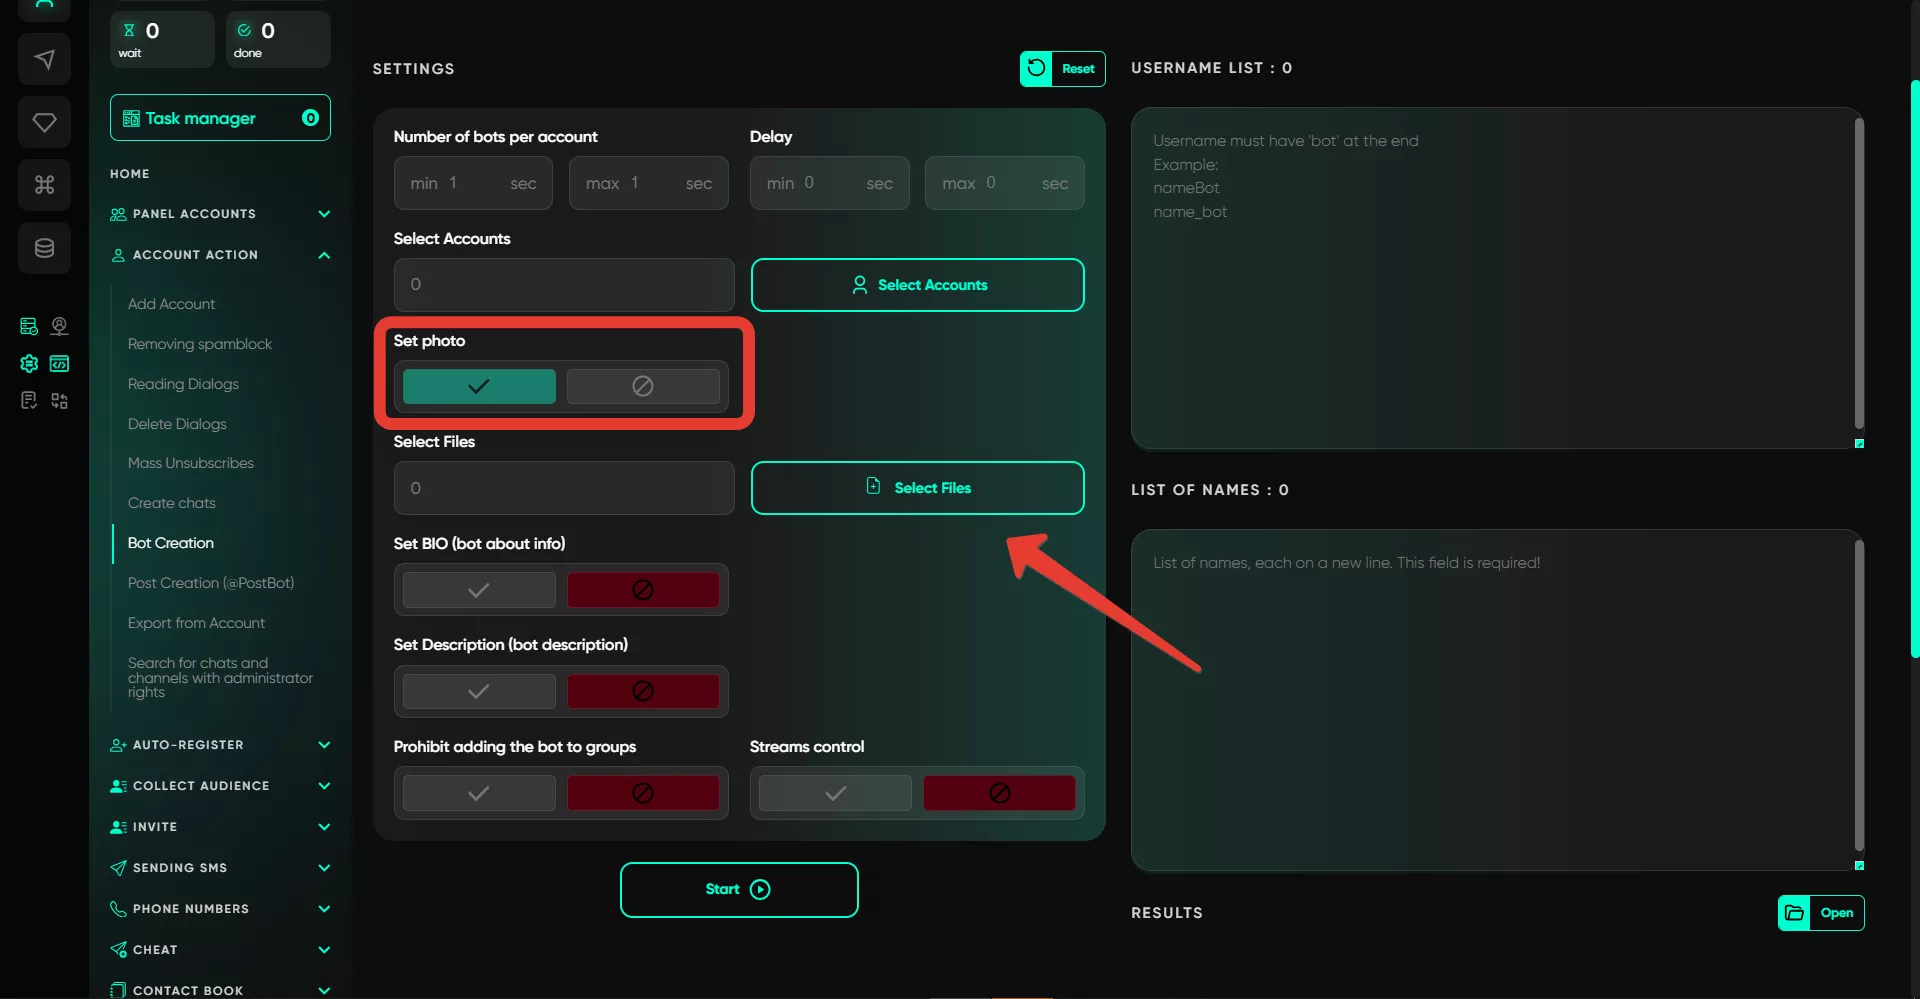
6. Set profile picture
If this option is selected, you can set a profile picture for your bot. If there are multiple bots, specify the corresponding number of images in the selected folder. The software will randomly select these images for each new bot. If only one image is selected, it will be applied to all bots.
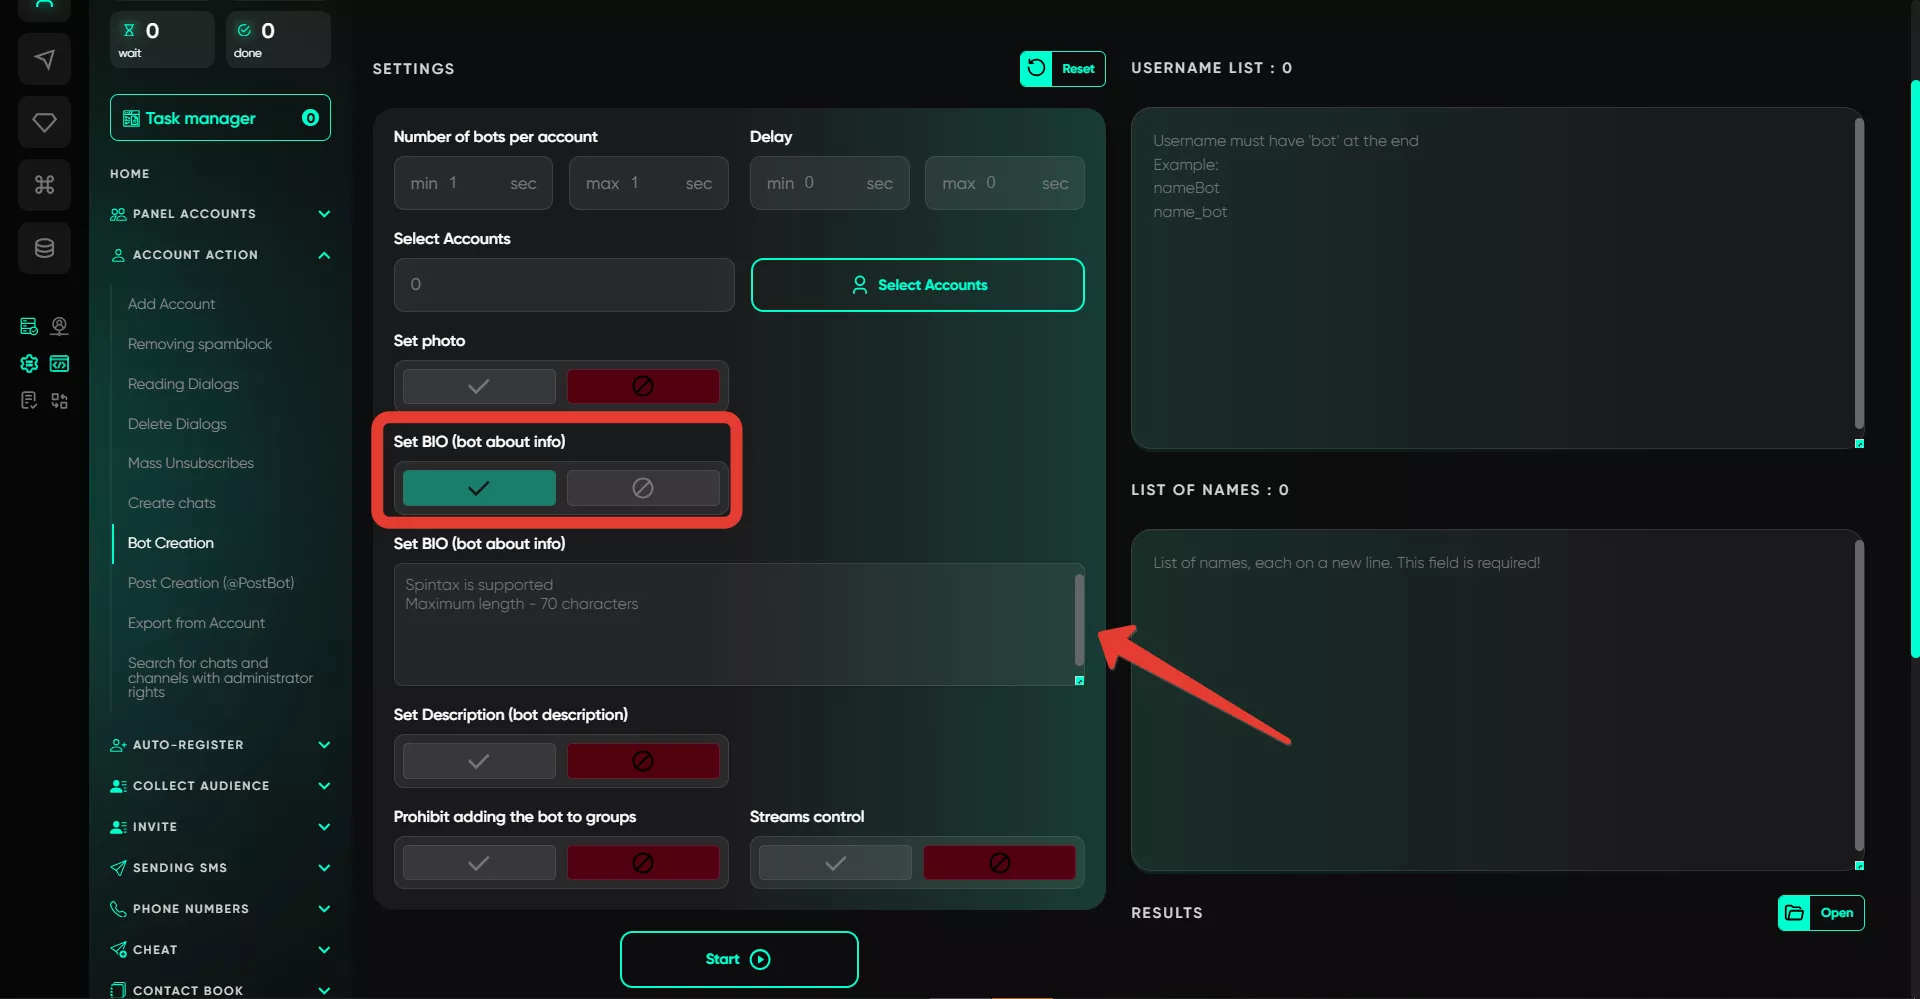
7. Set BIO
In this field, enter the bot's bio, which users see when viewing its information. The input principle is simple — each new description on a new line, and you can use spintax for variability.
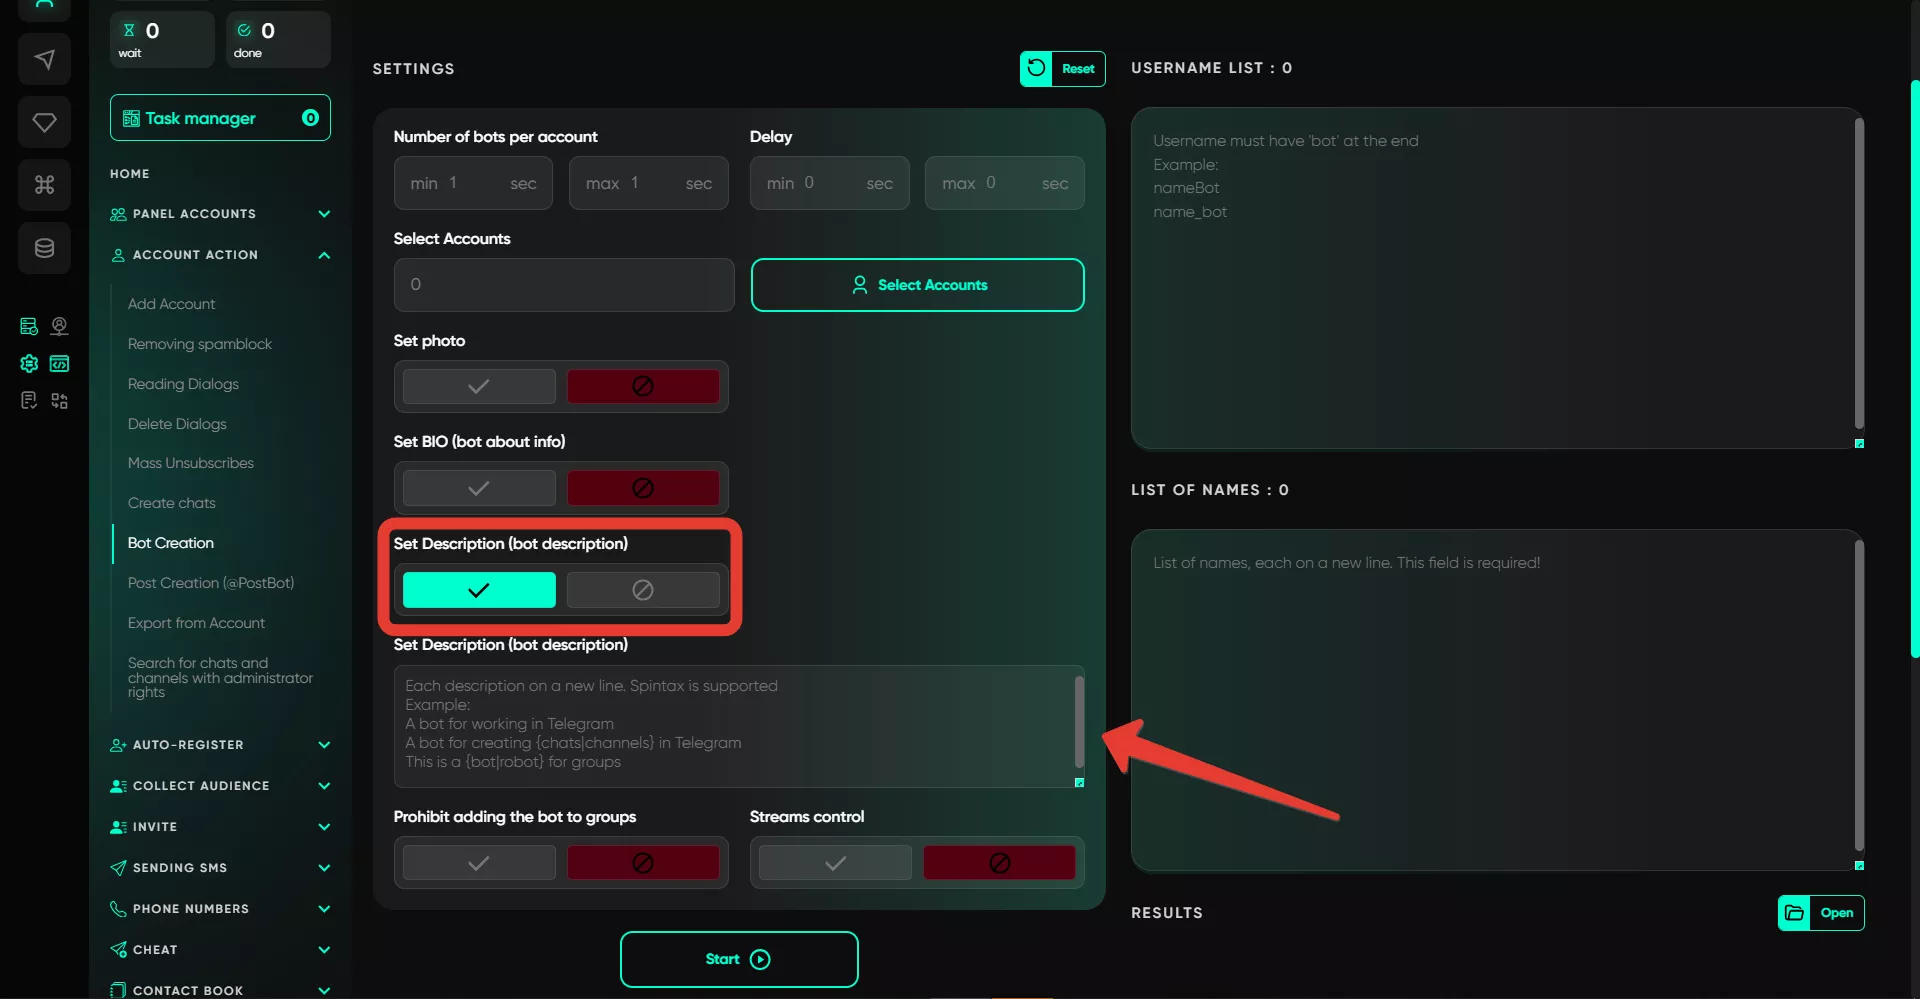
8. Set description
The bot's description serves as a hint for users who open a chat with it. They immediately see a brief message outlining its main functions. Input follows the same principle as BIO — each new description on a new line, and you can use spintax.
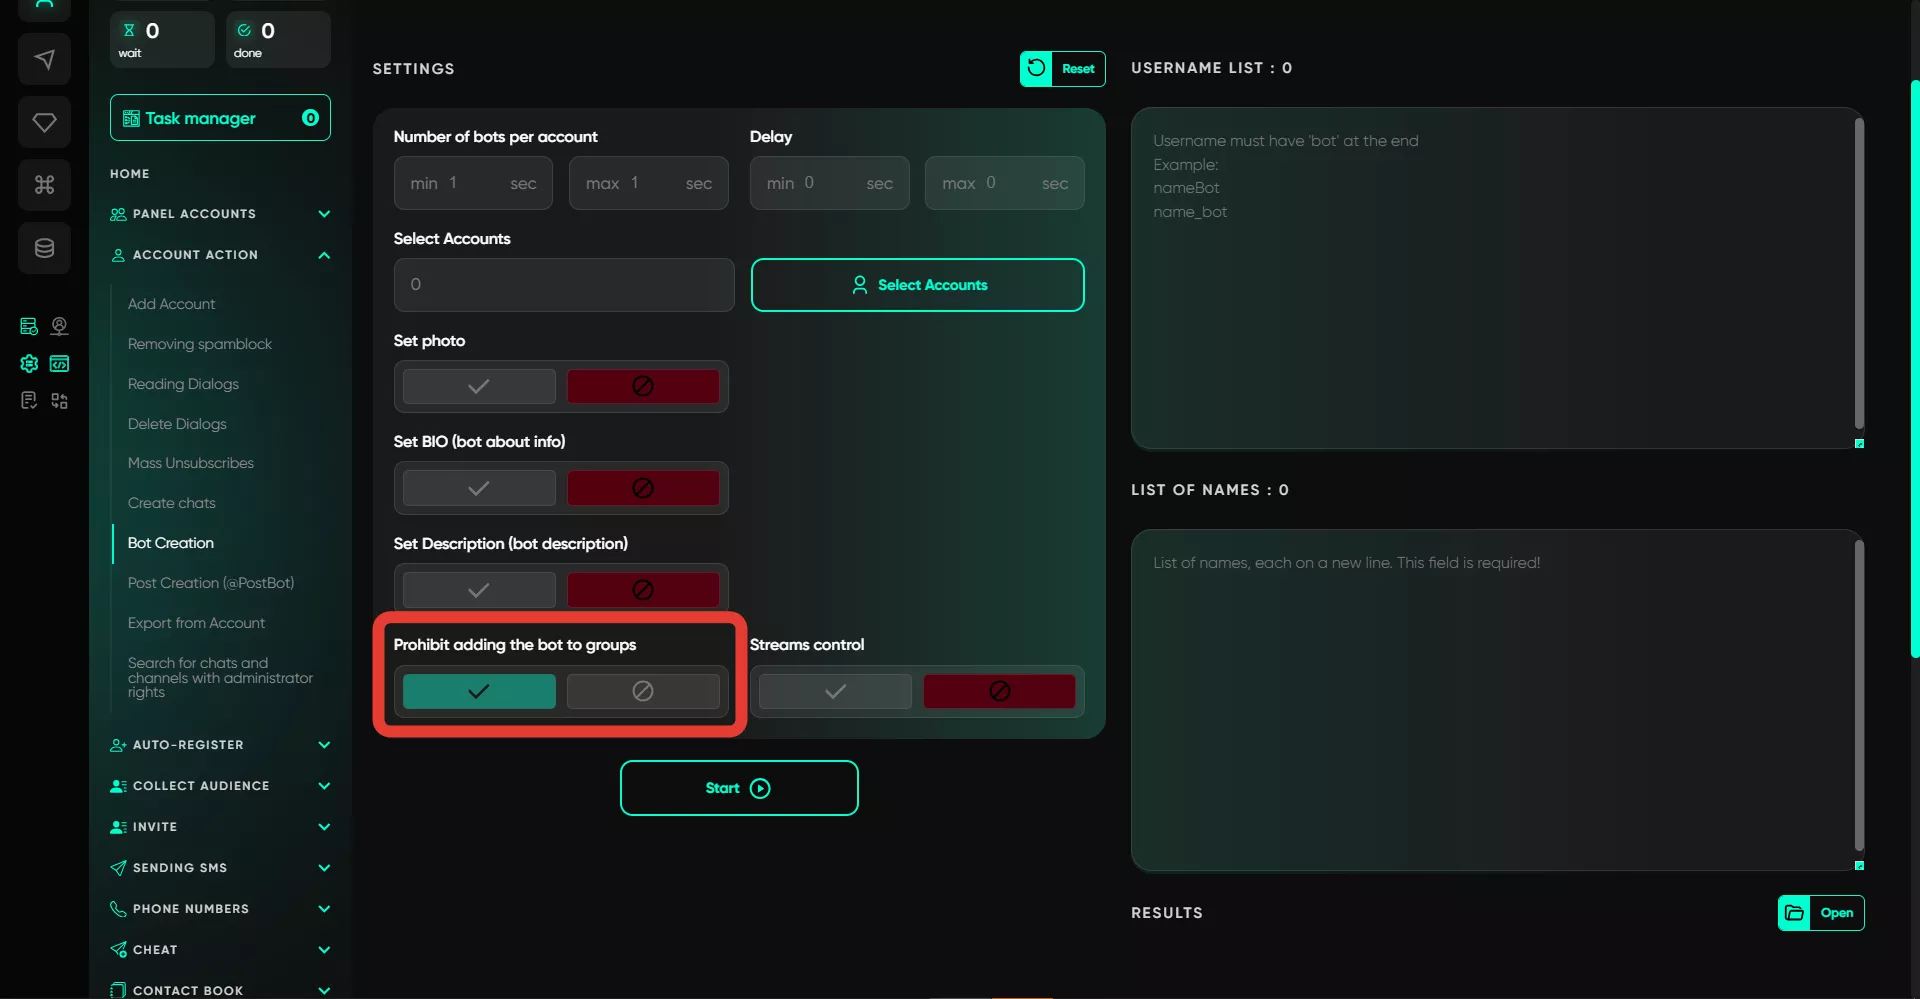
9. Prohibit adding the bot to groups
This option allows you to restrict the bot from being added to groups — a standard privacy setting.
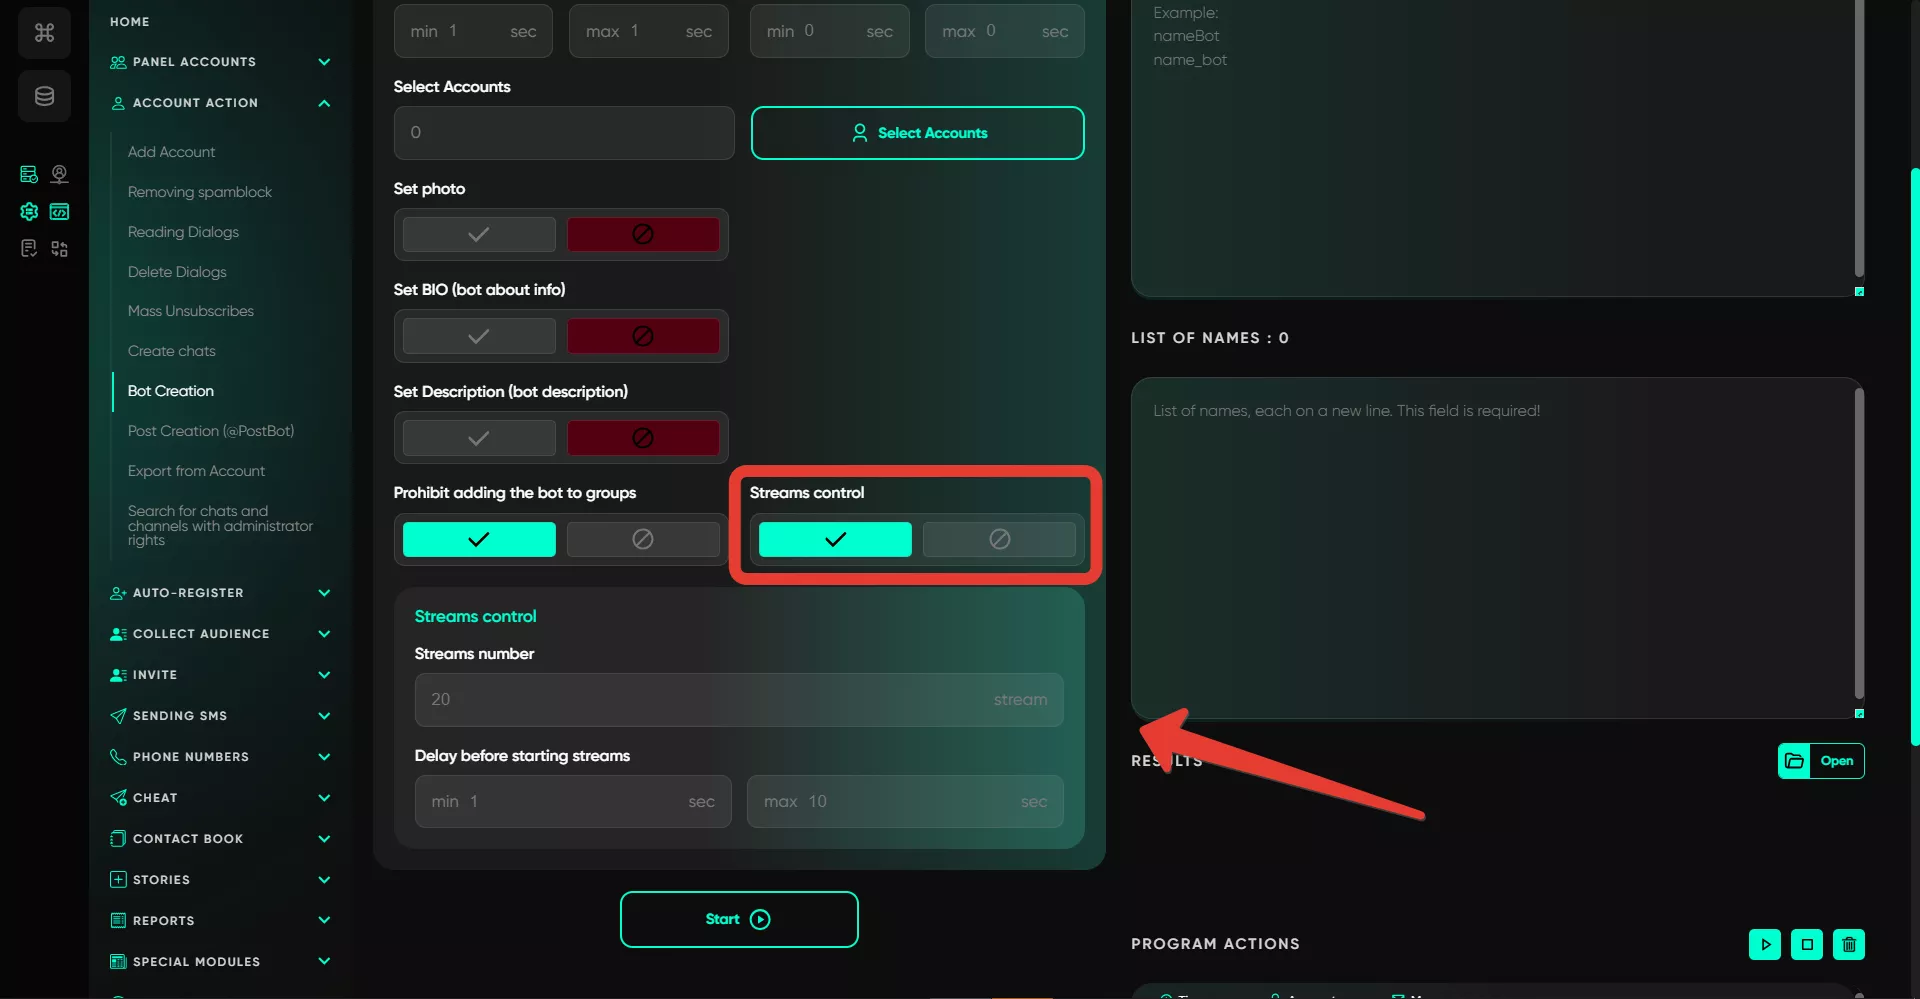
10. Thread management
Specify how many accounts will work simultaneously. For example, if you set 10 threads, the software will immediately take 10 accounts and start working on them. As soon as it finishes with one, it will move to the next in the queue with the specified delay. The delay value is randomly selected from the specified range.
After creation, a database is generated where you can view the token of a specific bot for further use — for example, for "Invite via Admin V2."
