Invite by ID
The invite by ID function in Telegram is a powerful tool for adding users to groups without needing their usernames. This is especially convenient if an account does not have a username.
When you initiate an invite, the account automatically sends invitations to selected users for the specified groups. It’s important to note that the main logic and settings for inviting by ID are almost identical to sending messages by ID, except that instead of sending a message, the program sends an invitation request to the user.
Here’s how it works:
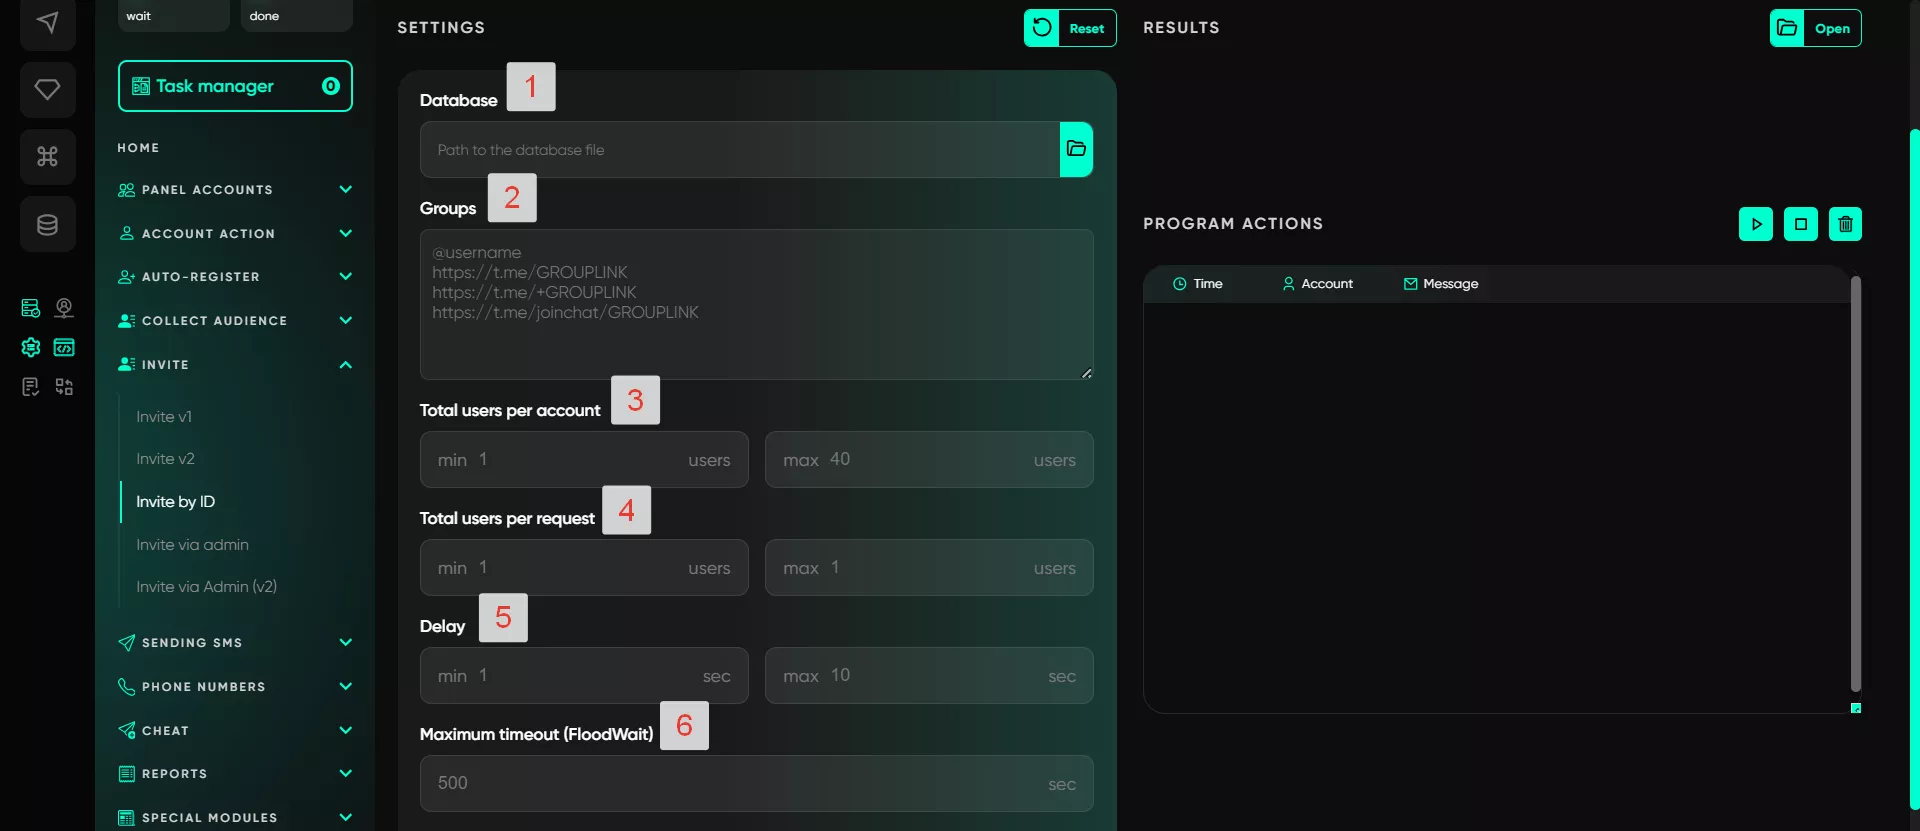
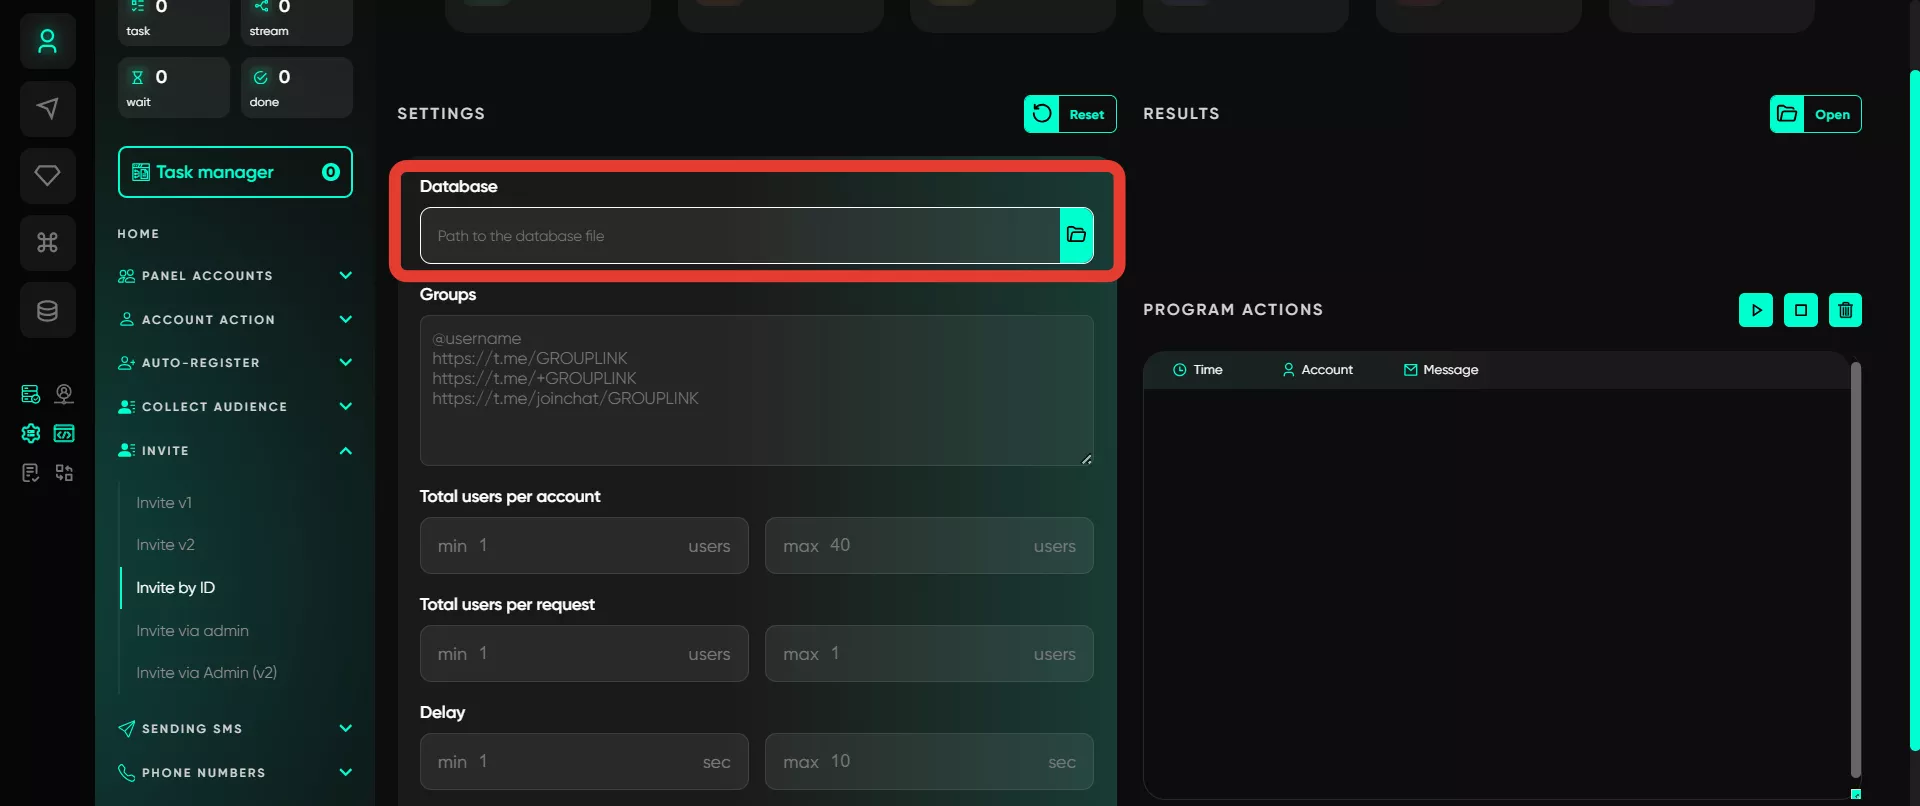
Database
Inviting by ID requires a pre-collected database containing user IDs. This is done through the «Collect audience» module, where the system automatically creates a database with user IDs.
However, one crucial point to note: an ID is a unique number assigned to each user, linked to the group from which they were collected. This means that for the program to function correctly, the database must contain not only user IDs but also information about the corresponding groups from which they were parsed.
If this data is missing, the software may display an error indicating that the user could not be found in the donor group or simply fail to locate the user in the system. Therefore, maintaining the connection between IDs and groups is critical for successful operations.
Telegram does not allow direct interaction via ID, unlike usernames or phone numbers. For ID-based operations, a donor chat is required, where the target users are located. The accounts performing ID-based actions must join the donor chat, find the users by their IDs, and perform the necessary operations.
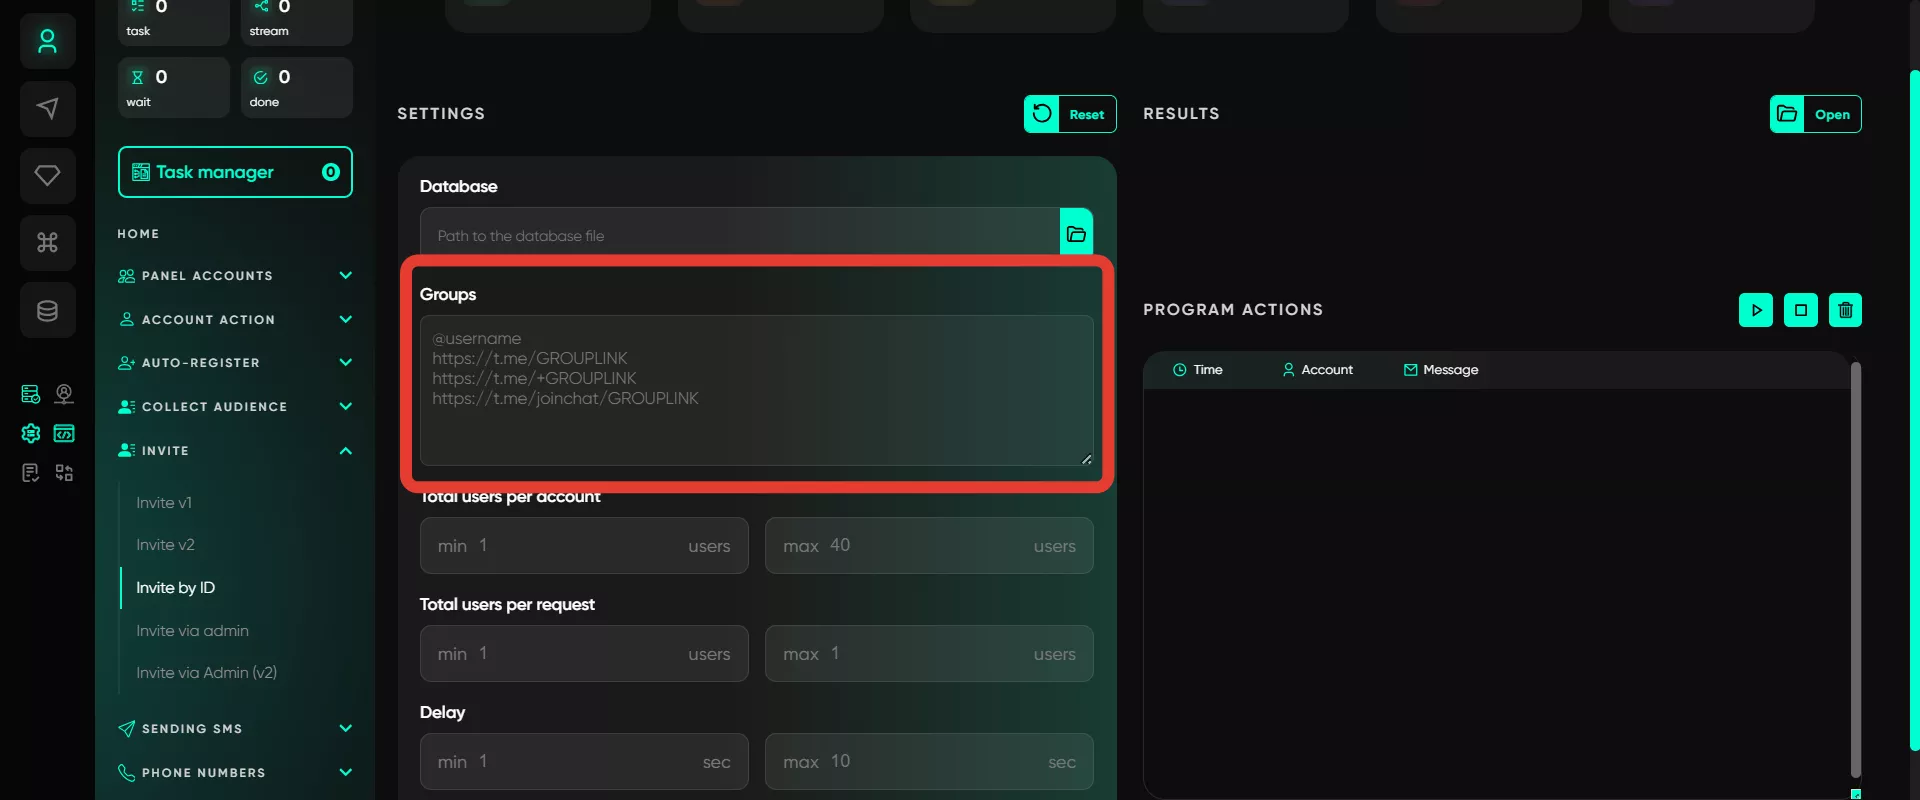
Groups
In the program interface, specify the groups to which users will be invited. To invite by ID, simply enter the group’s username or chat link. This can be a public or private group. For private groups, an active invite link is required.
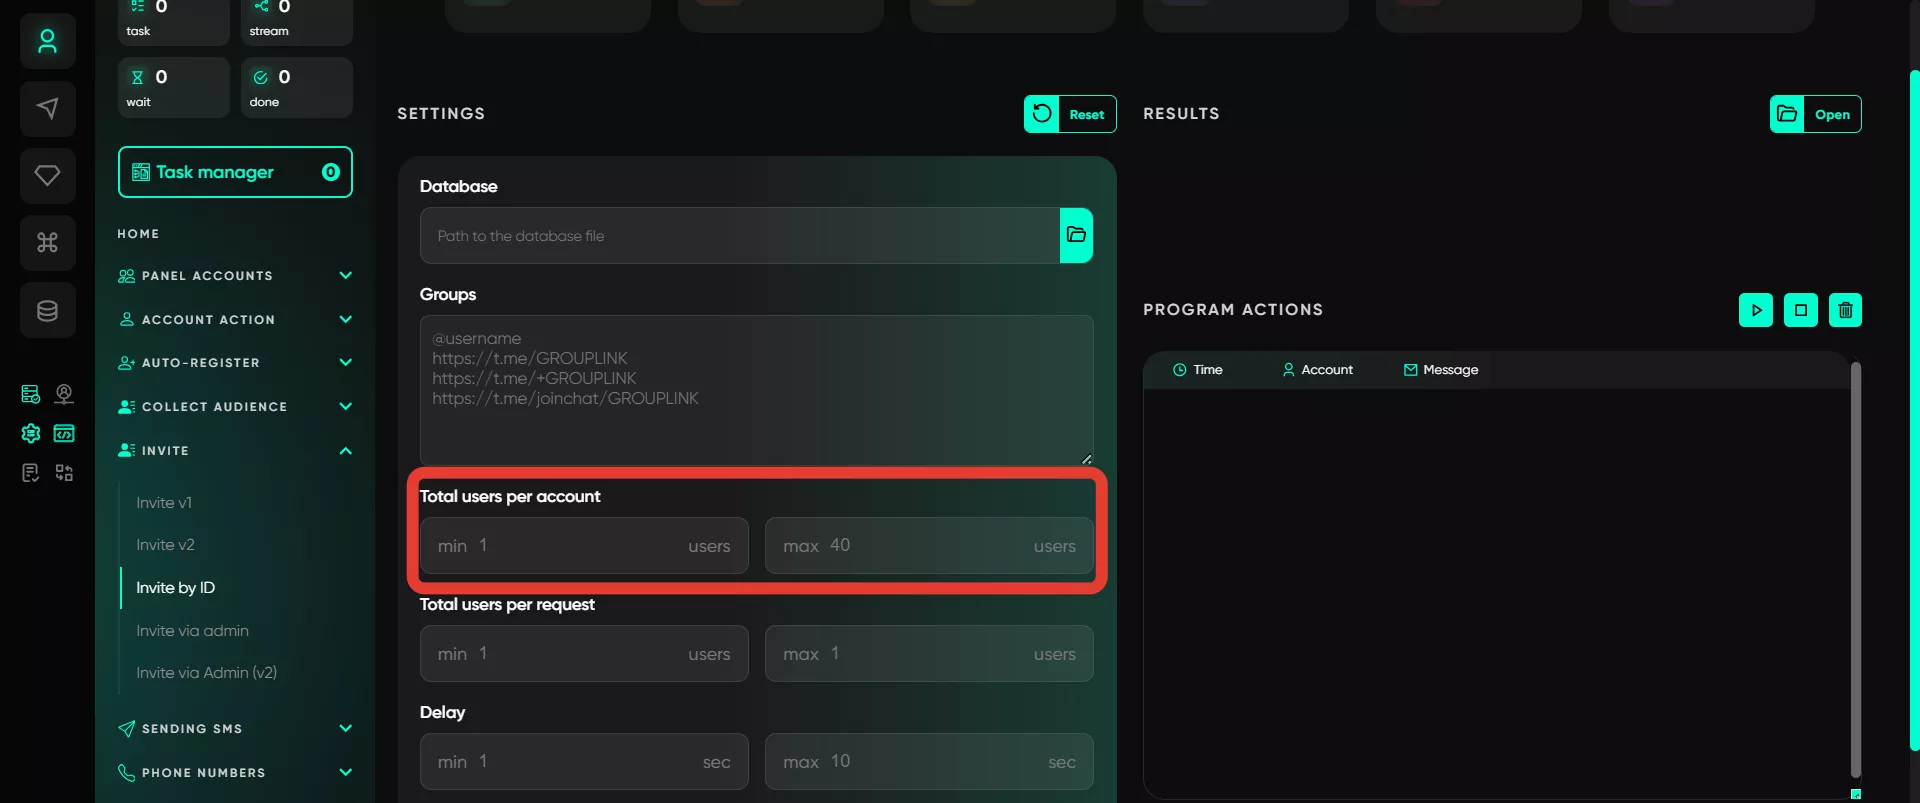
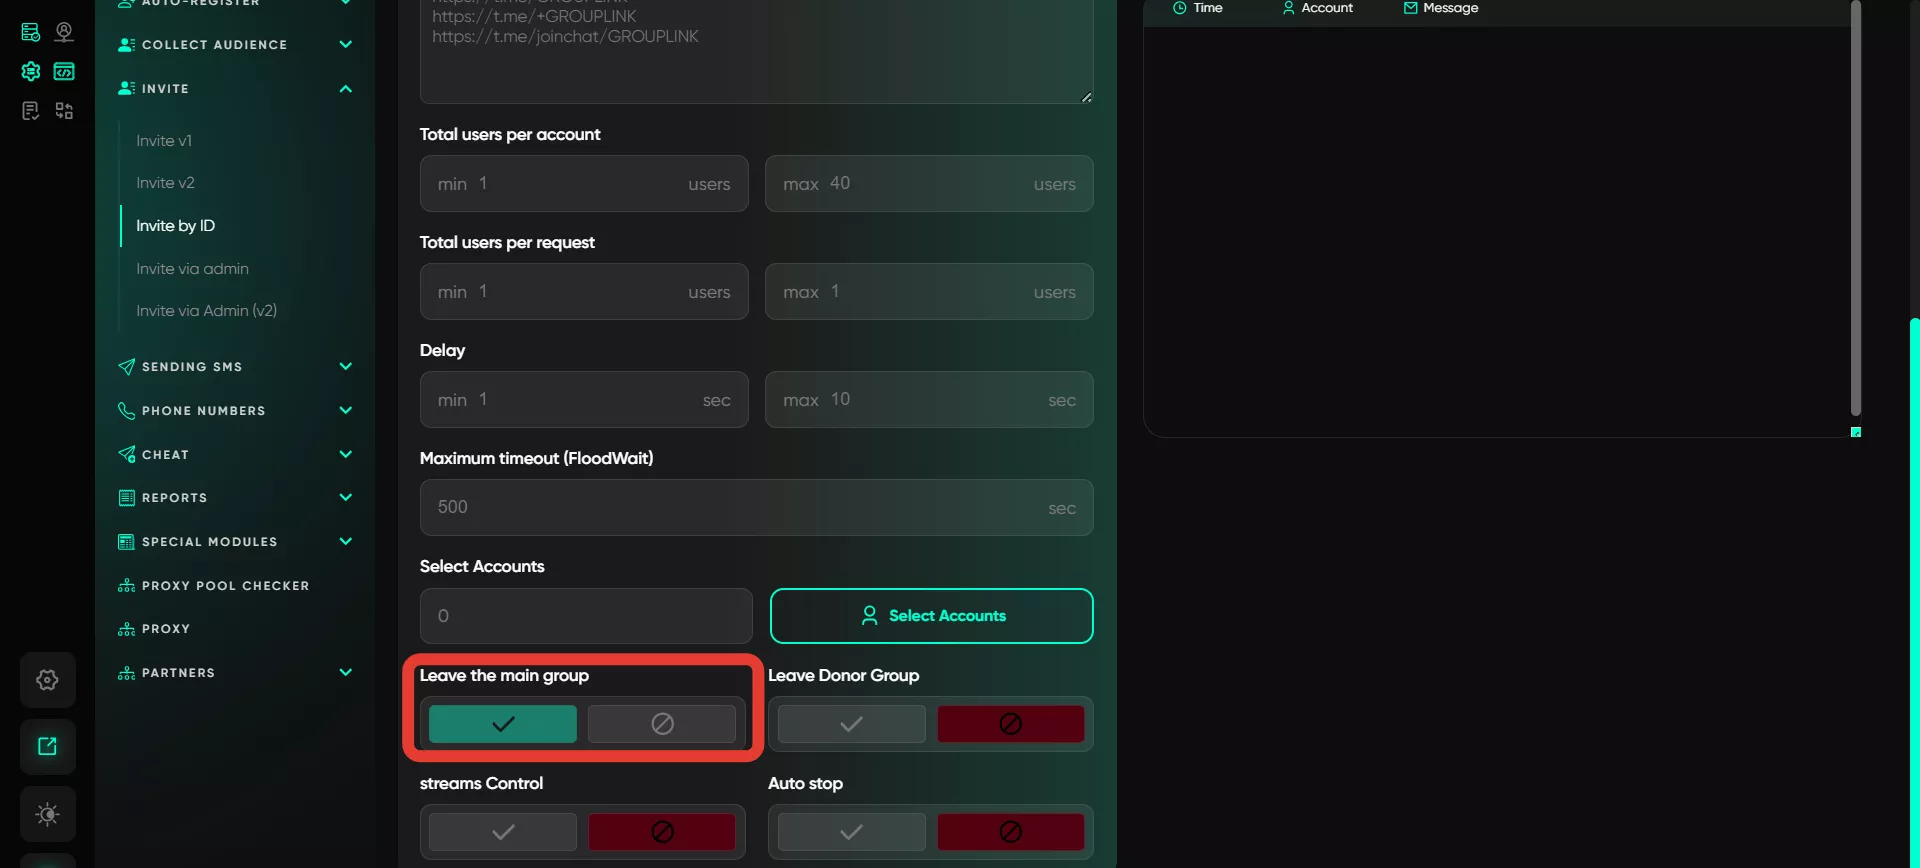
Total users per account
In this section, you can set a limit on the number of invitations each account will send. The limits may vary depending on several factors, including account activity and audience characteristics. It is recommended to start with lower values and gradually adjust the limits based on results to match your accounts' performance with users.
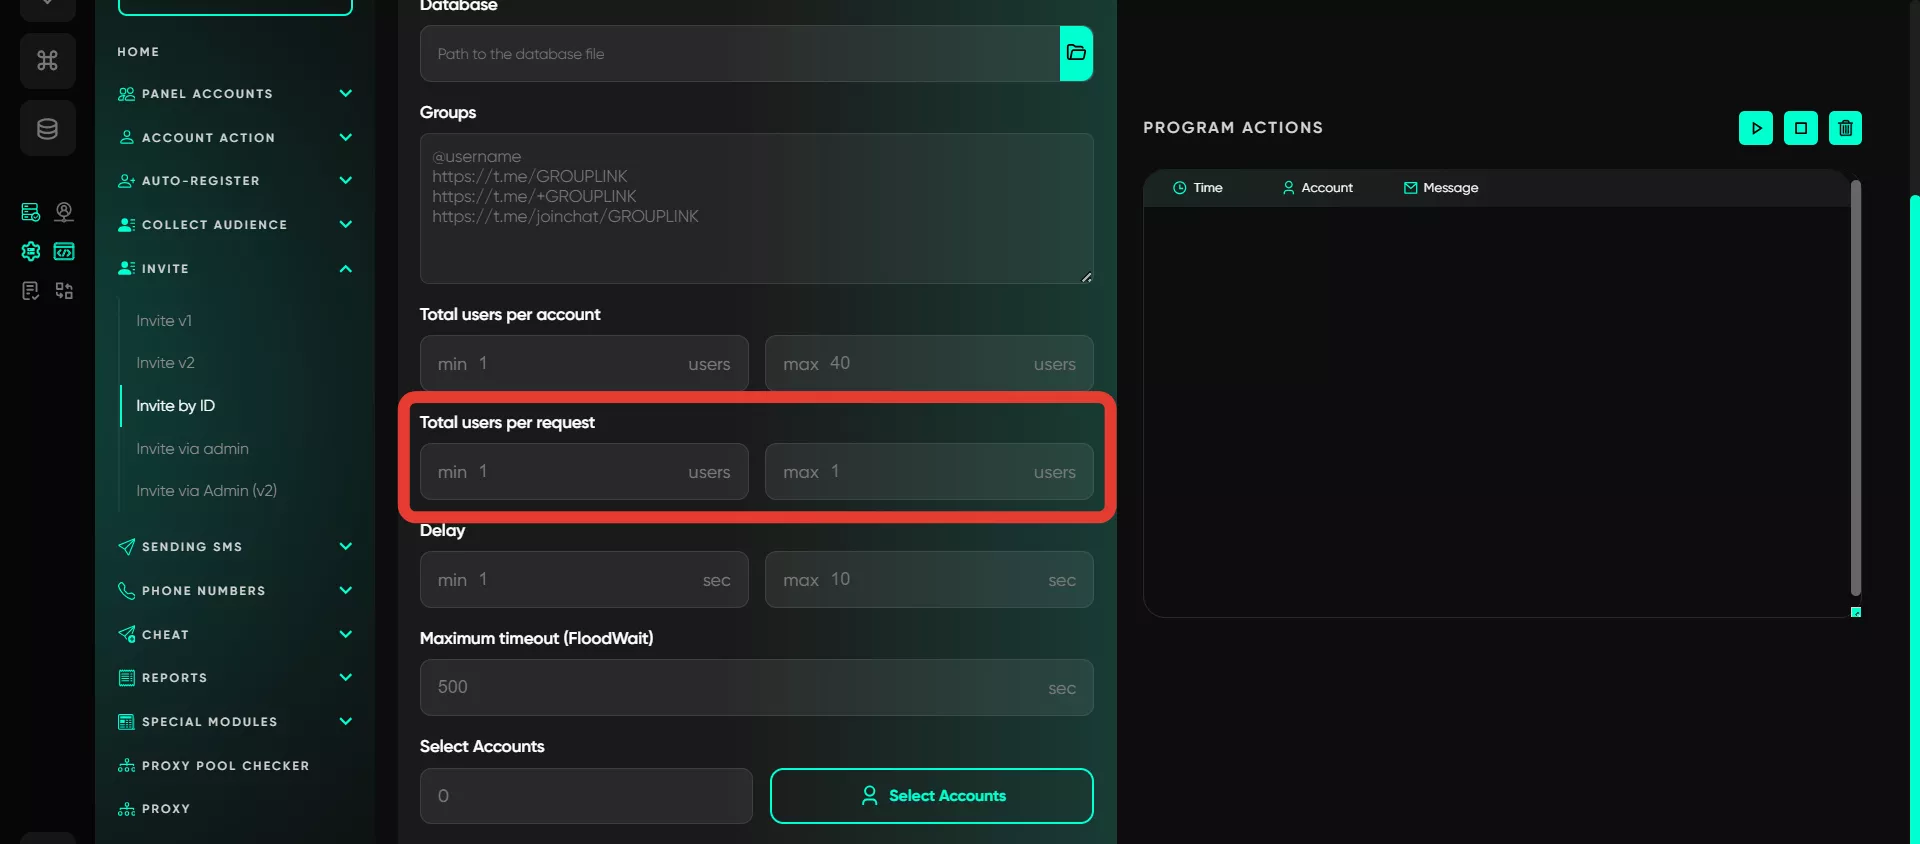
Total users per request
Telegram Expert allows you to specify the number of users to invite in a single request. For example, setting this to 10 will result in the program sending invitations to ten users per request.
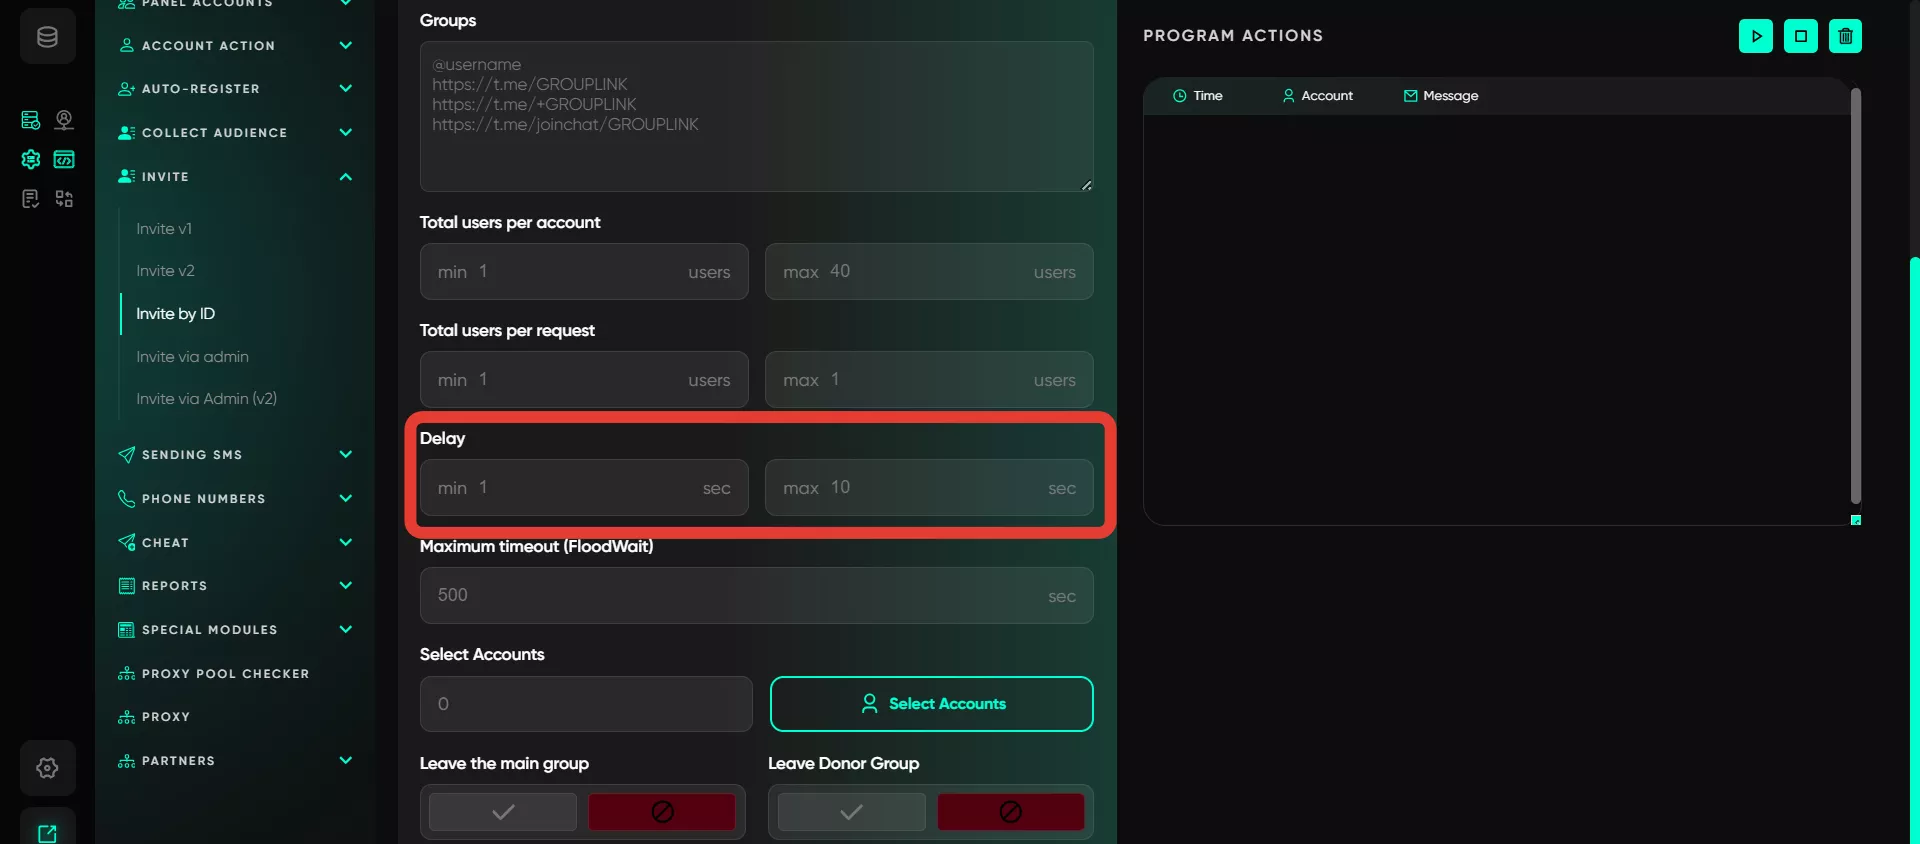
Delay
This option lets you set the timeout between invitation requests. Longer delays help make the process appear more natural and avoid Telegram restrictions. Short intervals may be perceived as spam. The program randomly selects delays within the specified range.
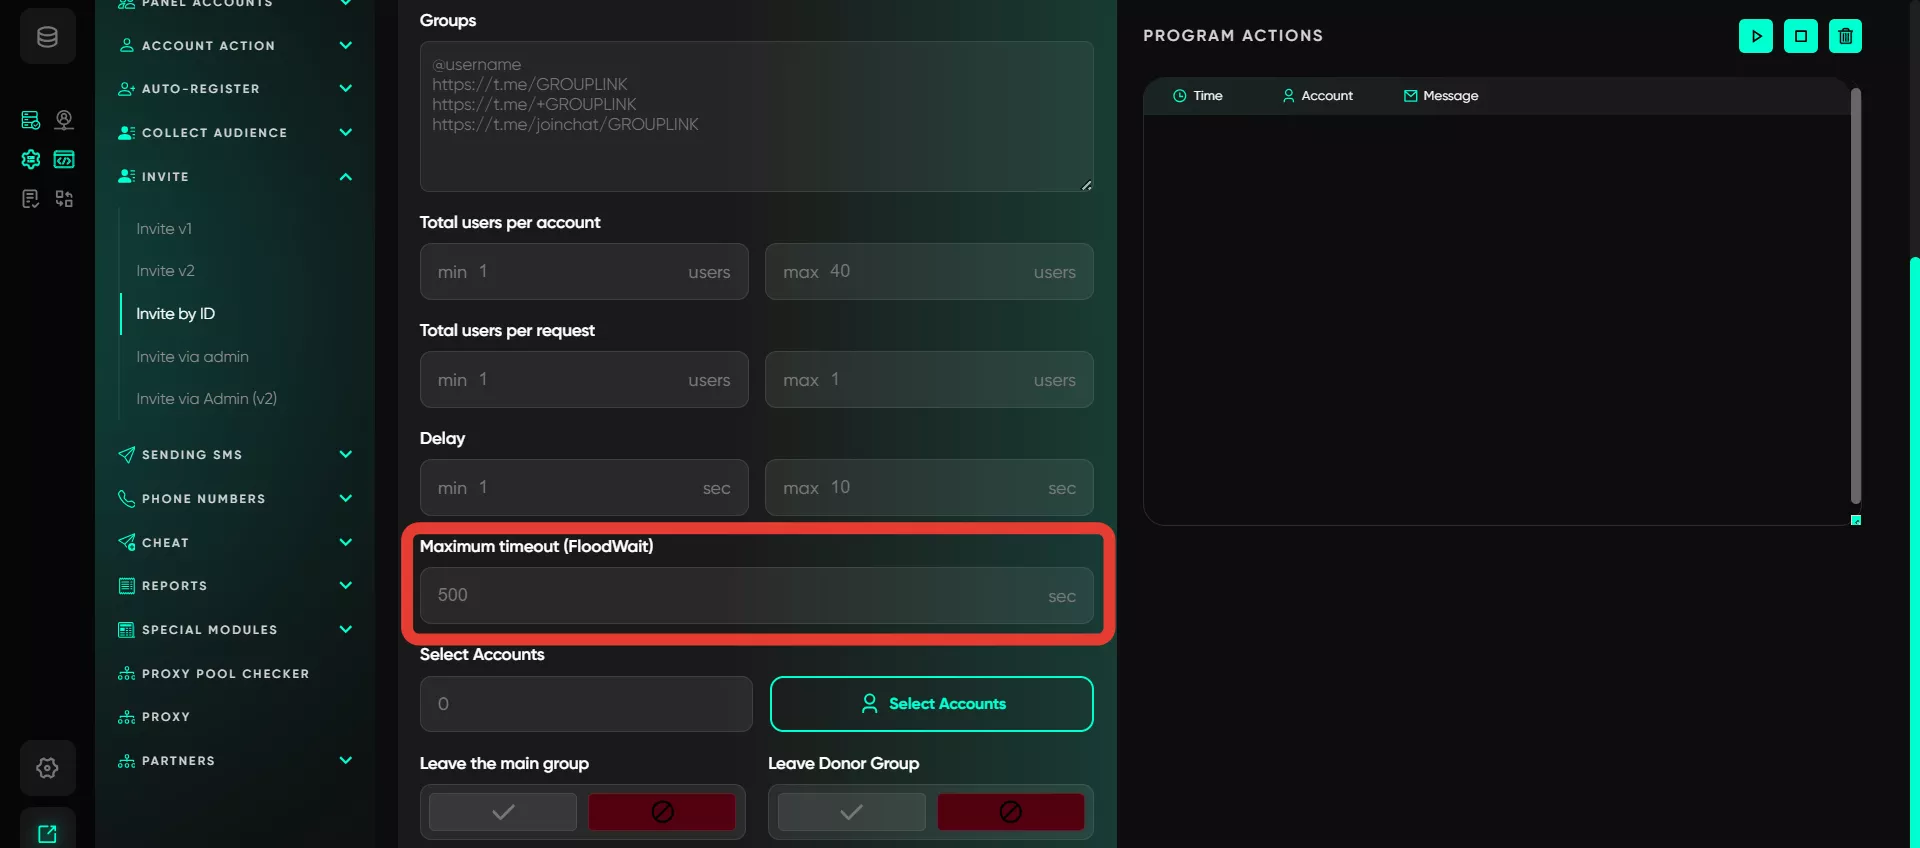
Maximum timeout (Flood Wait)
When an account encounters a flood restriction, the software will follow the specified waiting interval. If the restriction lasts longer than the set time, the account’s operation will be paused. If it lasts shorter, the software will wait for the restriction to lift and then resume.
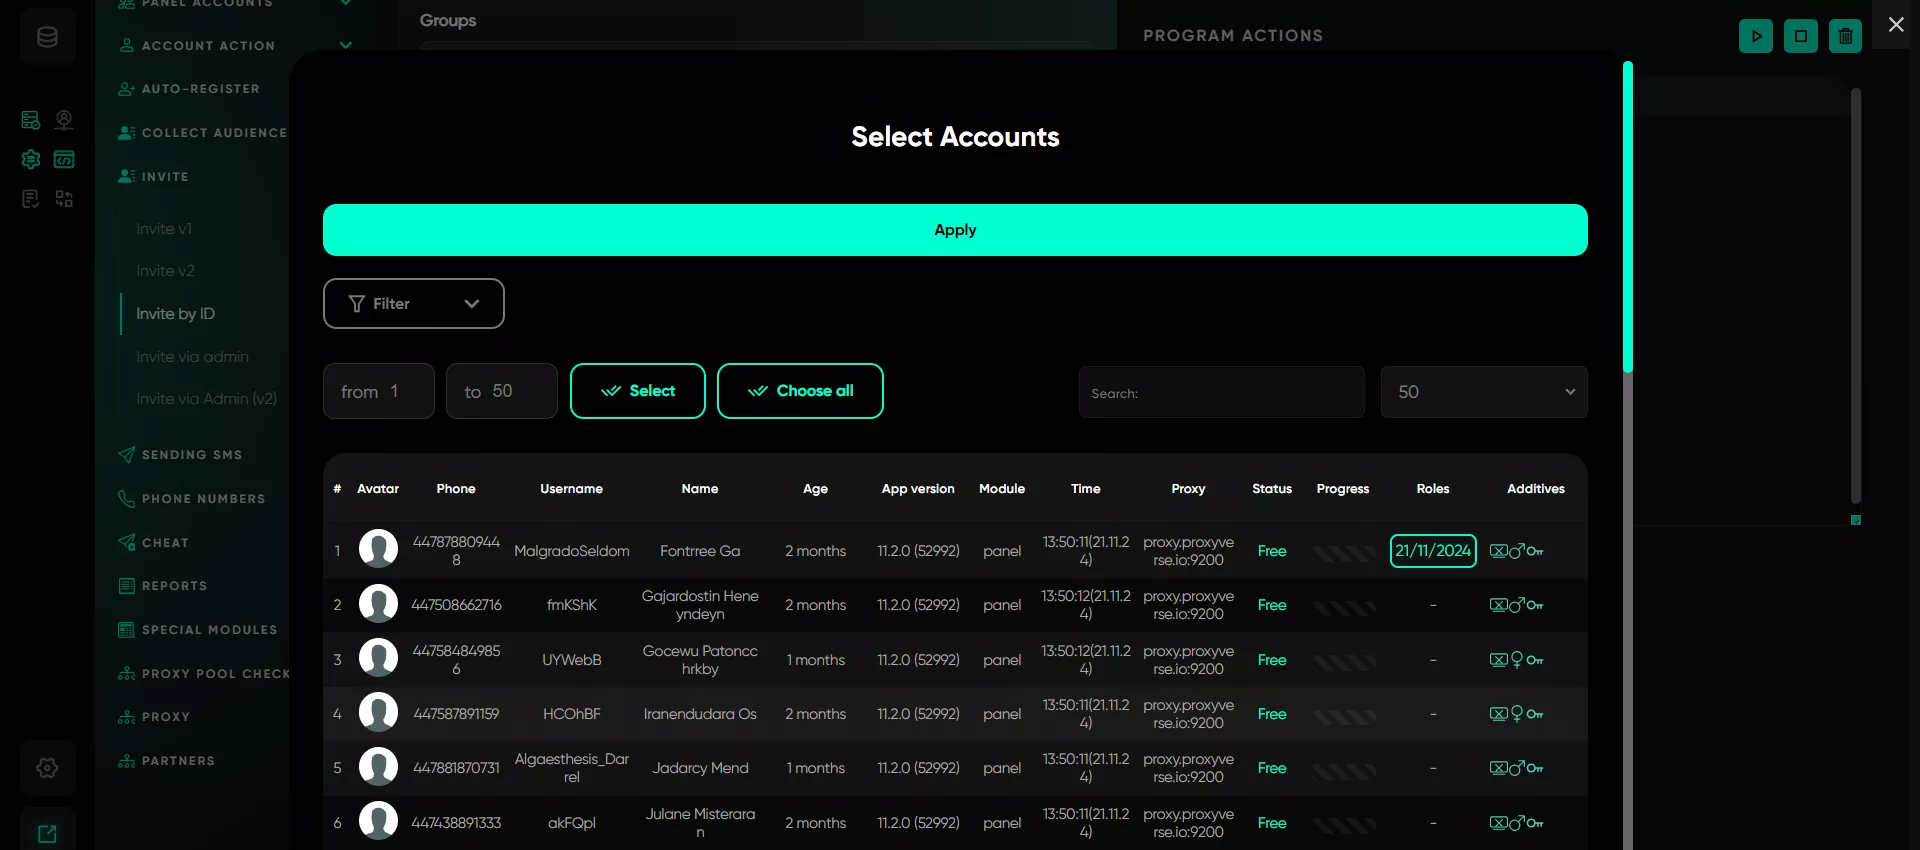
Select accounts
To use this module, select the accounts that will add new users from the database while obtaining admin rights for this operation. These accounts can only be selected from the «Active» section.
Leave the main group
This option allows you to configure the program so that after completing the invites, the account used for inviting automatically leaves the chat. If the account wasn’t a group member initially, it will temporarily join the group to send the invitations and then automatically leave.
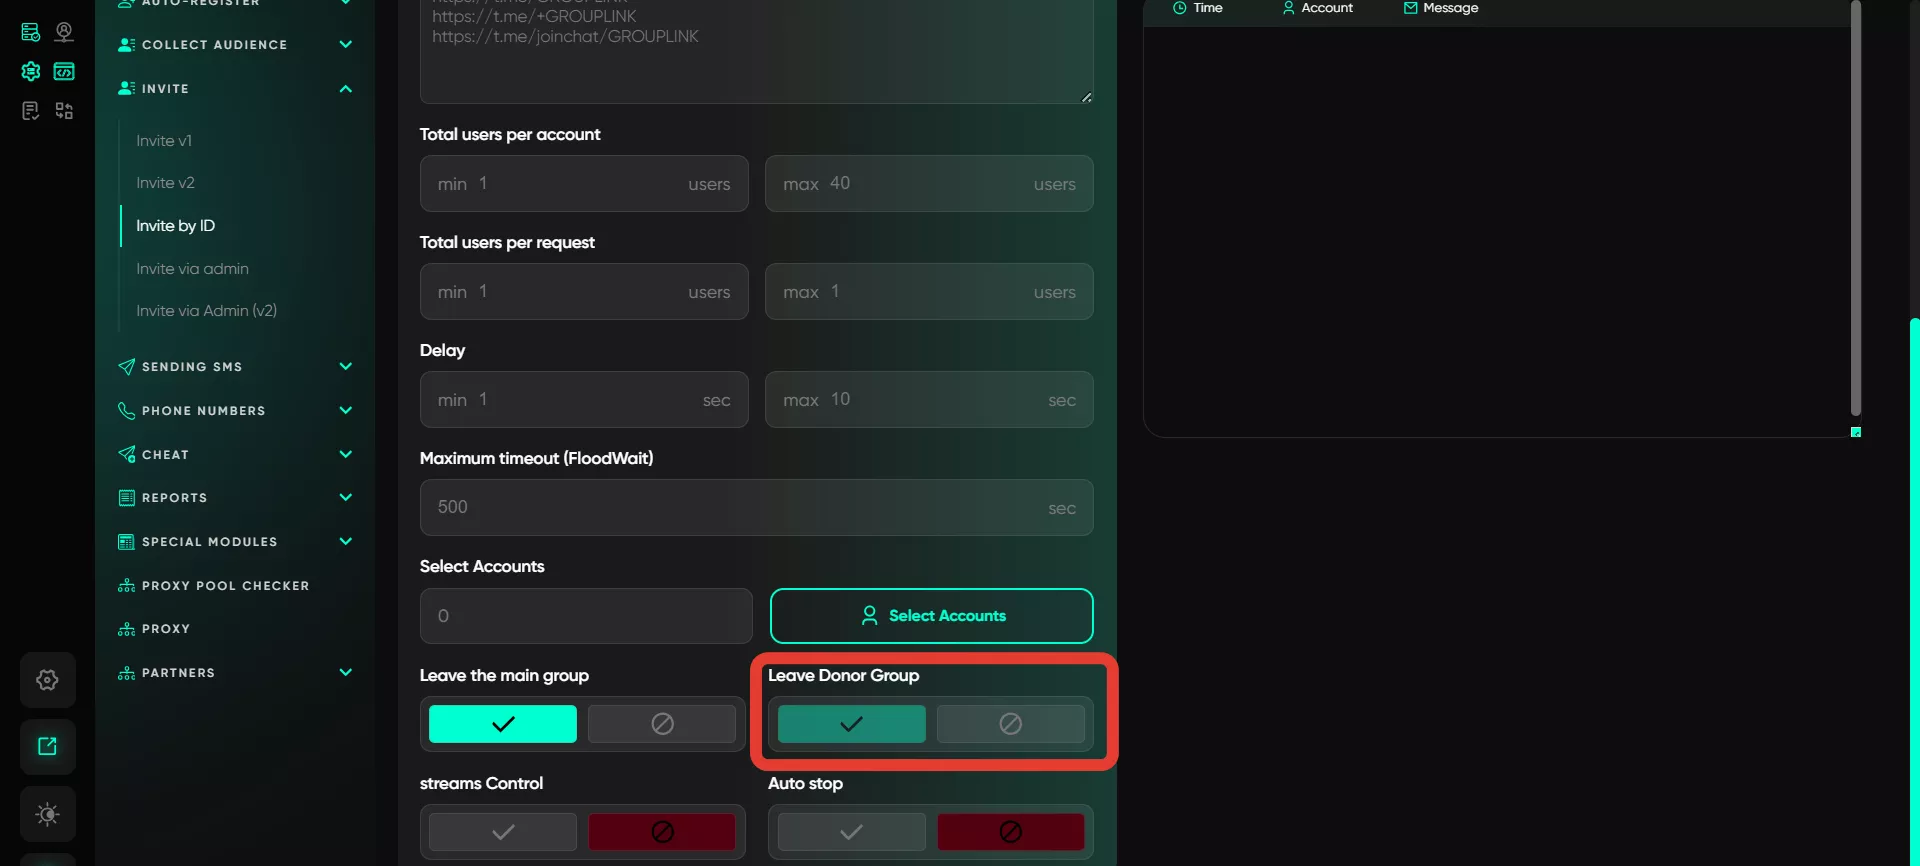
Leave donor group
This setting allows accounts to automatically leave the groups from which users were parsed for inviting. For instance, if accounts are used to parse participants from specific groups (donor groups), after completing the parsing and inviting those participants to your target group, the account automatically exits these groups.
The reason is that to invite these users from the database by ID, the software needs to locate them. The only accessible method is to join the same group the users belong to and send invitations to them. After completing the invite process, the account can leave the donor group or chat.
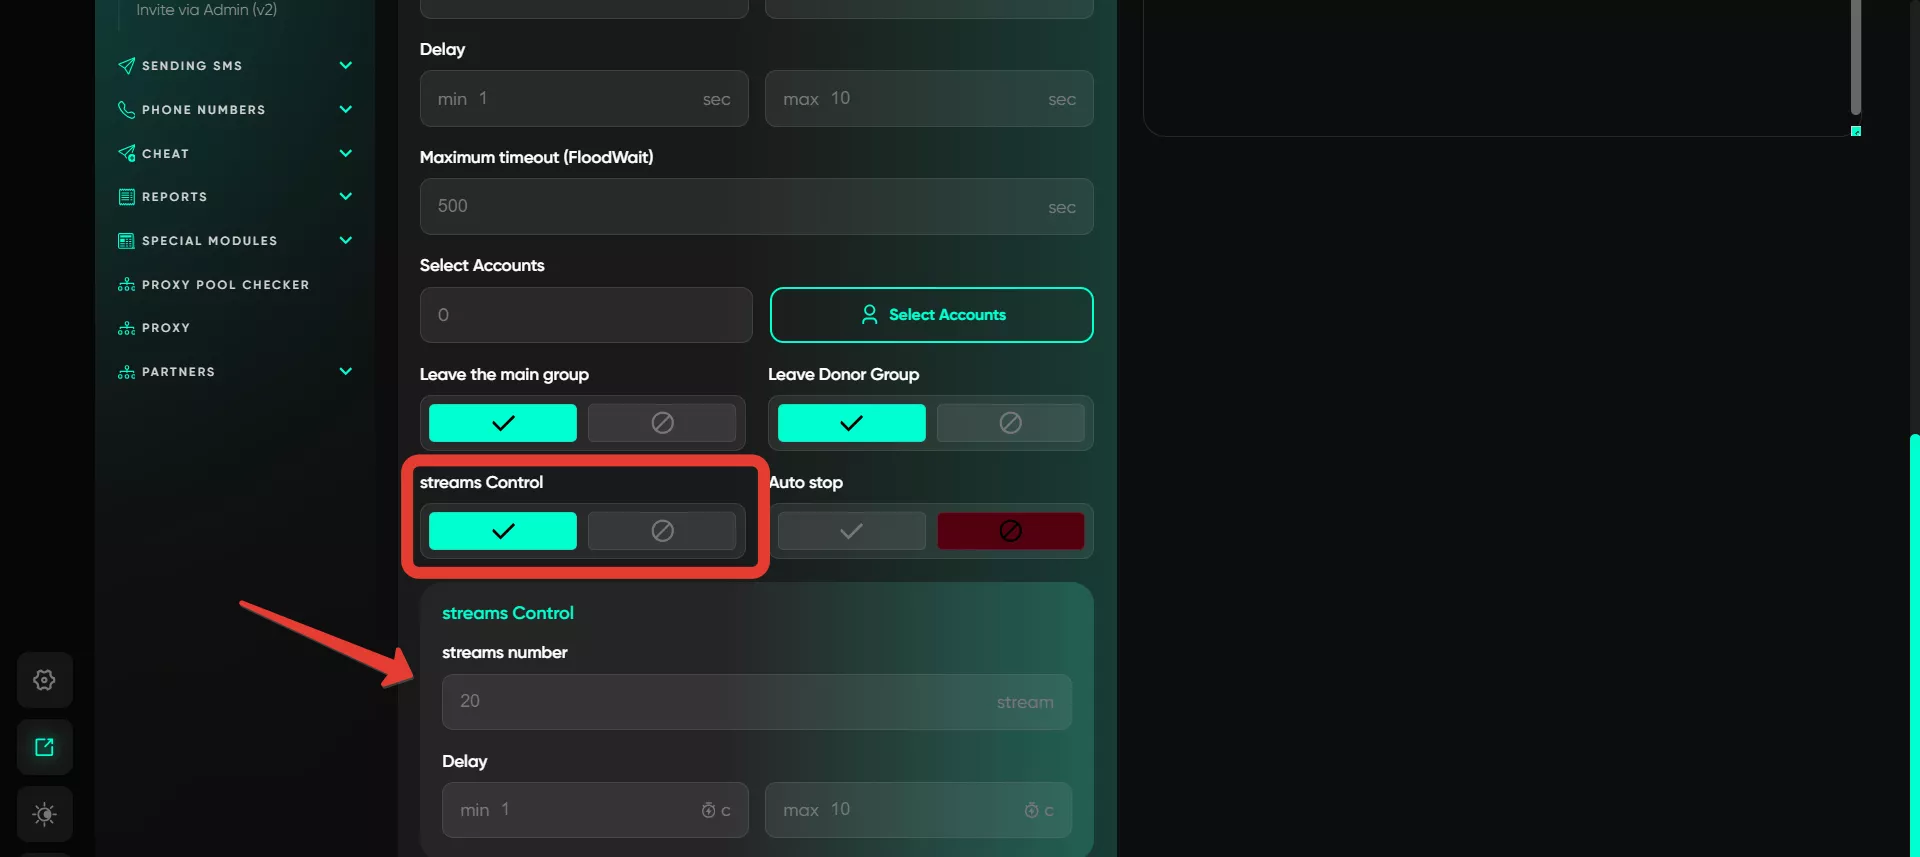
Streams control
For multi-threaded operations, specify the number of threads to engage the required number of accounts simultaneously. For instance, 20 threads mean that 20 accounts work in parallel. When one account completes its task, the program automatically selects the next one and adheres to the specified delay within the given time range (randomly chosen).
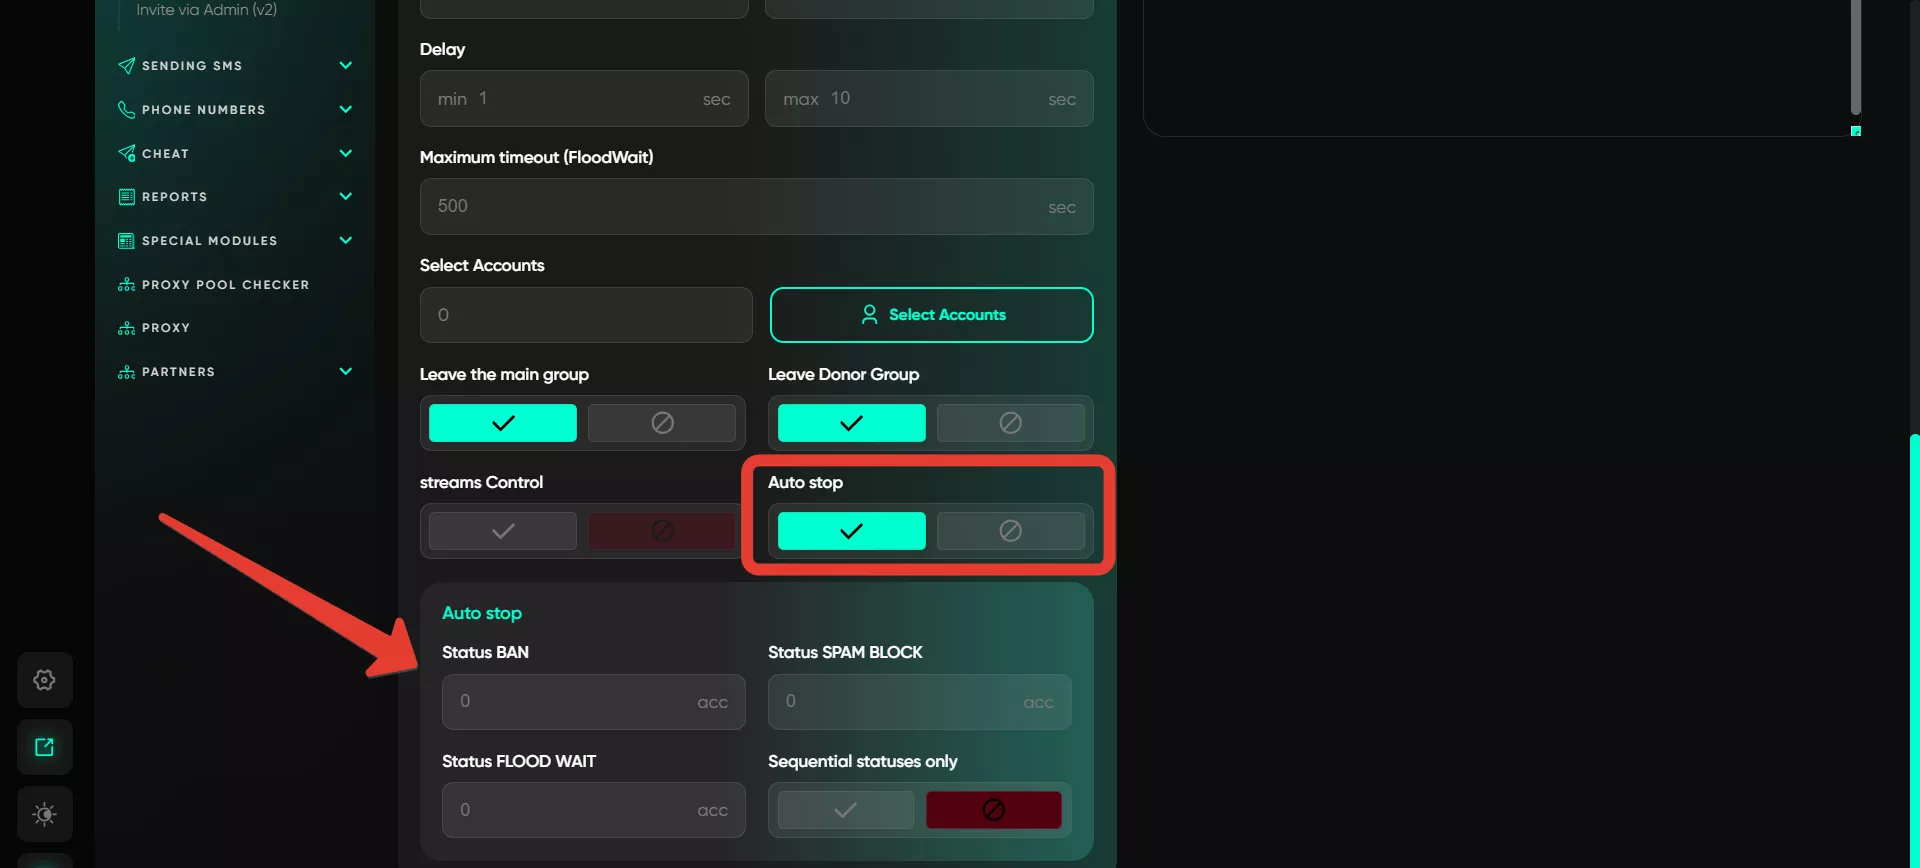
Auto stop
You can configure the Auto stopping of the inviting process when certain statuses, such as Spamblock, FloodWait, or BAN, are detected. The settings allow you to specify the number of occurrences for each status. For example, you can stop the process after the first Spamblock or after several occurrences. The program monitors the limits and stops inviting for all accounts when they are reached.
Important note:
When working with the invite module, you may encounter various statuses indicating whether the invitation was successful. One common status that often raises questions is «User not mutual contact». This status means that the user has set their privacy settings to only allow invitations from contacts, making it impossible to invite them unless they are in your contact list.
