Sending comments to stories
The module allows you to send comments to users' stories. This works the same way as in Telegram — when you send a comment, it arrives in the user's private messages, quoting their story. Note that you can send comments only to users' stories, not to groups or channels.
Setup Procedure:
1. Working with Text
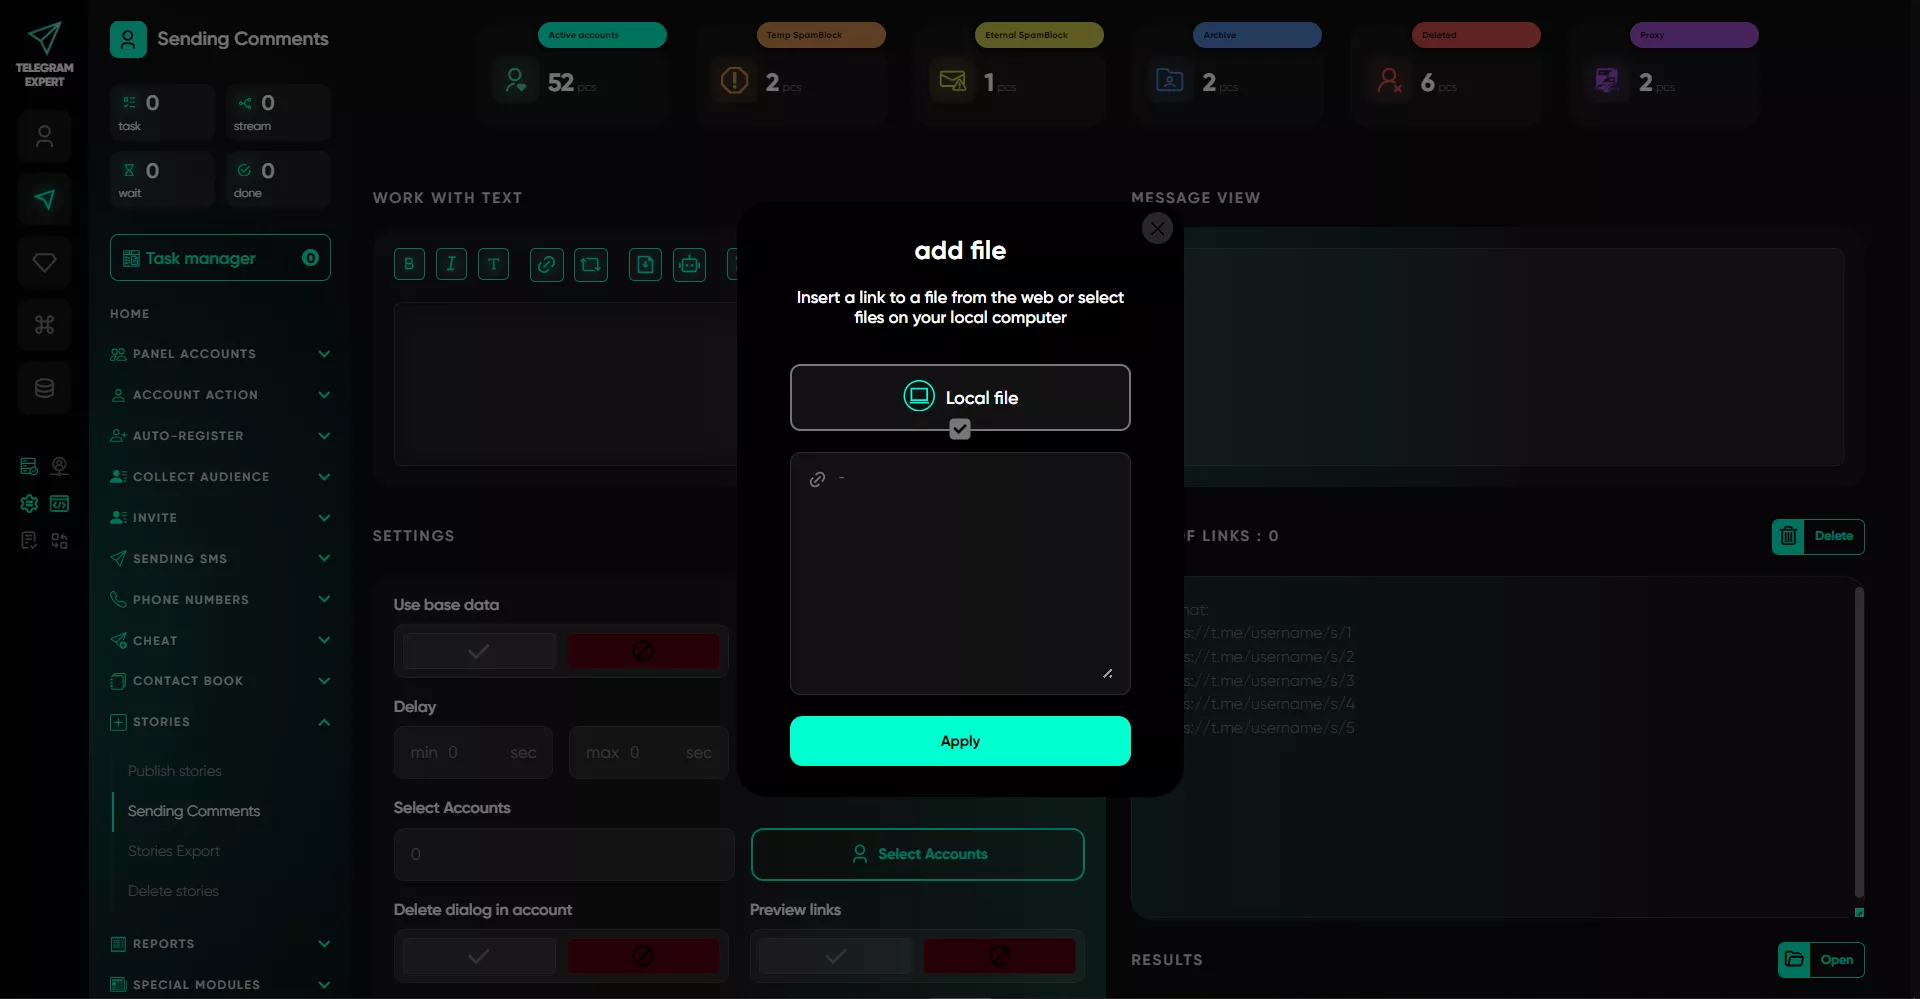
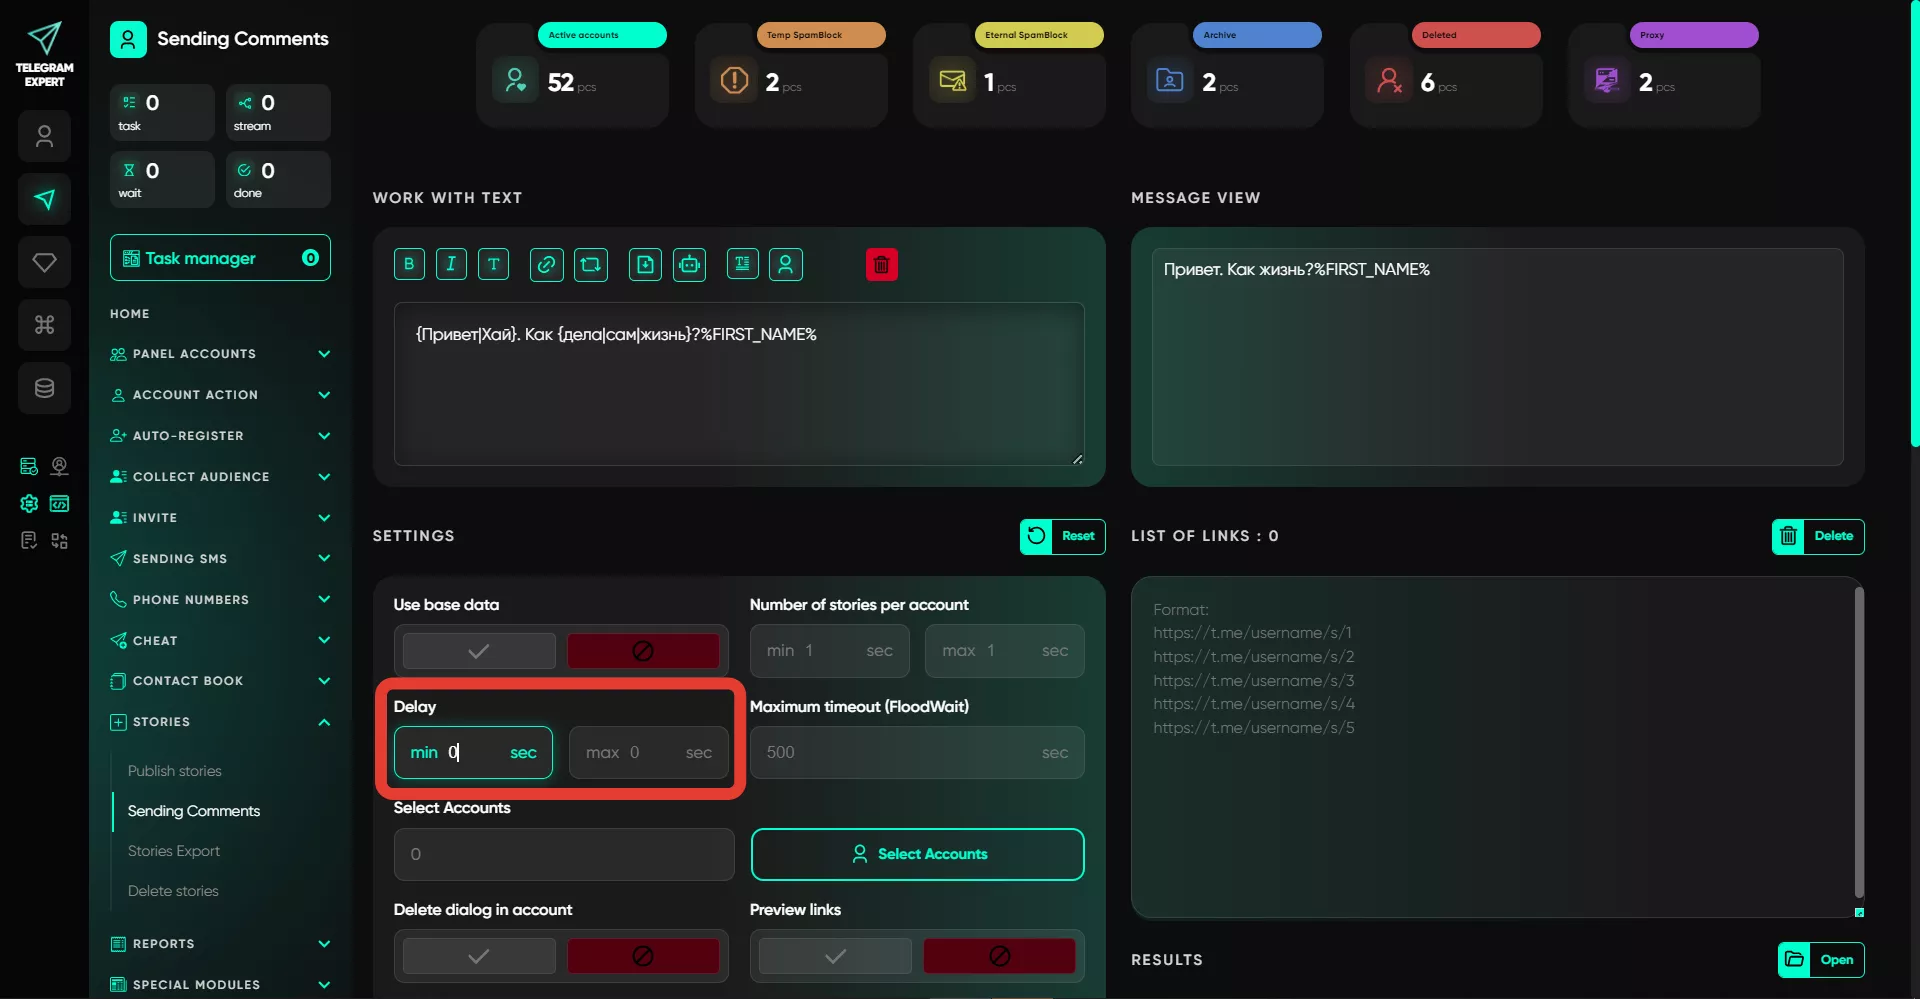
In this field, you need to create the text, just like in all mailing modules. Standard options such as bold, italics, adding links, or creating monospaced text are available. However, there are also some unique features: 1. Adding a File — you can send a file as a response. This includes images, videos, documents, music, or GIFs. When sending images, you can select multiple ones, and the software will pick them randomly. You can also upload video in circle format or audio in .OGG format, and the software will send a circle video or voice message to the user.
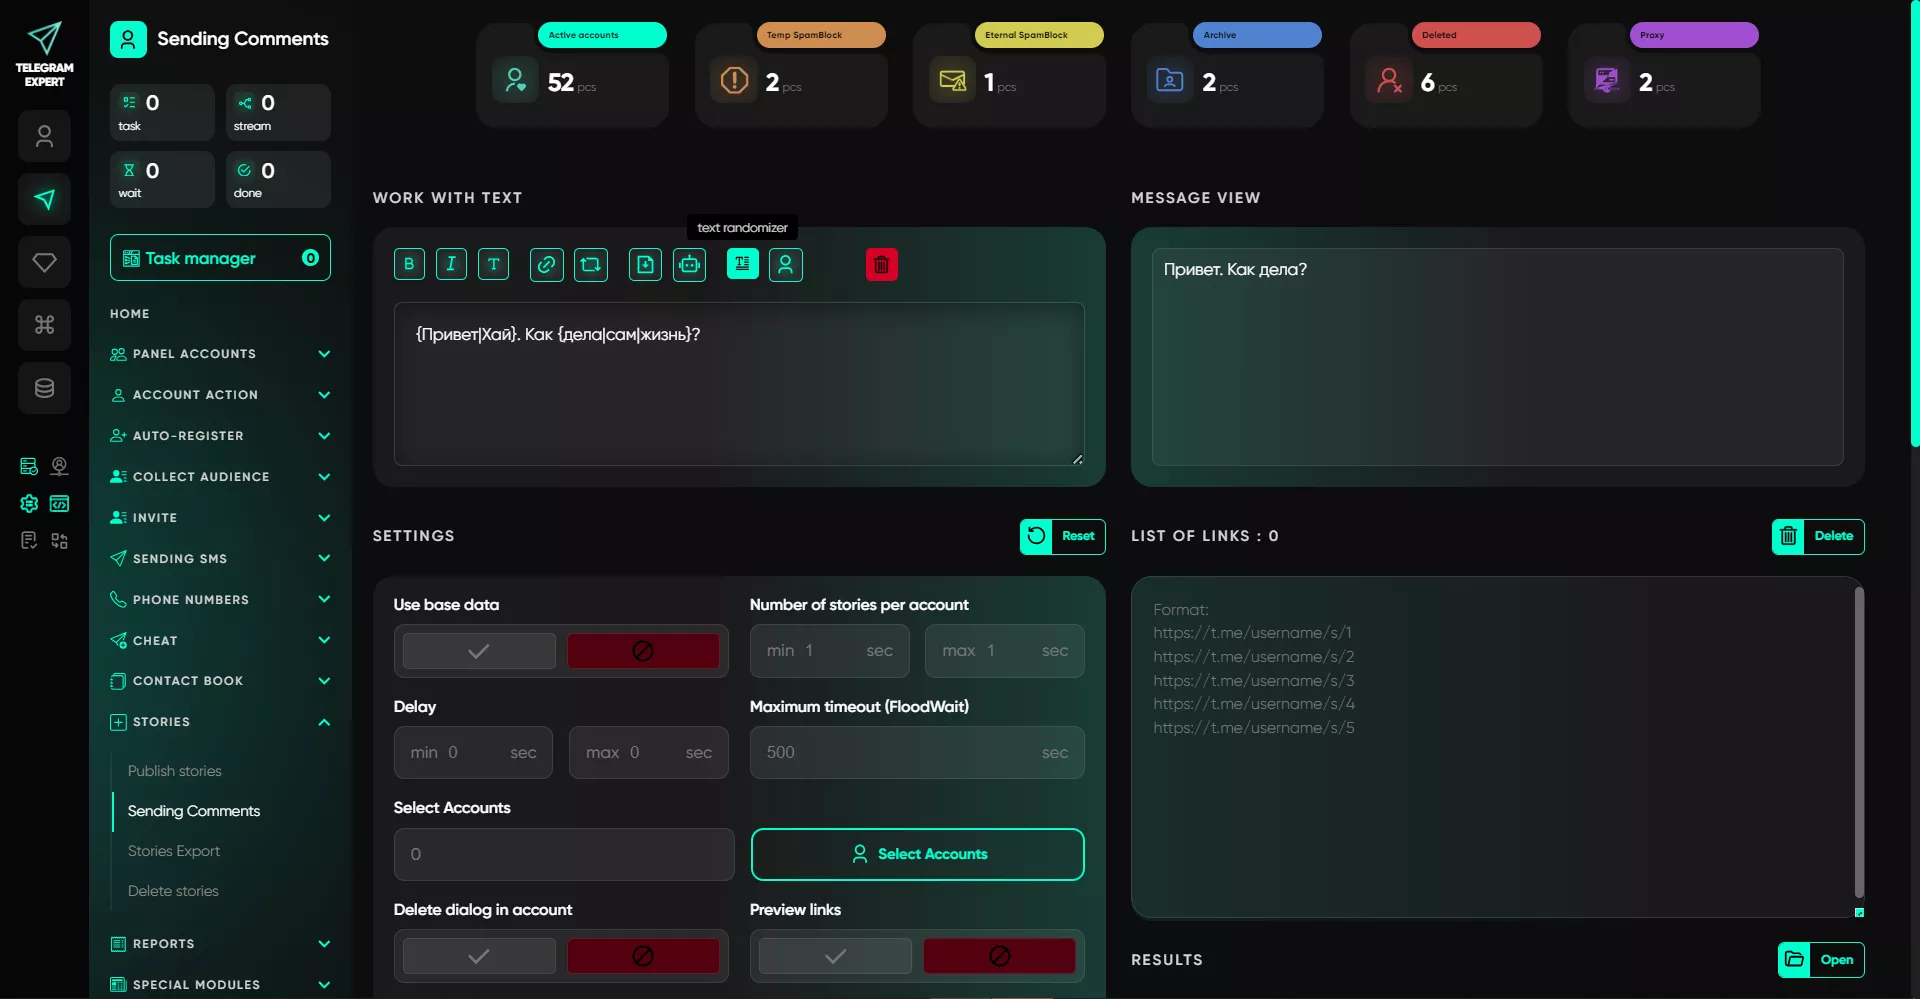
2. Text Randomization — when working with text, you can activate randomization, and the software will add a spintax mask to the message. You can edit it and set your own variables, which the software will randomly select for each sending. The part of the text outside the brackets remains unchanged.
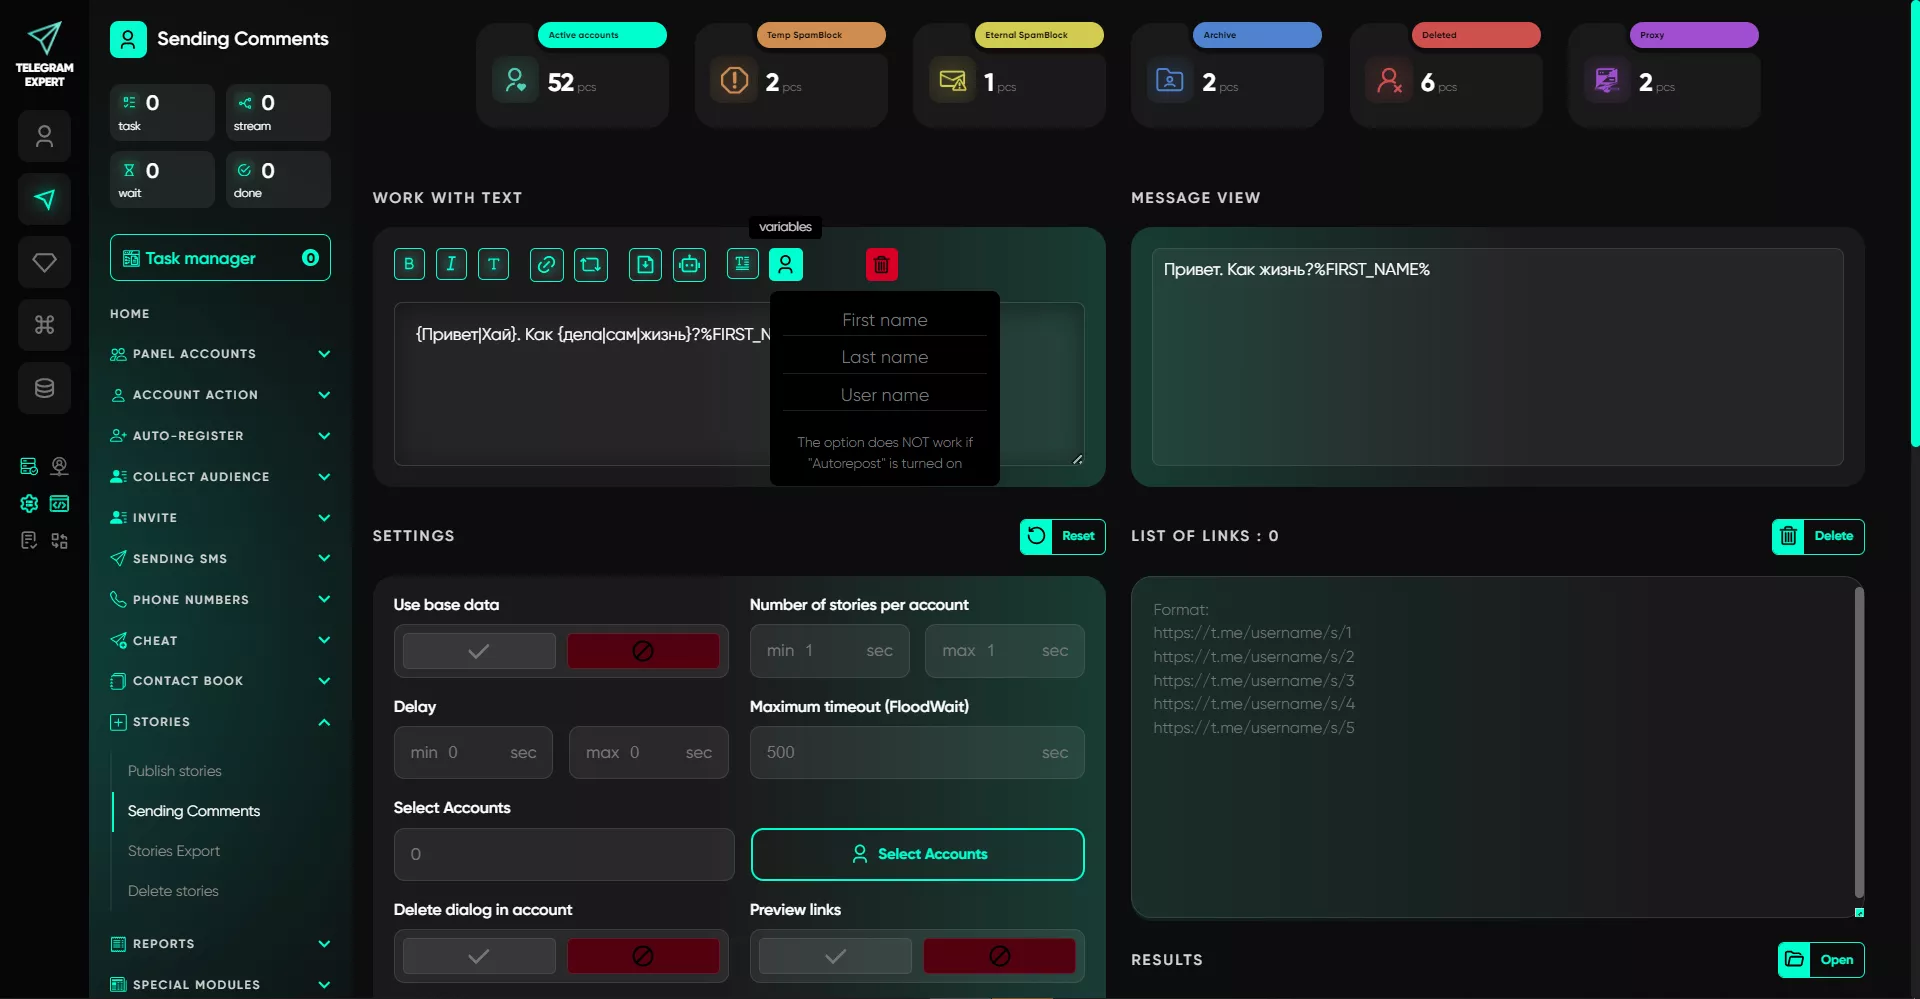
3. Variables — depending on the variable selected, you can send personalized messages containing either the user’s first name, last name, or username.
Sending a repost from a channel or post via @postbot is not possible in this module.
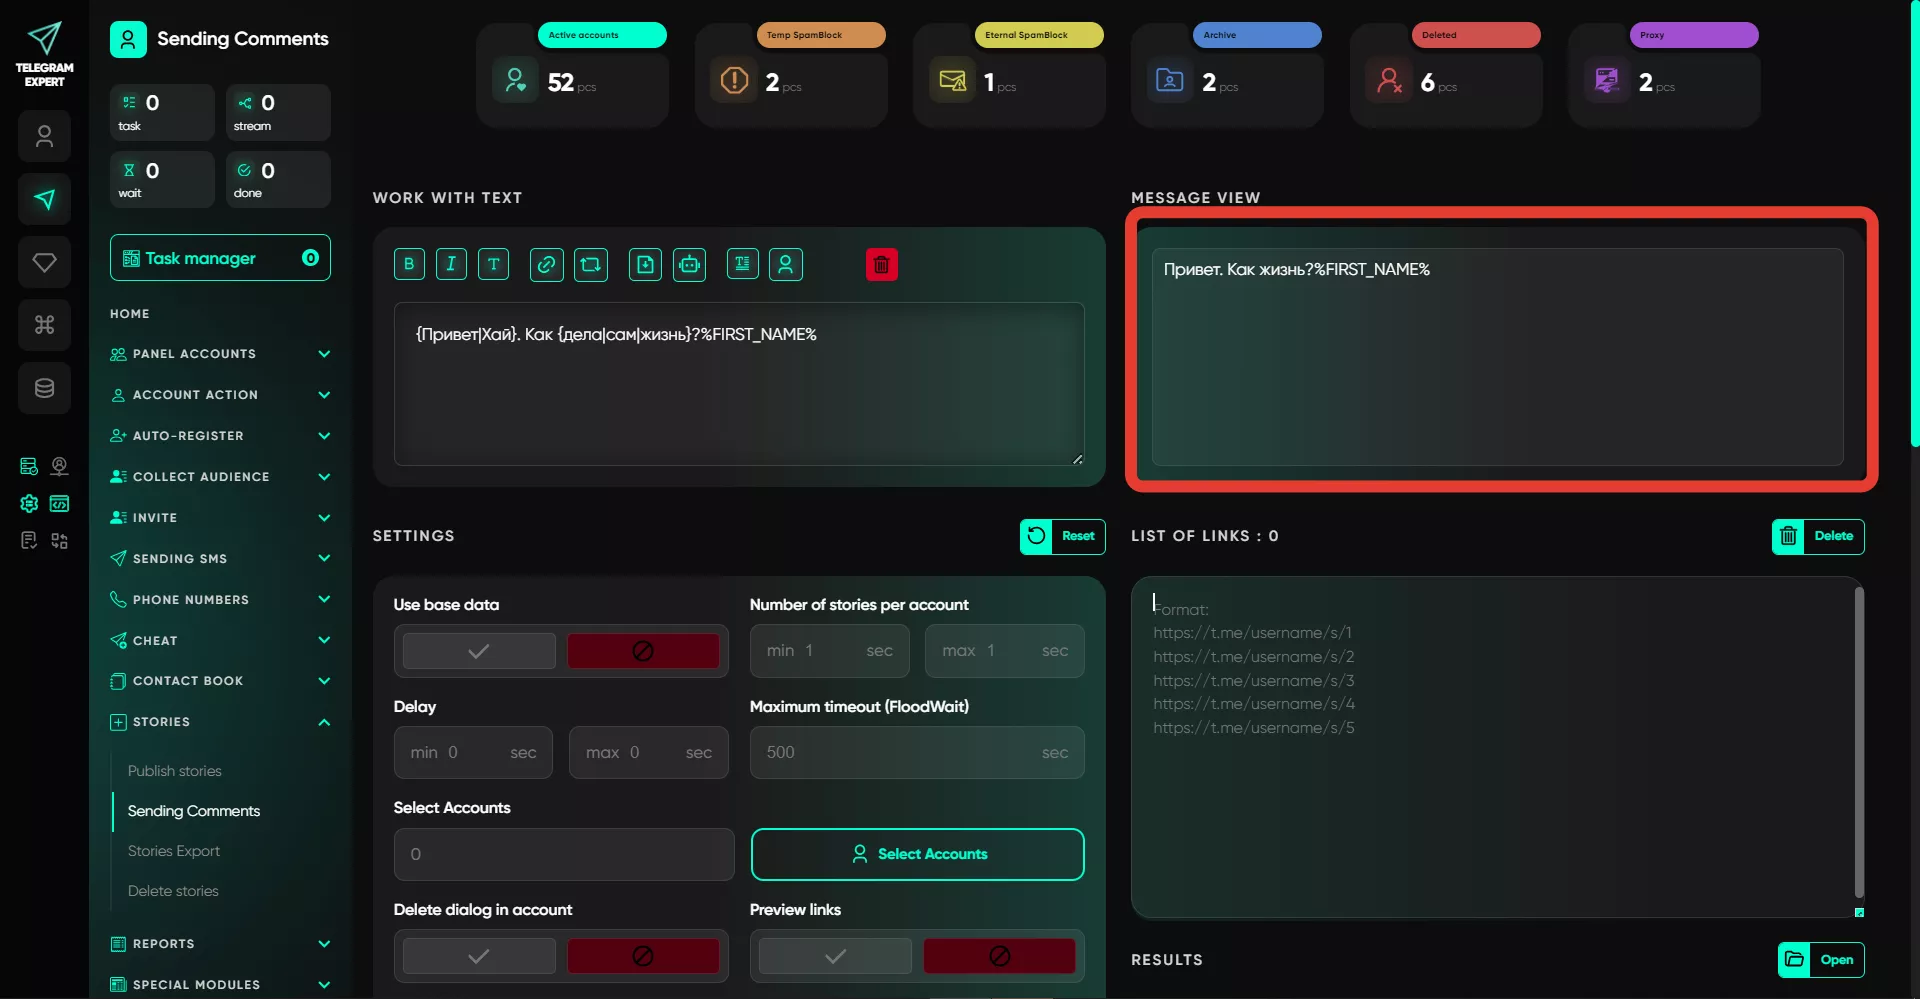
2. Message Preview
In this field, you can preview how the message text will look in the end. Note that only the text part is displayed because files are sent separately.
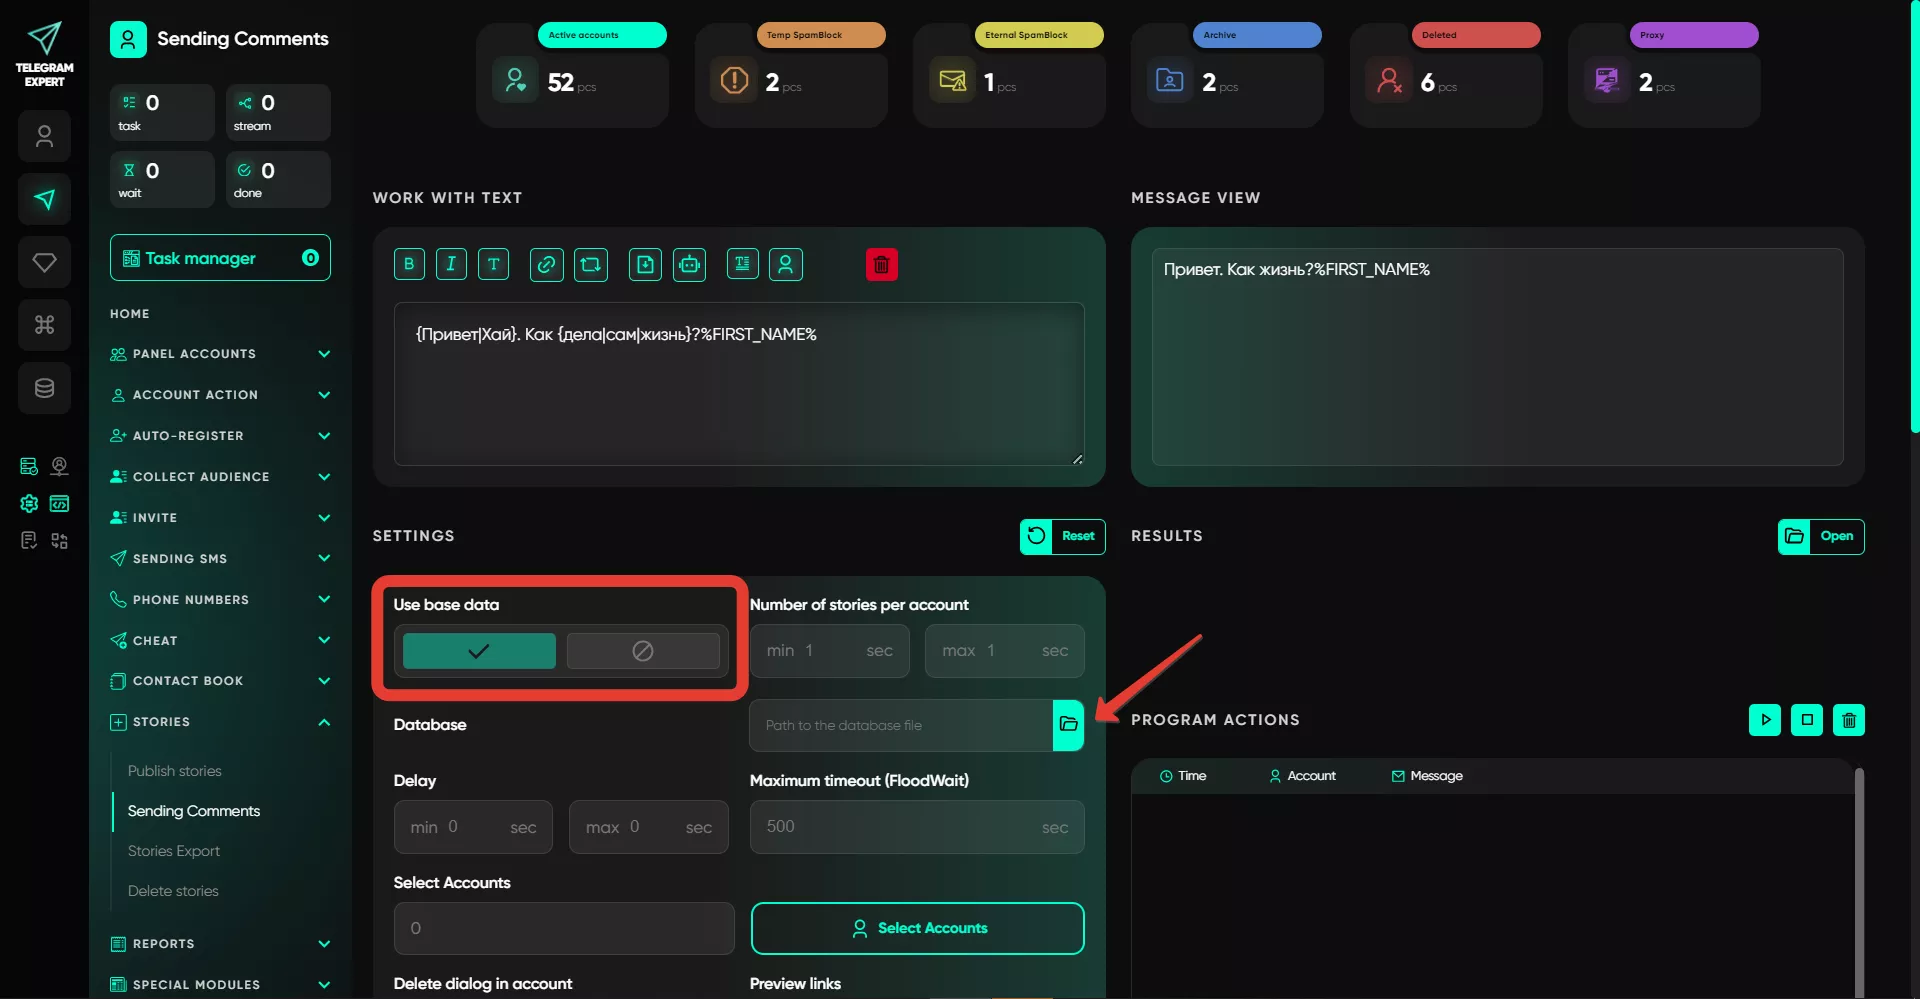
3. Use Database
If you previously worked in this module and, for some reason, couldn’t complete the process, you can insert the database generated by the software in the previous task, and the work based on the entered data will continue from the point of interruption.
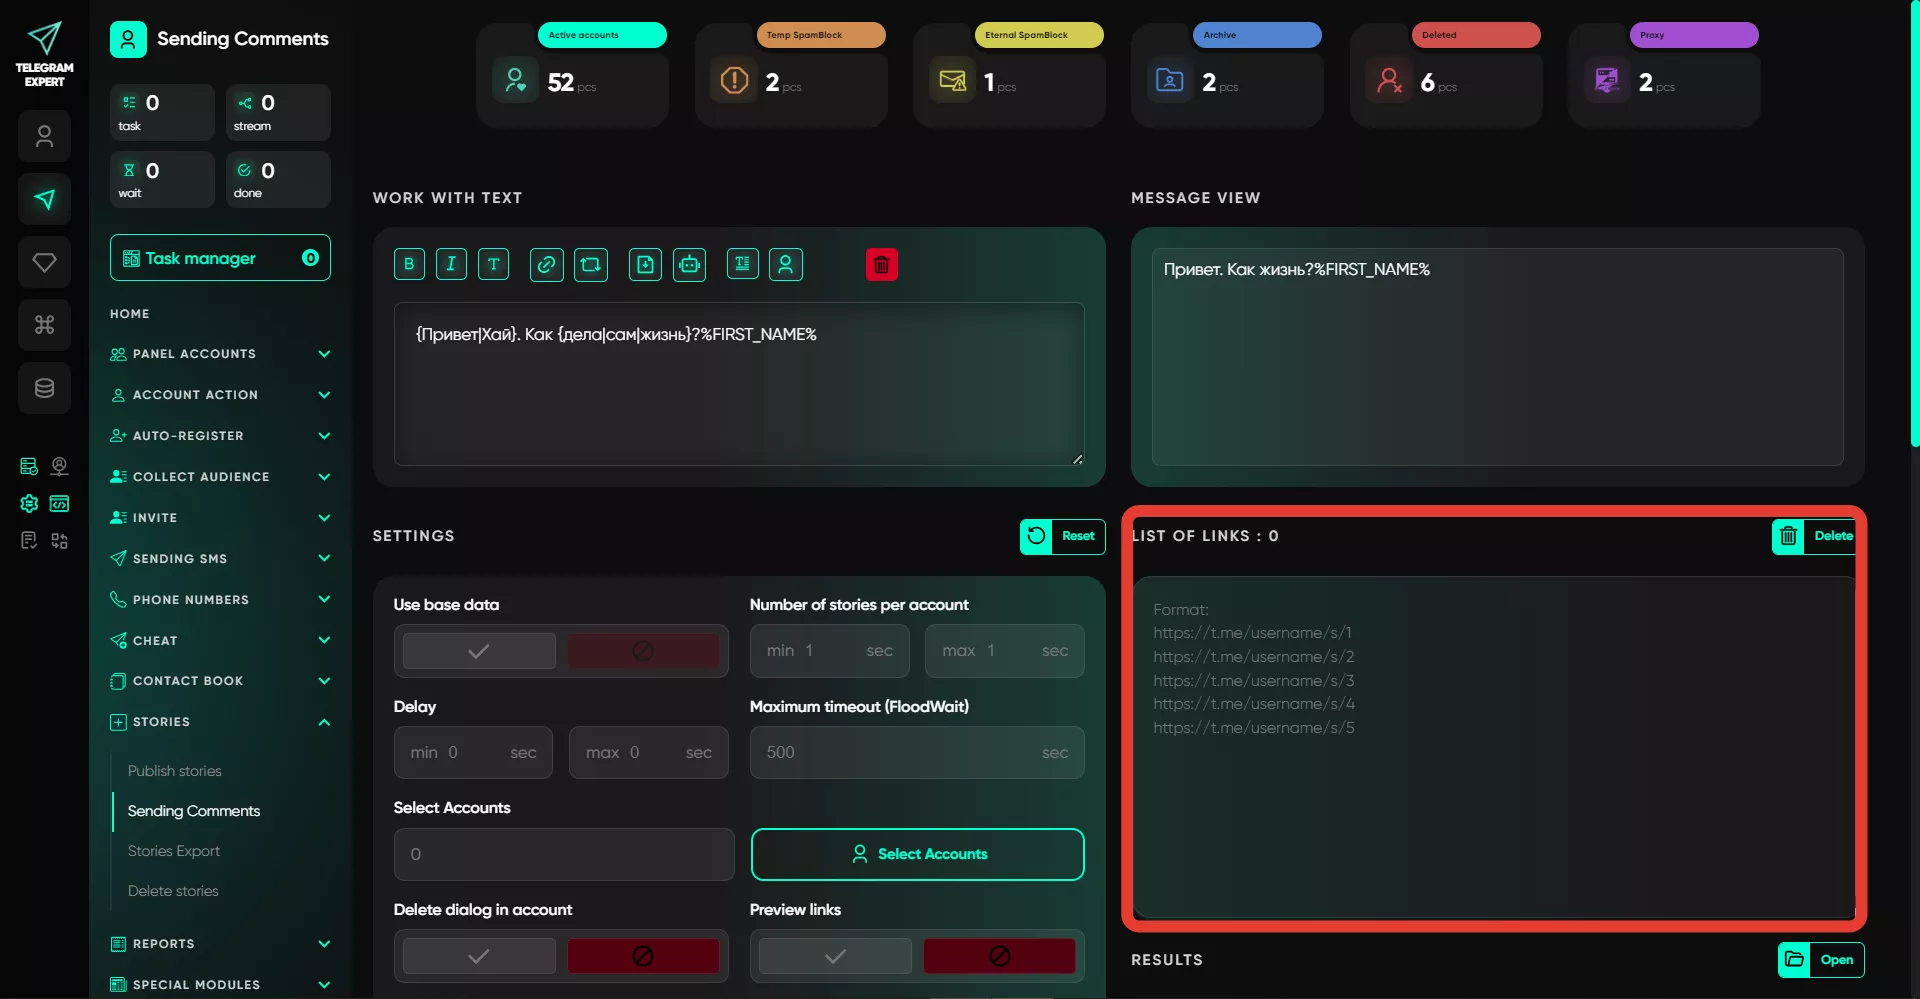
If you’re not using a database, enter the list of story links in the field on the right to which comments need to be sent.
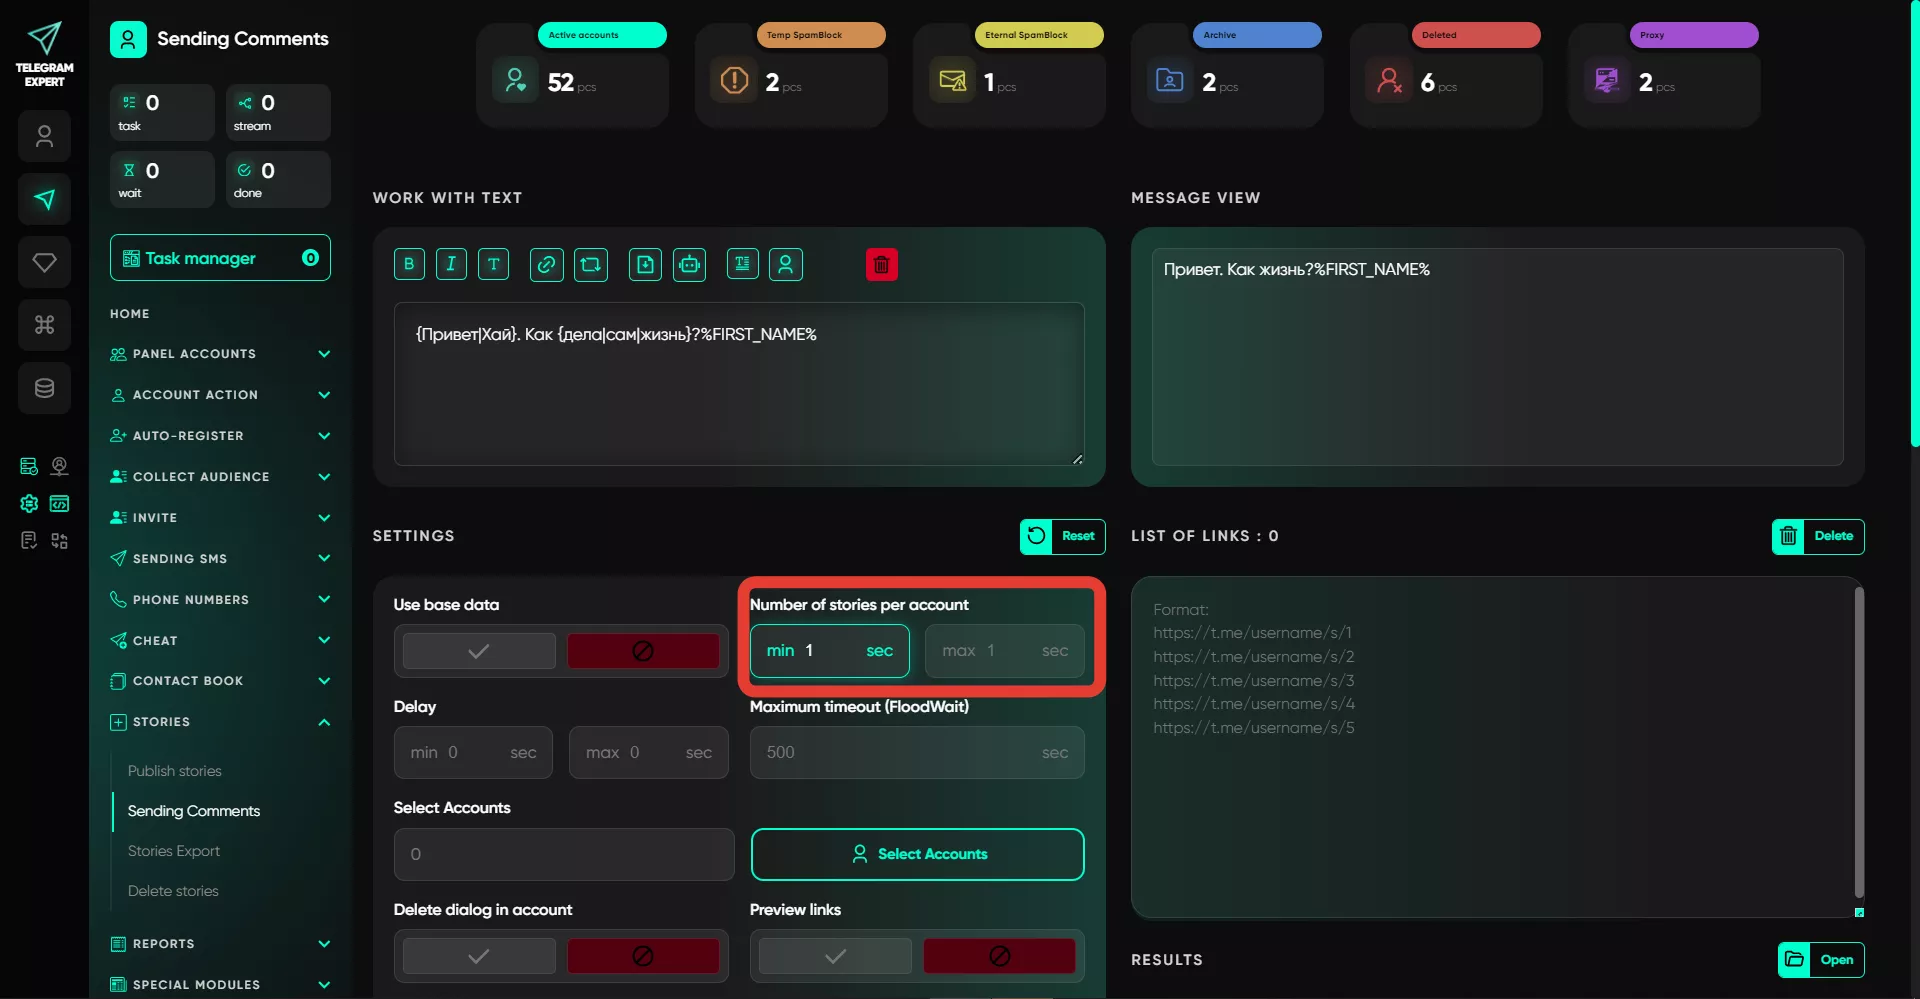
4. Number of Stories per Account
In this field, specify how many stories from the list one account will respond to. The value is entered as a range, and the software picks a random number of stories for each account every time.
5. Delay
Here, enter a time range that determines how long the account will wait before each subsequent comment sending. The value is also randomly selected from the range.
6. Maximum Wait Time (FloodWait)
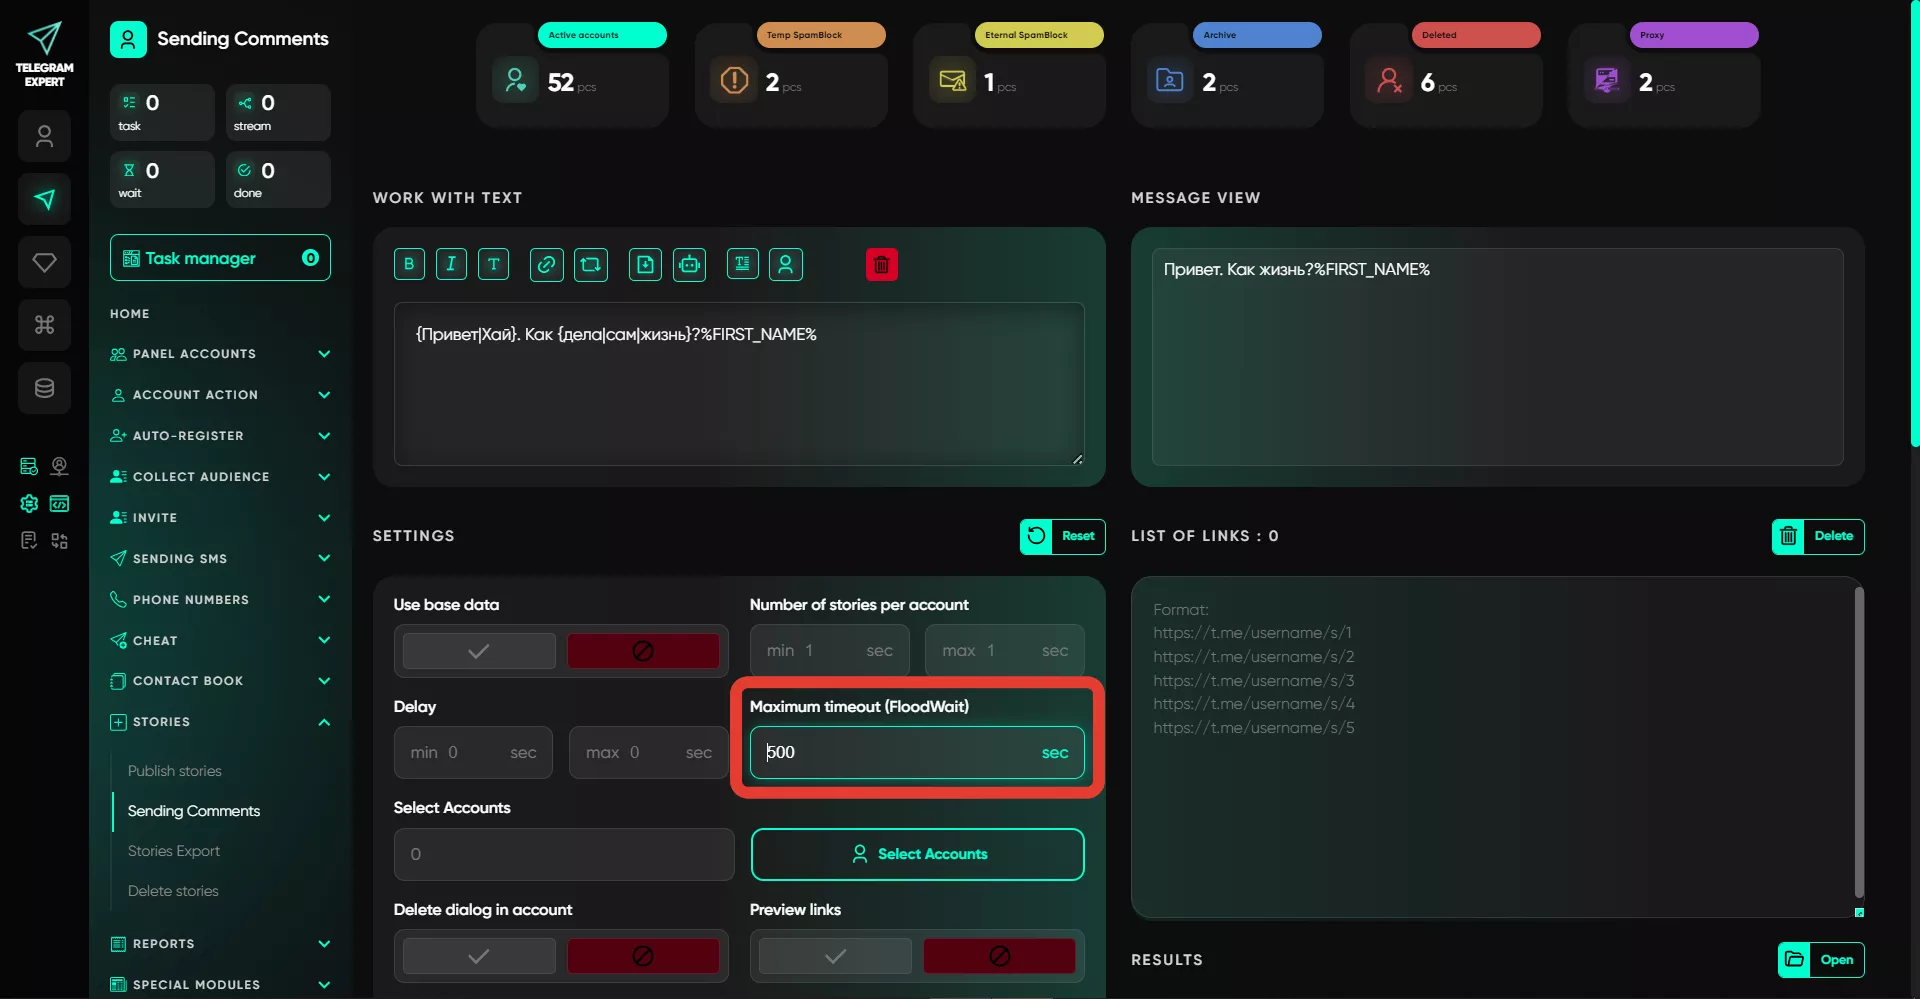
In this section, you need to set the wait time when encountering a flood restriction. If an account encounters such a problem during operation and the flood lasts longer than the specified period, the account will be removed from the task. If the flood ends earlier, the account will wait for the specified time and then continue. The module also handles PeerFlood errors according to Telegram Expert settings — the software will bypass this error as many times as you specified in the settings.
7. Select Accounts
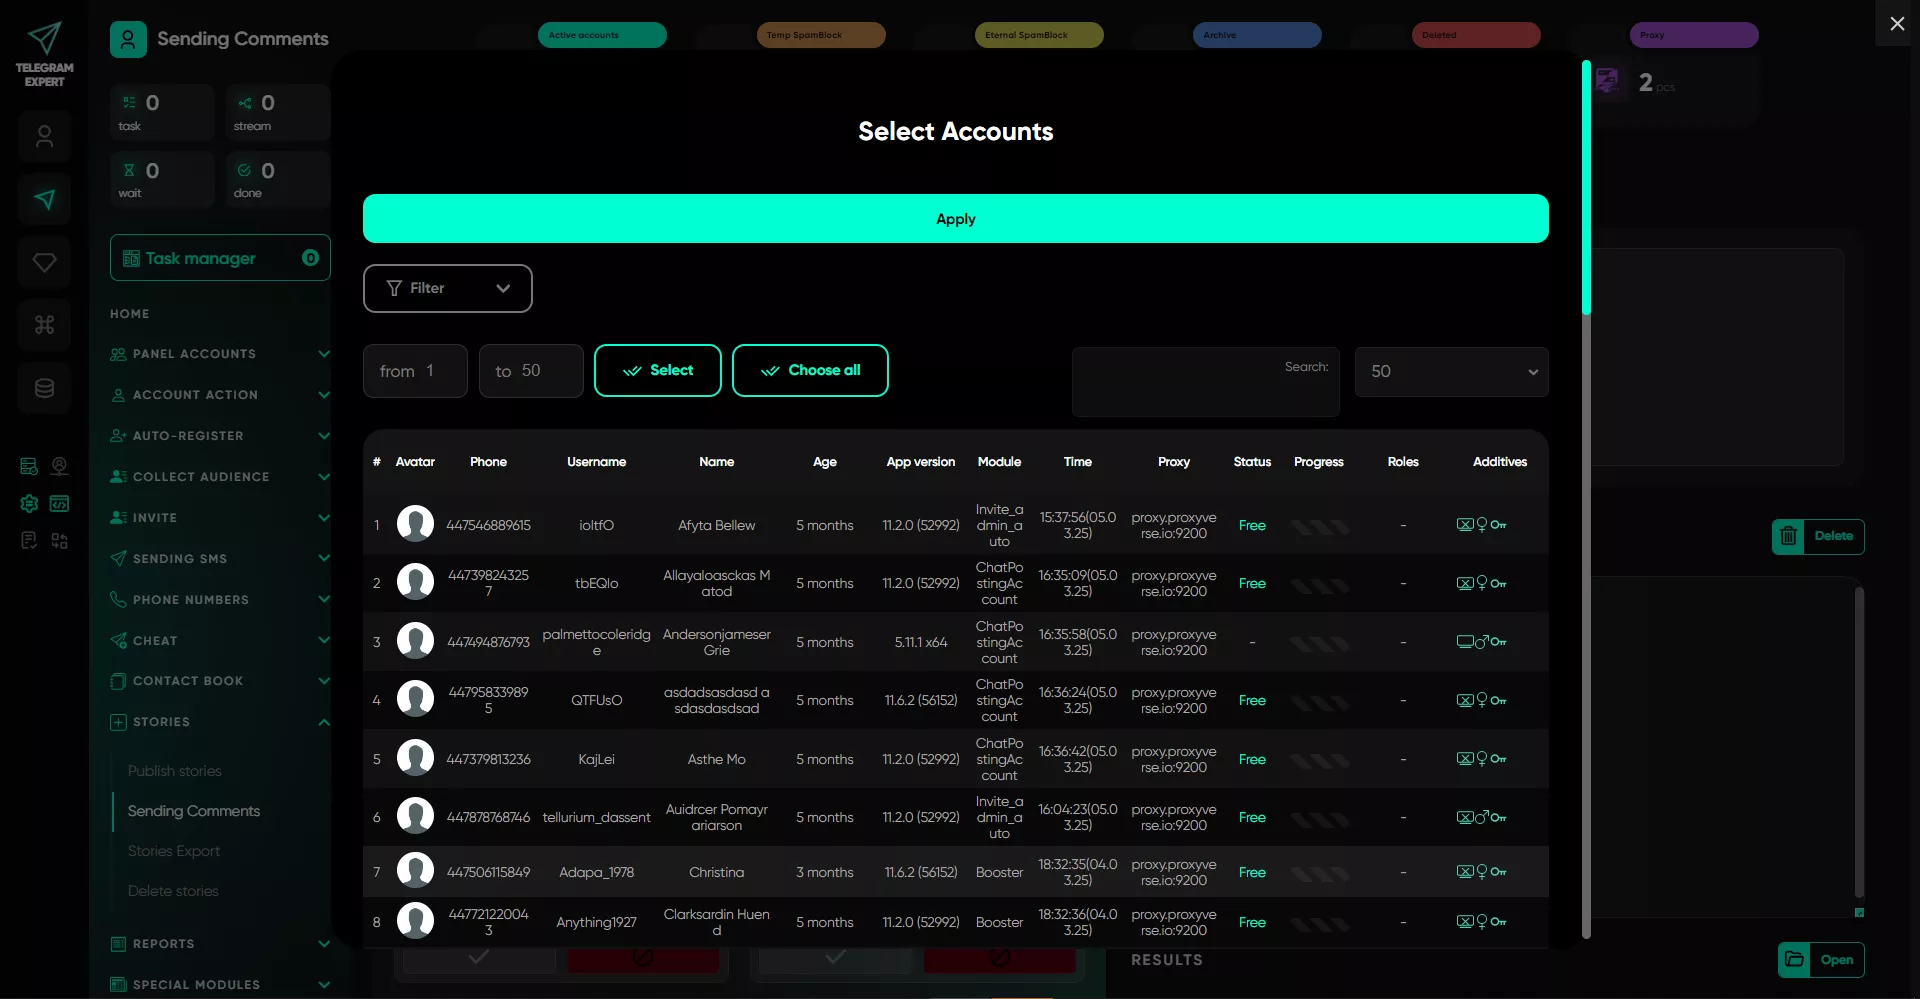
For the task, you need to select the accounts that will send comments to the stories. All accounts will be taken from the "Active" folder.
8. Delete Dialog in Account
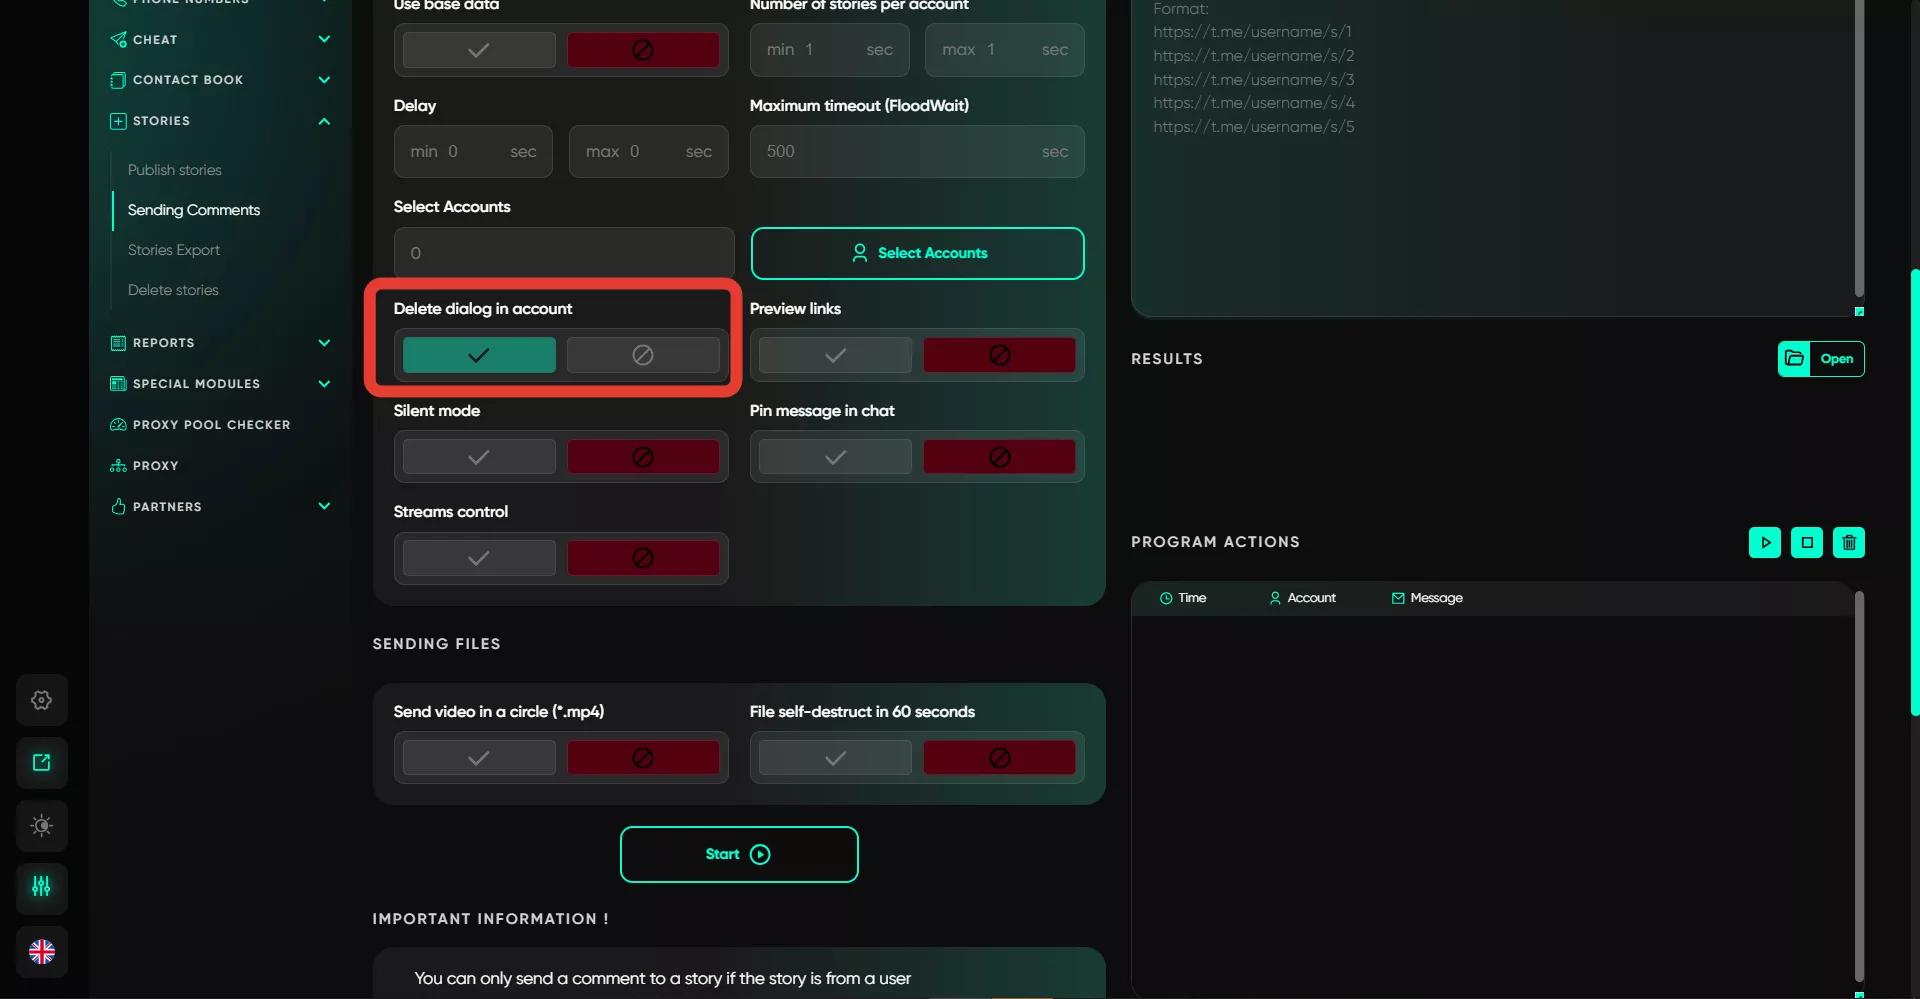
After sending the message, the dialog will automatically be deleted from the account but will remain visible to the recipient.
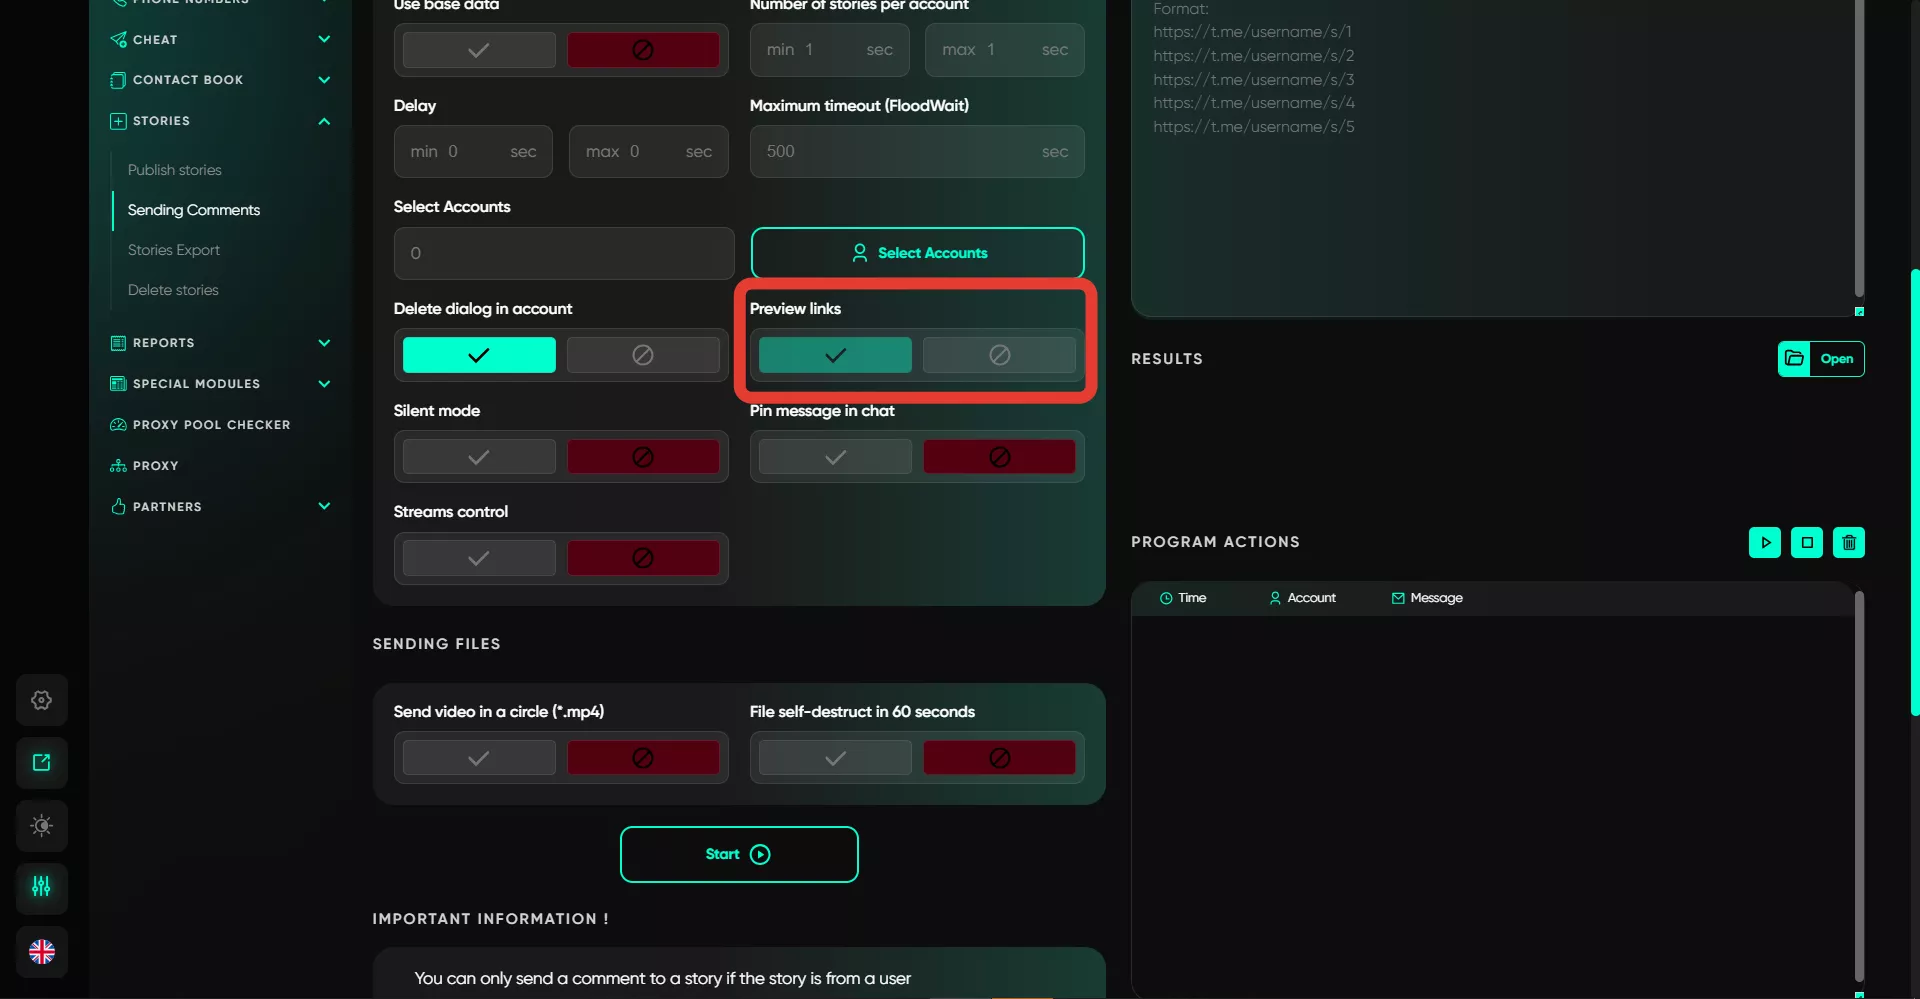
9. Link Preview
This option allows the recipient to see a preview of the link when sending URLs. This significantly increases trust because no one wants to click on unclear links.
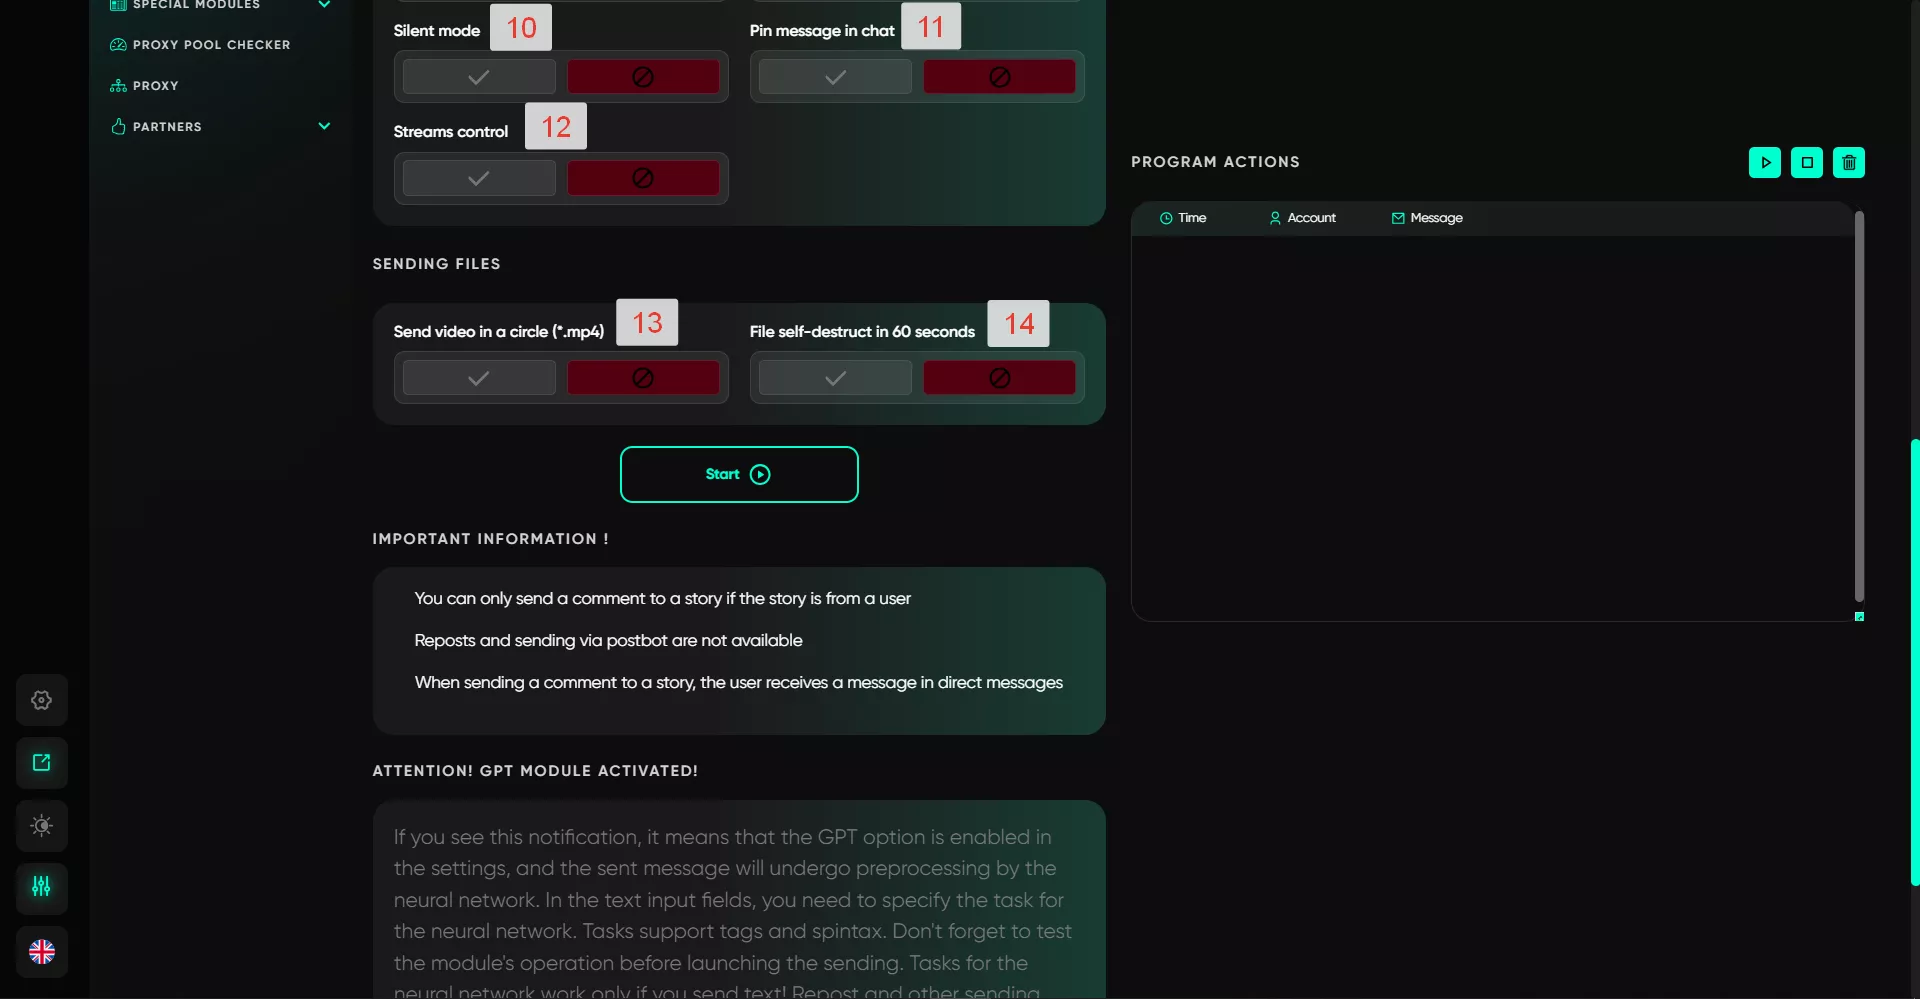
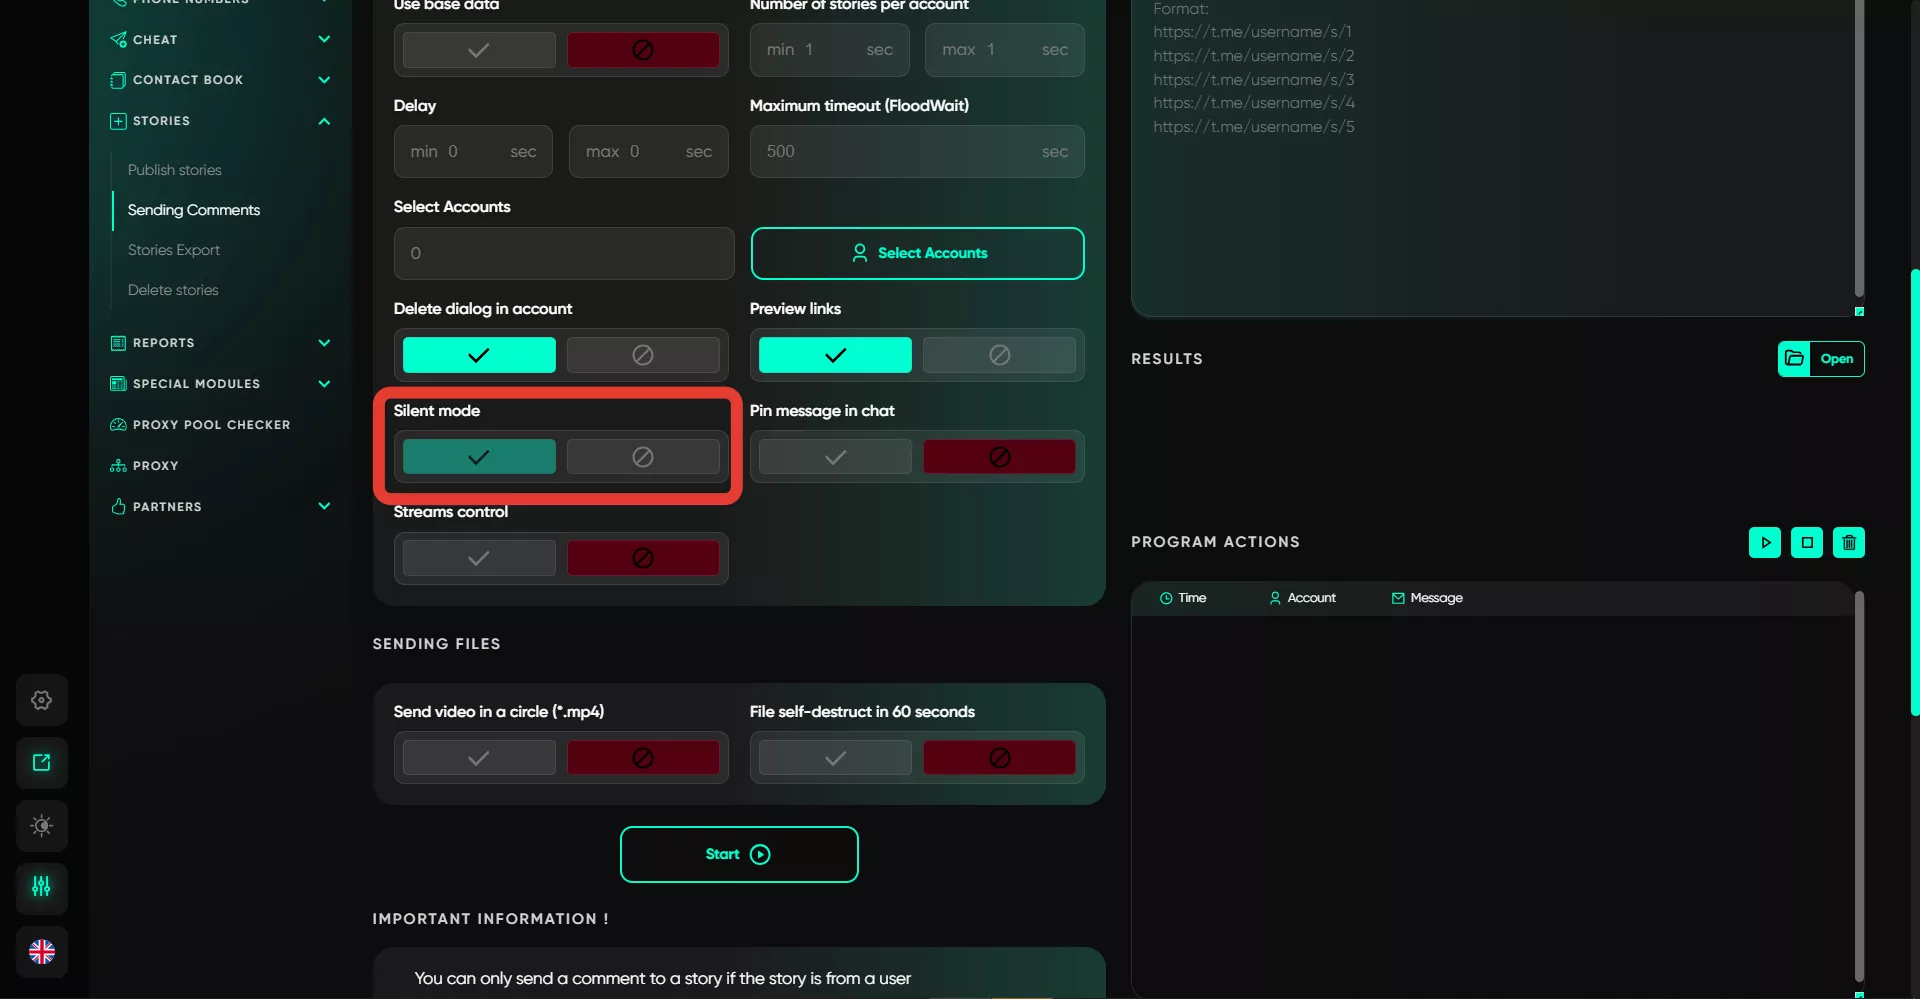
10. Silent Mode
The message will be sent to the user without a notification, reducing the risk of complaints.
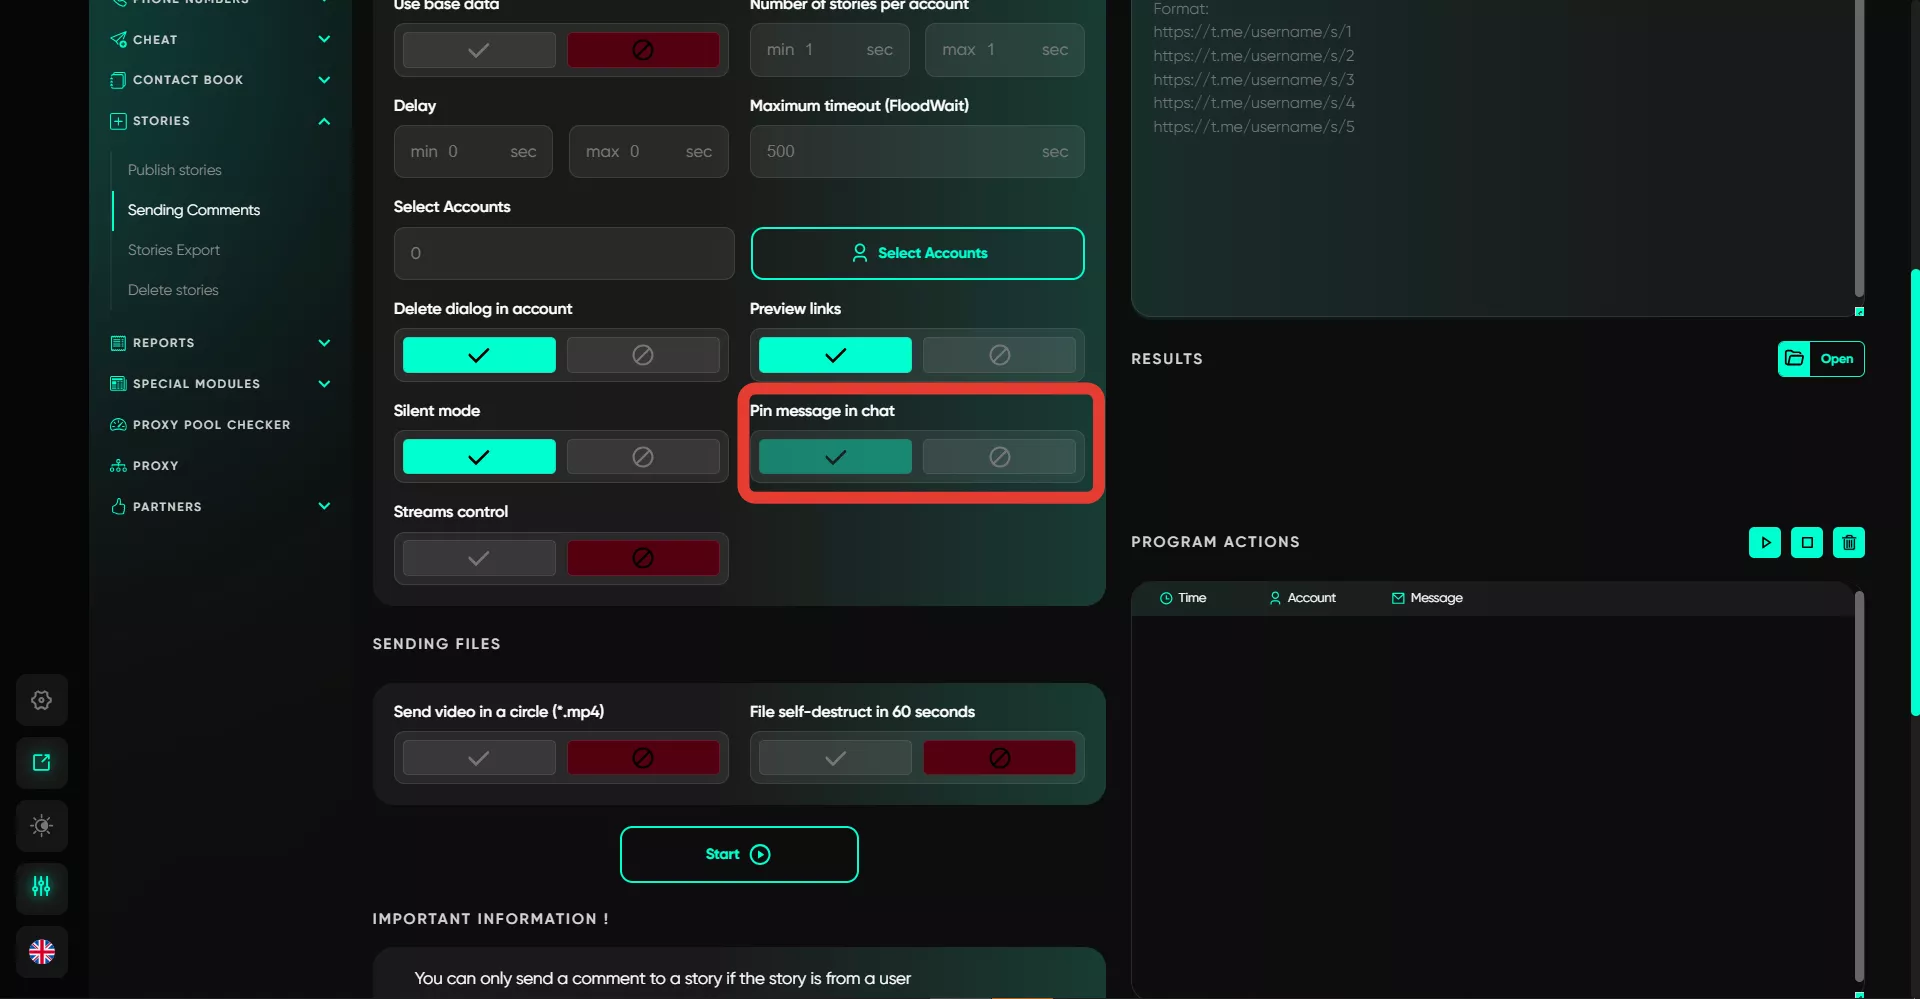
11. Pin Message in Dialog
The sent message in response to the story will be pinned in the dialog with the user.
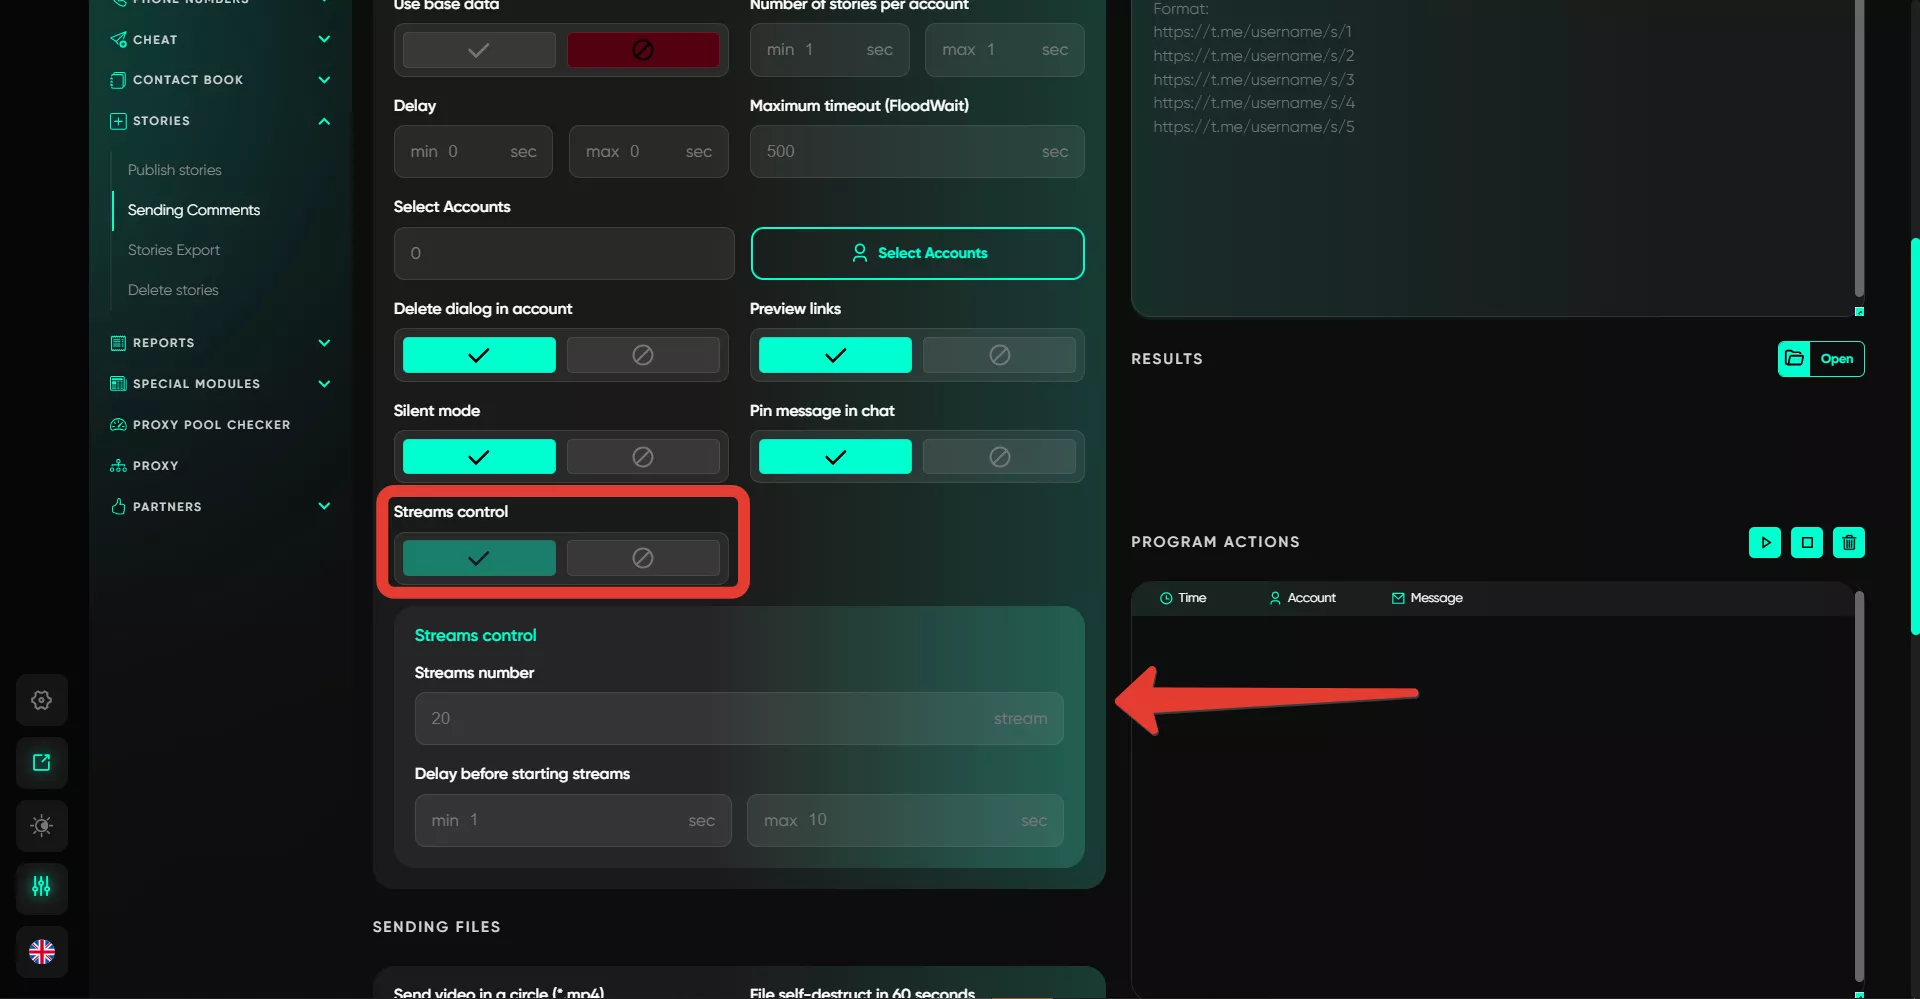
12. Thread Management
This option allows you to enable multi-threaded operation — you enter the number of threads, which indicates the number of accounts working in parallel. This is useful for large volumes. A delay is set so that the software waits a certain amount of time before taking the next available account into operation. Values are entered as a range, and the software randomly selects a time from the range.
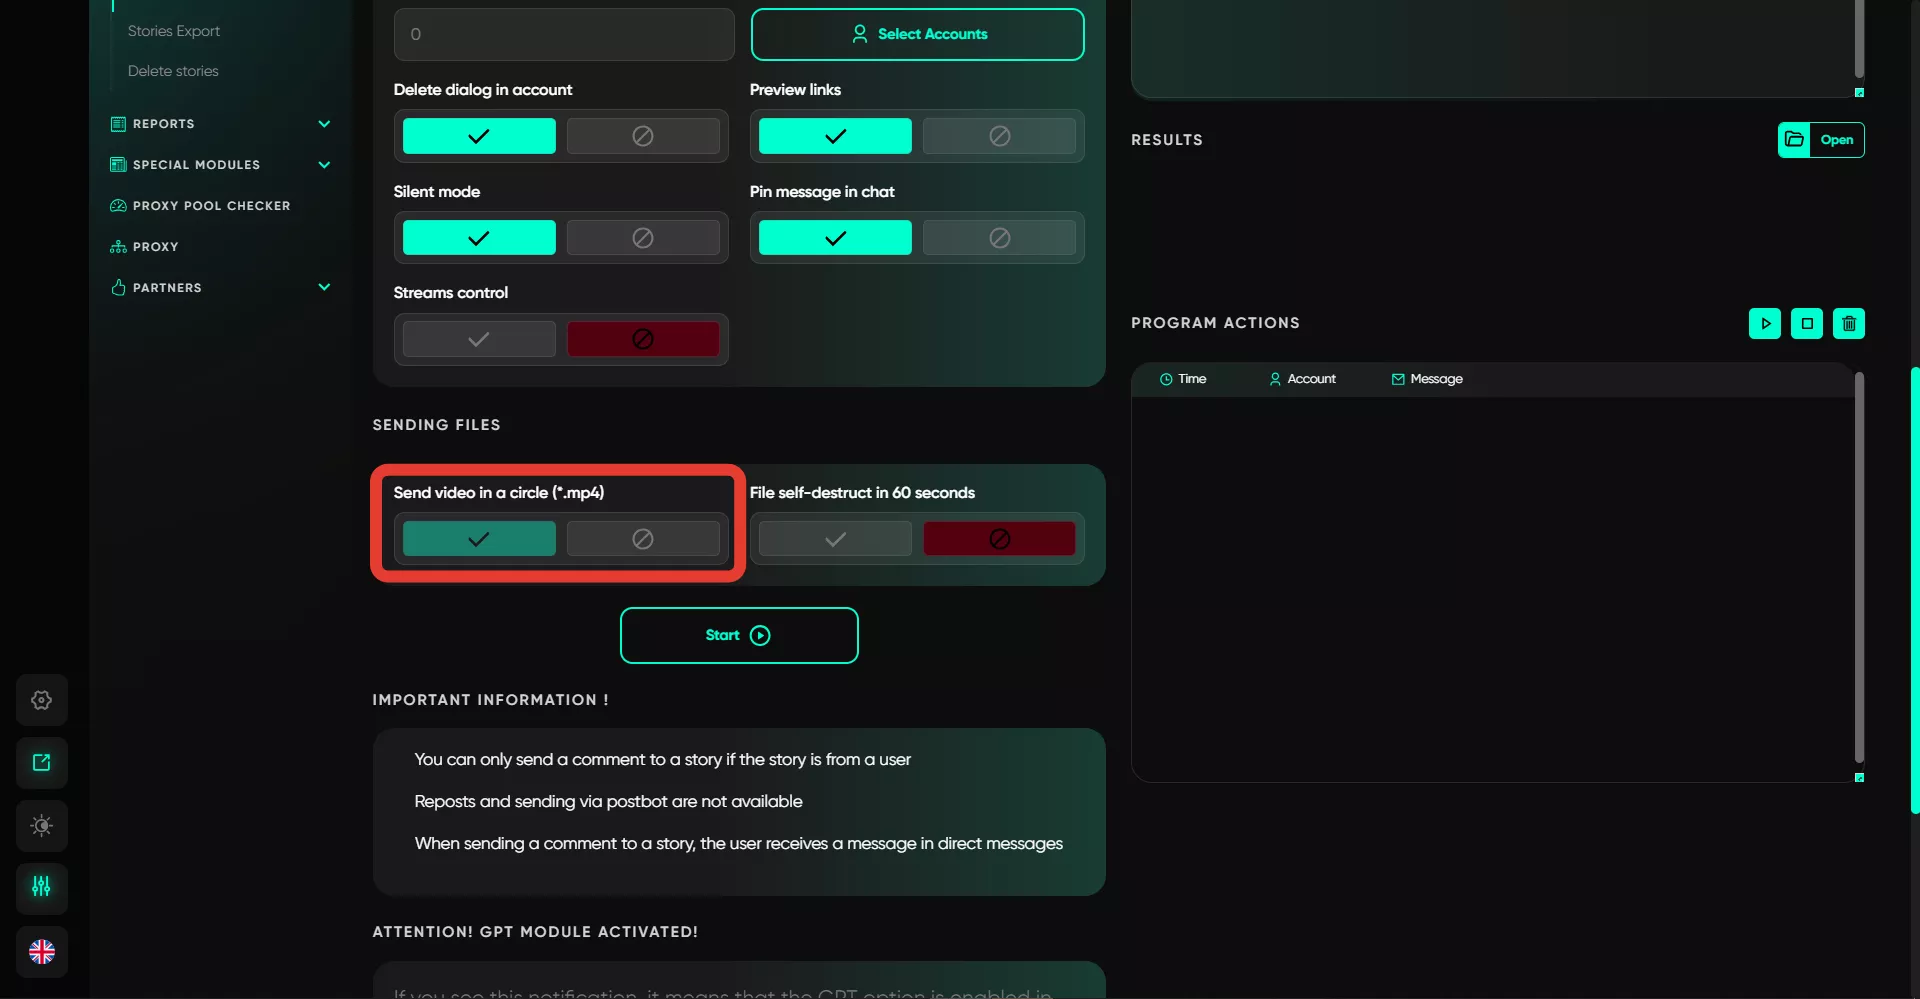
13. Send Video in Circle Format
If you activate this option, you can send a circle video to the user. The key here is to add the video, pre-downloaded from Telegram in this format, in the text field. If you add a regular video, the software will send it as a standard video.
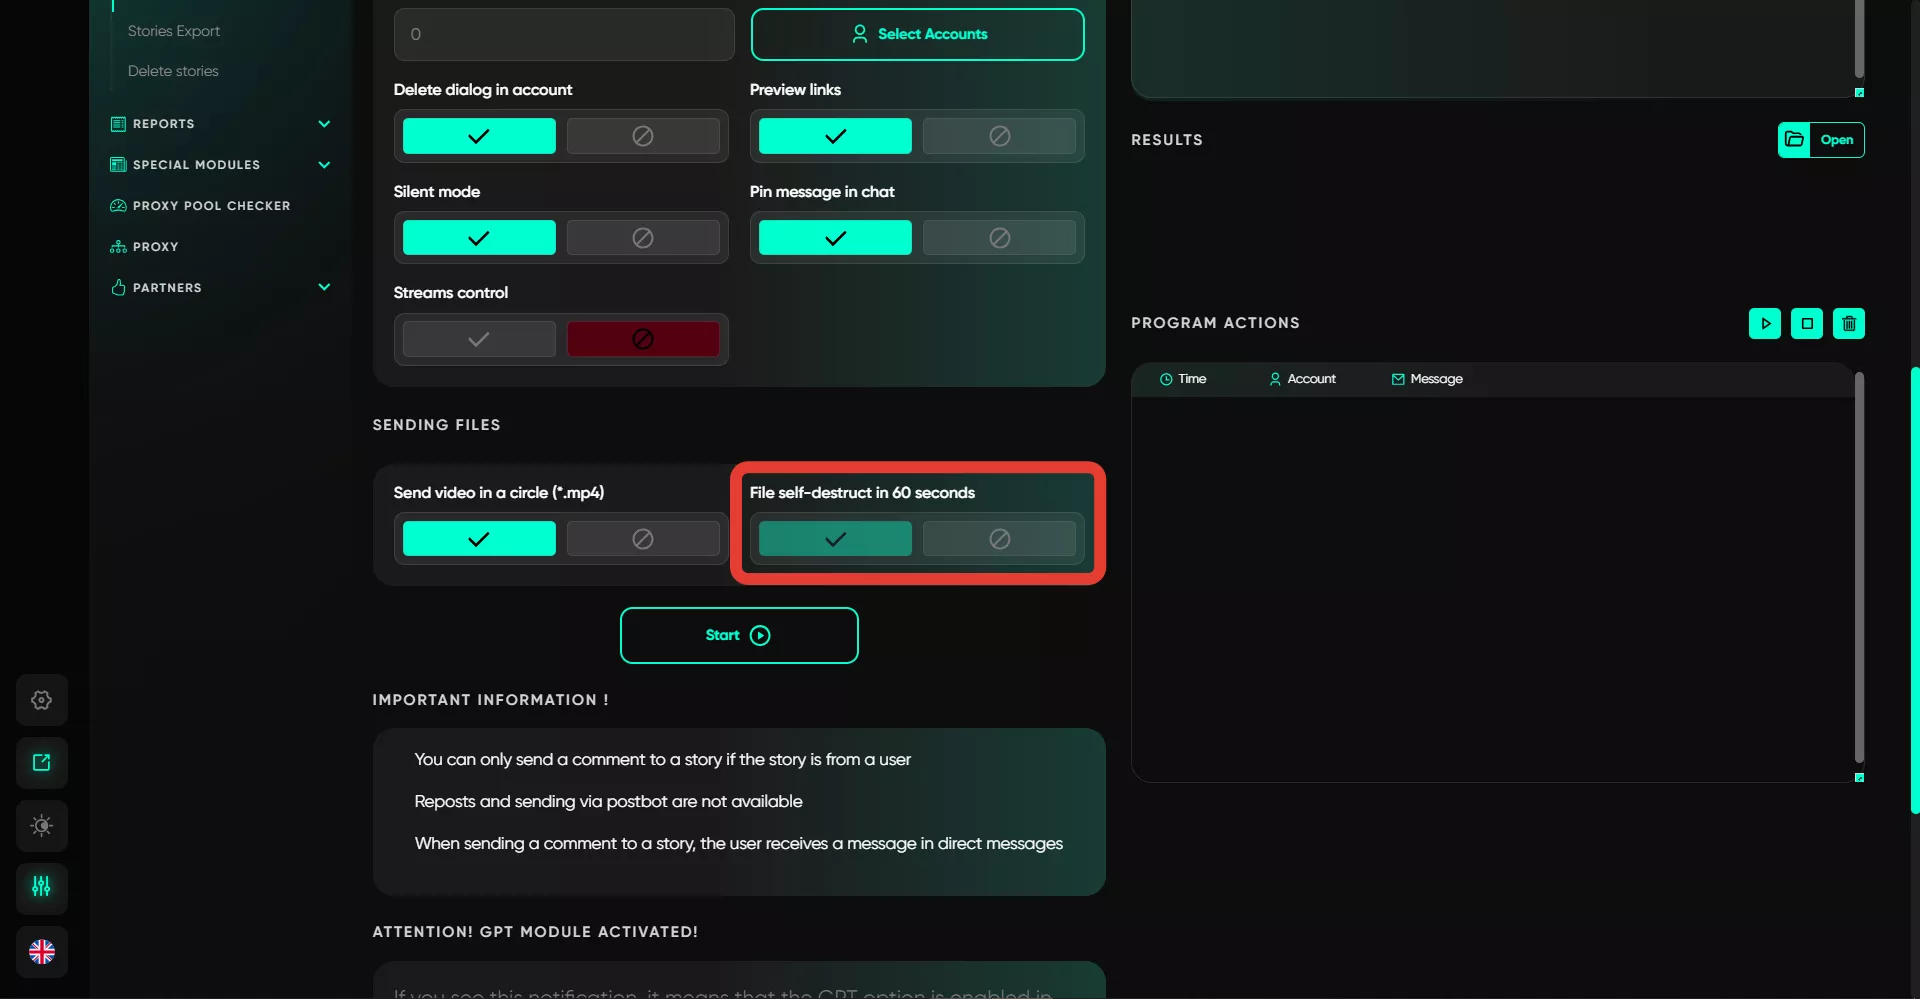
14. File Self-Destruct After 60 Seconds
After the user views the sent file, it will self-destruct after a minute if you activate this option.

